
Bacon-Wrapped Green Bean Bundles

Crisp-tender green beans wrapped in smoky bacon, finished with an optional sweet-savory glaze—an easy, crowd-pleasing side for holidays and weeknights.

This recipe for bacon-wrapped green bean bundles has been a holiday standard in my kitchen for years. I first made it during a chaotic family Thanksgiving when oven space was tight and I needed an easy side that still felt special. The idea of wrapping vibrant green beans in a slice of bacon turned out to be a small technique that produced big flavor. The beans stay crisp-tender, the bacon crisps and releases savory fat into the bundle, and every bite balances fresh, salty, and slightly sweet when you choose to glaze them. Guests always reach for them first, and my neighbor once asked for the recipe after sampling just two.
I love this preparation because it transforms simple produce into something celebratory without complex steps or hard-to-find ingredients. The texture contrast is what sells it: the beans retain a bright snap while the bacon gives a satisfying chew and crackle at the edges. I discovered a few small tricks along the way, like par-cooking the beans just enough so they finish perfectly after the bacon is crisp. This version includes an optional brown sugar and soy glaze that caramelizes in the oven and adds an irresistible sticky sheen, but the bundles are equally delicious without it for a lower-sugar option.
Why You'll Love This Recipe
- Hands-off finish once assembled, with only 20 minutes in the oven to crisp bacon and warm beans, so it is ready in about 35 minutes total.
- Uses pantry staples and simple produce: green beans, bacon, a splash of oil, and basic seasonings make it accessible and budget-friendly.
- Make-ahead friendly: you can trim beans and assemble bundles earlier in the day, then bake just before serving for stress-free hosting.
- Crowd-pleasing presentation that works for weeknight dinners, potlucks, or holiday spreads; easy to scale up for a larger gathering.
- Versatile flavor: skip the glaze for a lower-sugar version, or add the brown sugar and soy glaze for a sweet-savory finish that caramelizes beautifully.
- Quick technique teachable to helpers in the kitchen so kids or guests can join in assembly without much instruction.
Personally, I find the ritual of bundling the beans to be oddly calming. My family has an unofficial contest for the neatest bundle and the crispiest bacon, which turns a simple side into a moment at the table. The first time I brought these to a dinner party, everyone asked where they came from and the recipe has been requested ever since.
Ingredients
- Fresh green beans (1 pound): Look for bright green, snap-ready pods without blemishes. Trim the ends and choose fairly uniform lengths so bundles cook evenly. If you find very large beans, blanch briefly to soften before assembling.
- Bacon (8 to 10 slices): Regular-cut smoked bacon works best for even wrapping and crisping. Thick-cut will take longer to crisp; if using thick, consider partially cooking first. I often use a naturally smoked applewood bacon for balanced flavor.
- Olive oil (1 tablespoon): A light drizzle prevents sticking and helps season the beans. Use a neutral or light olive oil to avoid too-strong olive flavor.
- Garlic powder (1 teaspoon): Provides background savory notes without the risk of burning fresh garlic on the pan.
- Salt (1/2 teaspoon) and Black pepper (1/4 teaspoon): Simple seasoning to taste. If using salty bacon, reduce the added salt slightly.
- Brown sugar (2 tablespoons) and Soy sauce (1 tablespoon) — optional glaze: Adds a caramelized, sweet-savory finish. For gluten-free, swap soy sauce for tamari. Use light brown sugar for a milder molasses note or dark for deeper flavor.
Instructions
Step 1: Preheat the Oven: Set the oven to 400 degrees Fahrenheit. A hot oven is important so the bacon begins to crisp quickly while the beans finish cooking. Line a rimmed baking sheet with parchment paper or foil for easy cleanup and to catch rendered bacon fat. Step 2: Prepare the Green Beans: Trim the stem ends from 1 pound of green beans and rinse thoroughly. Pat them dry so the bacon adheres. For consistent bundles, group about 8 to 12 beans per bundle depending on thickness. If the beans are large or older, blanch them in boiling water for 1 minute and shock in ice water to preserve color and texture; drain and dry before assembly. Par-cooking helps if you prefer crisp-tender beans rather than undercooked ones after baking. Step 3: Assemble the Bundles: Cut 8 to 10 slices of bacon in half crosswise. Wrap one half-slice of bacon around each small handful of beans, overlapping the ends slightly. Tuck the end of the bacon under the bundle to secure, or use a toothpick if you prefer. Place bundles seam-side down on the prepared baking sheet, spaced so air can circulate and bacon crisps evenly. Step 4: Season and Drizzle: Arrange the bundles and drizzle 1 tablespoon of olive oil over them. Sprinkle 1 teaspoon garlic powder, 1/2 teaspoon salt, and 1/4 teaspoon black pepper evenly. If using the optional glaze, whisk 2 tablespoons brown sugar with 1 tablespoon soy sauce and 1/4 teaspoon black pepper, then brush a thin layer onto each bundle before baking. Reserve a little glaze to brush again near the end for more shine and caramelization. Step 5: Bake: Bake at 400 degrees Fahrenheit for 18 to 22 minutes. Rotate the pan once halfway through to promote even browning. If you like extra-crispy bacon, finish with a 2-minute broil, watching closely so the sugar does not burn. The visual cues are crisp, browned bacon and bright green bean tips that are tender but still have a slight snap. Step 6: Serve: Let the bundles rest 2 to 3 minutes on the sheet to set the glaze. Transfer to a platter and serve warm. If you used toothpicks, remove them or remind guests before eating. These are excellent straight from the oven or at room temperature.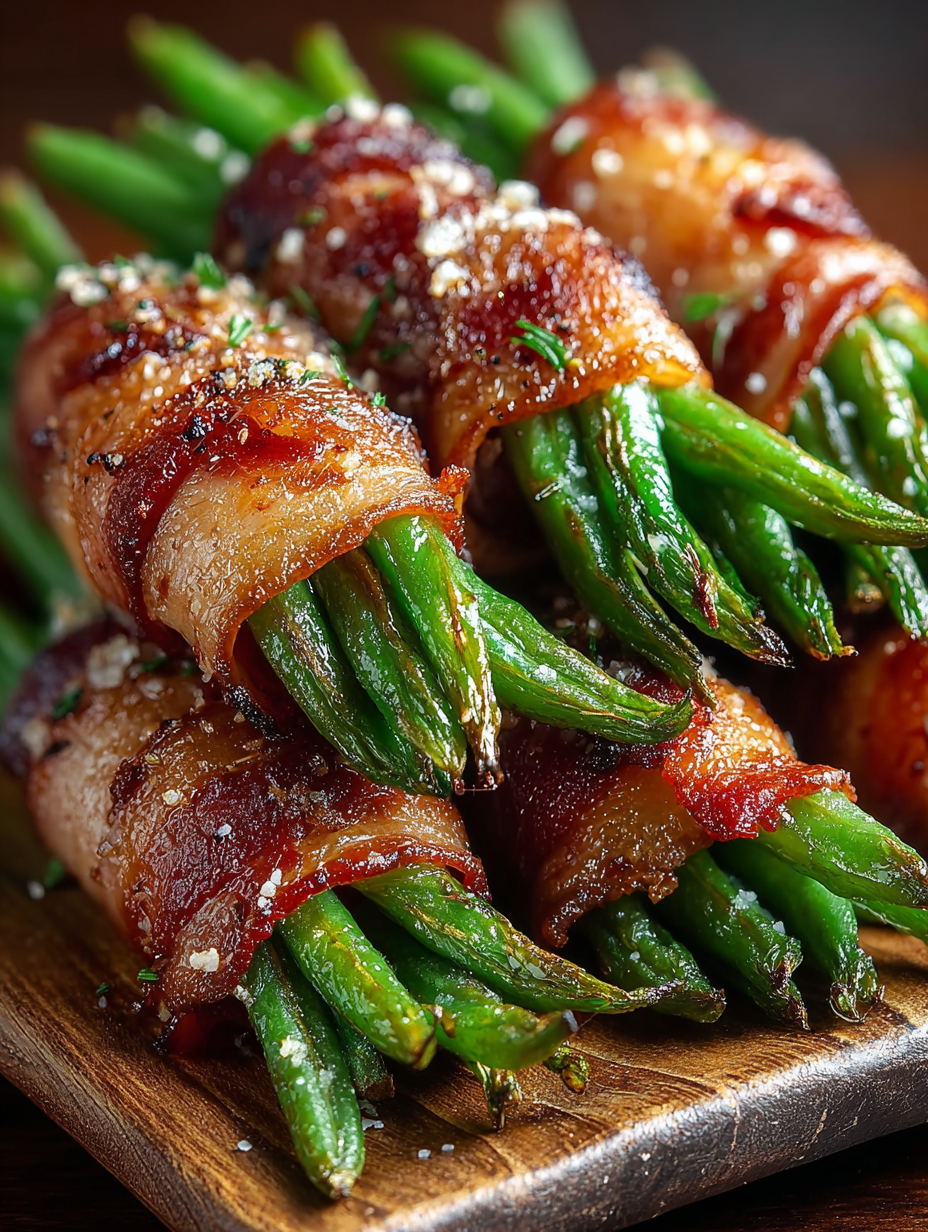
You Must Know
- These bundles freeze well unbaked for up to 1 month. Thaw in the refrigerator before baking from chilled for a few extra minutes.
- For a gluten-free version use tamari instead of soy sauce and verify bacon labeling for gluten-free processing.
- Par-cook larger green beans briefly to ensure they finish tender without overcooking the bacon.
- Store leftovers in an airtight container in the refrigerator for up to 3 days; reheat in a 375 degree Fahrenheit oven to keep bacon crisp.
My favorite part about this dish is how it turns simple green beans into something people remember. At summer cookouts and holiday dinners alike, these bundles vanish quickly. Friends have brought them to potlucks and adapted them with different glazes, which always warms my heart because it shows how flexible the technique is.
Storage Tips
Cool bundles completely before storing to avoid soggy bacon from trapped steam. Keep in an airtight container and layer with parchment paper to prevent sticking. Refrigerate up to 3 days. To freeze, arrange uncooked bundles on a tray to freeze solid for about 1 hour, then transfer to a zip-top freezer bag and label for up to 1 month. Reheat from thawed at 375 degrees Fahrenheit on a baking sheet until bacon crisps about 8 to 12 minutes.
Ingredient Substitutions
If you prefer turkey bacon for a leaner option, expect a slightly different texture and shorter bake time. For a vegetarian take, swap the bacon with smoky marinated tempeh strips and brush with a maple glaze; cooking times will vary. Replace soy sauce with tamari or coconut aminos for gluten-free. Swap brown sugar with maple syrup if you want a more fluid glaze; brush it on near the end to avoid burning.
Serving Suggestions
Serve as a side for roasted chicken, glazed ham, or grilled steak. For a holiday platter, arrange bundles around a roasted centerpiece and garnish with toasted sesame seeds or chopped parsley. They work well at room temperature for buffets or as a finger food on appetizer trays. Pair with mashed potatoes, a tangy slaw, or crusty bread to round out the meal.
Cultural Background
Wrapping vegetables in cured meats is a technique found in many cuisines, often used to impart flavor and preserve moisture. In American home cooking, bacon has long been used to elevate humble vegetables into festive fare. These bundles echo the classic combination of pork and produce seen at family gatherings and Sunday suppers, with regional glaze variations reflecting local tastes.
Seasonal Adaptations
In spring, use baby green beans or haricots verts for delicate bundles. In winter, swap in roasted root vegetables cut into long batons and use thick-cut bacon with a longer roast. Holiday versions shine with a cranberry-balsamic glaze brushed on near the end for a festive twist and deeper color.
Meal Prep Tips
Trim beans and cut bacon the day before, then assemble bundles on parchment-lined trays and cover tightly. Store assembled bundles in the refrigerator until ready to bake. For faster finishing, preheat the oven and bake straight from chilled; allow an extra 4 to 6 minutes. Use insulated containers to keep warm en route to potlucks and re-crisp briefly under a broiler if needed.
These bundles are an effortless way to make any meal feel like an occasion. Whether you keep them simple or add the sticky glaze, they are reliable, adaptable, and beloved by guests of all ages. Enjoy the process of assembling them and the delight of watching them disappear at the table.
Pro Tips
Trim beans to uniform length so bundles cook evenly and look tidy on the plate.
Pat beans completely dry before wrapping so the bacon adheres and the glaze sticks.
If using thick-cut bacon, partially cook it in a skillet for 3 minutes per side before wrapping to ensure it crisps without overcooking the beans.
Brush glaze on near the end of baking and broil briefly if you want a sticky, caramelized finish.
This nourishing bacon-wrapped green bean bundles recipe is sure to be a staple in your kitchen. Enjoy every moist, high protein slice — it is perfect for breakfast or as a wholesome snack any time.
FAQs about Recipes
Can I freeze these bundles?
Yes. Freeze unbaked bundles on a tray until solid, then transfer to a freezer bag for up to 1 month. Thaw in the refrigerator before baking and add a few extra minutes to the bake time.
How can I make this gluten-free?
Use tamari or coconut aminos instead of soy sauce to make the glaze gluten-free. Check bacon labeling for gluten-free processing to be safe.
Tags
Bacon-Wrapped Green Bean Bundles
This Bacon-Wrapped Green Bean Bundles recipe makes perfectly juicy, tender, and flavorful steak every time! Serve with potatoes and a side salad for an unforgettable dinner in under 30 minutes.
Ingredients
For the Bundles
For the Glaze (Optional)
Instructions
Preheat the Oven
Preheat oven to 400 degrees Fahrenheit. Line a rimmed baking sheet with parchment paper or foil to catch rendered fat and make cleanup easier.
Prepare the Beans
Trim and rinse 1 pound of green beans, then pat dry. Blanch for 1 minute and shock in ice water if beans are very large to ensure even texture after baking.
Assemble Bundles
Group about 8 to 12 beans per bundle. Cut bacon slices in half and wrap one half-slice around each bundle, tucking the end underneath or securing with a toothpick. Place seam-side down on the baking sheet.
Season and Glaze
Drizzle 1 tablespoon olive oil over bundles and sprinkle with garlic powder, salt, and pepper. If using glaze, whisk brown sugar and soy sauce and brush thinly over each bundle, reserving some for a final brush.
Bake
Bake at 400 degrees Fahrenheit for 18 to 22 minutes, rotating once. For extra crispness, broil 1 to 2 minutes at the end while watching closely to avoid burning.
Rest and Serve
Let rest 2 to 3 minutes before transferring to a serving platter. Remove toothpicks before serving and enjoy warm or at room temperature.
Last Step: Please leave a rating and comment letting us know how you liked this recipe! This helps our business to thrive and continue providing free, high-quality recipes for you.
Nutrition
Did You Make This?
Leave a comment & rating below or tag
@magicmealideas on social media!
Categories:
You might also like...

Air-Fried Pizza Rolls
Crispy on the outside, gooey on the inside: easy air-fried pizza rolls made with pizza dough, mozzarella, pepperoni, and a quick Italian seasoning — perfect for snacking or feeding a crowd.
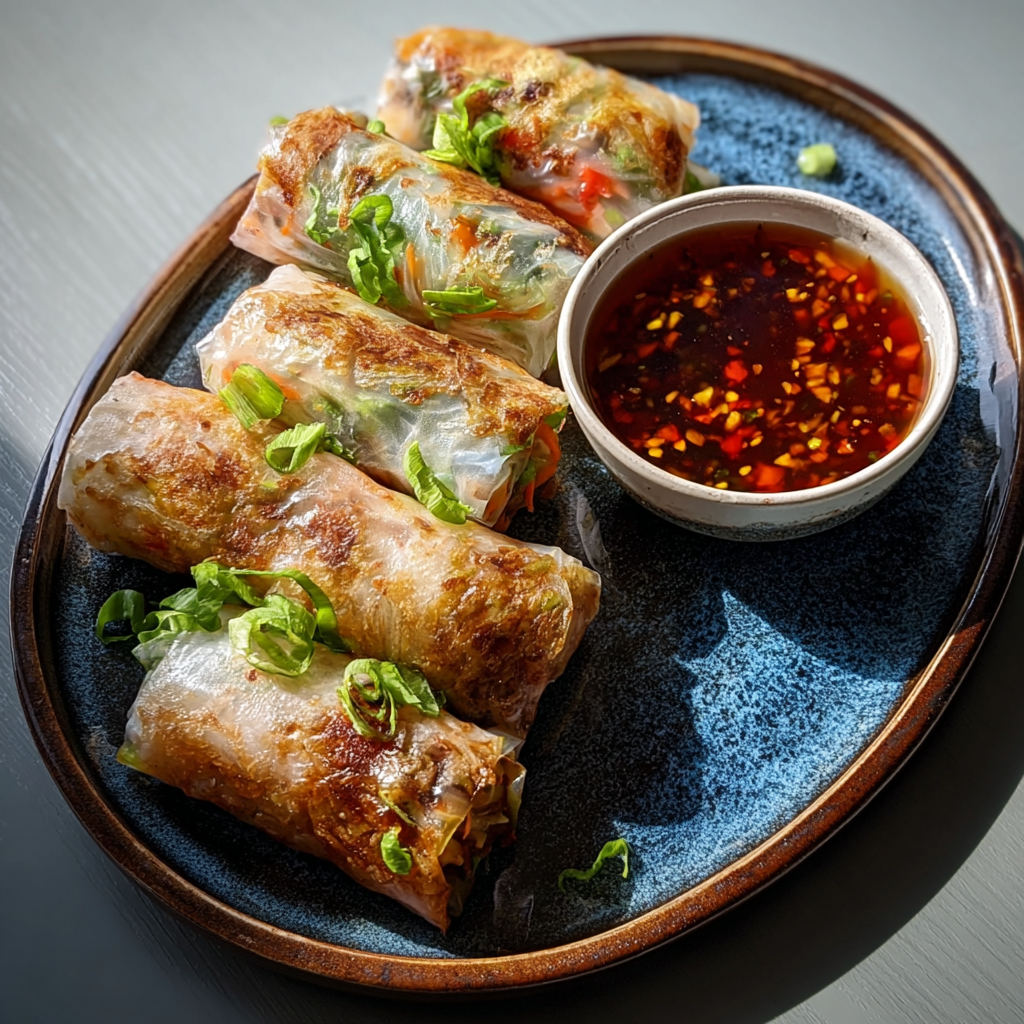
Air-Fried Rice Paper Noodle Rolls
Crispy, light rice paper rolls filled with vermicelli, vegetables and tofu or shrimp, air-fried to golden perfection for a healthy snack or shareable appetizer.

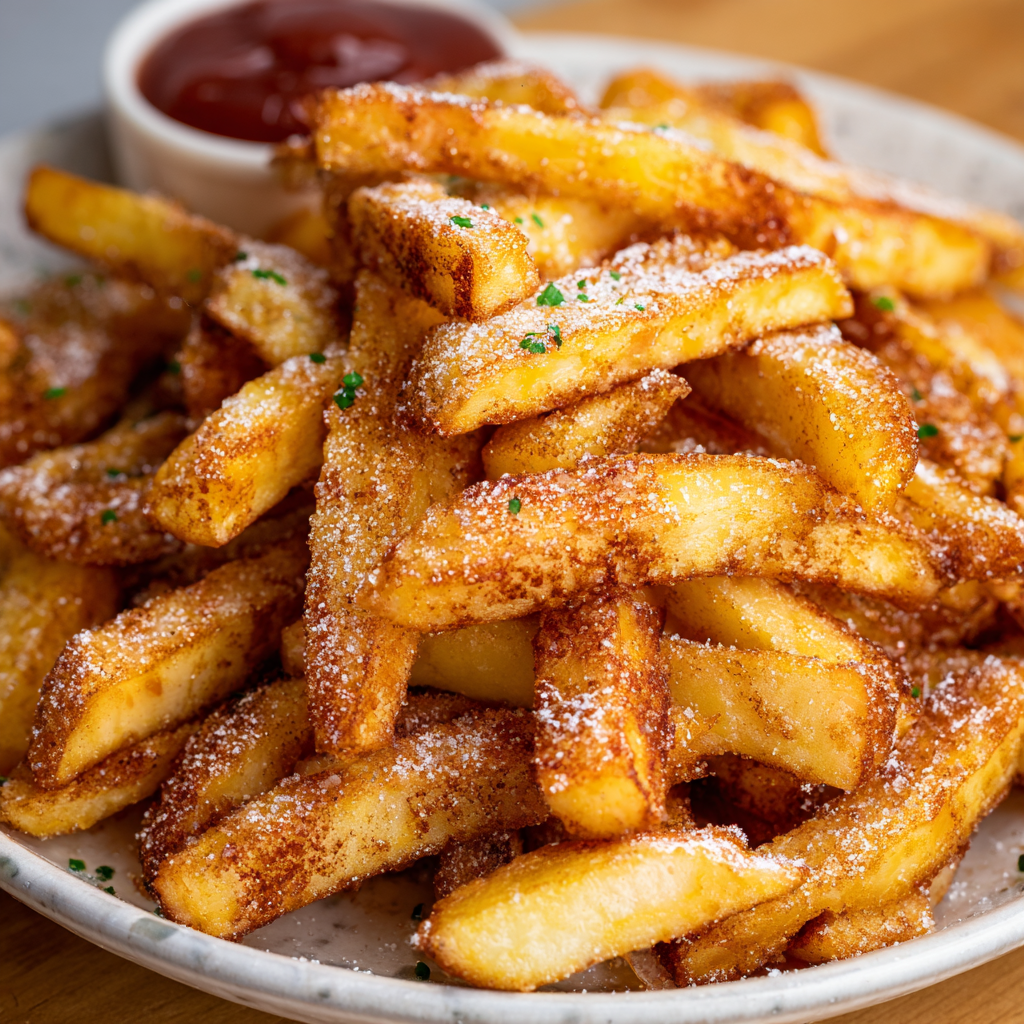
Air Fryer Apple Fries
Crispy, cinnamon-sugar coated apple sticks made in the air fryer — a quick, family-friendly treat that tastes like baked apple pie in every bite.
Did You Make This?
Leave a comment & rating below or tag @magicmealideas on social media!
Rate This Recipe
Share This Recipe
Enjoyed this recipe? Share it with friends and family, and don't forget to leave a review!
Comments (1)
This recipe looks amazing! Can't wait to try it.
Comments are stored locally in your browser. Server comments are displayed alongside your local comments.
Hi, I'm Chef!
What's Popular
30-Minute Meals!
Join to receive our email series which contains a round-up of some of our quick and easy family favorite recipes.