>>
30-MINUTE MEALS! Get the email series now →


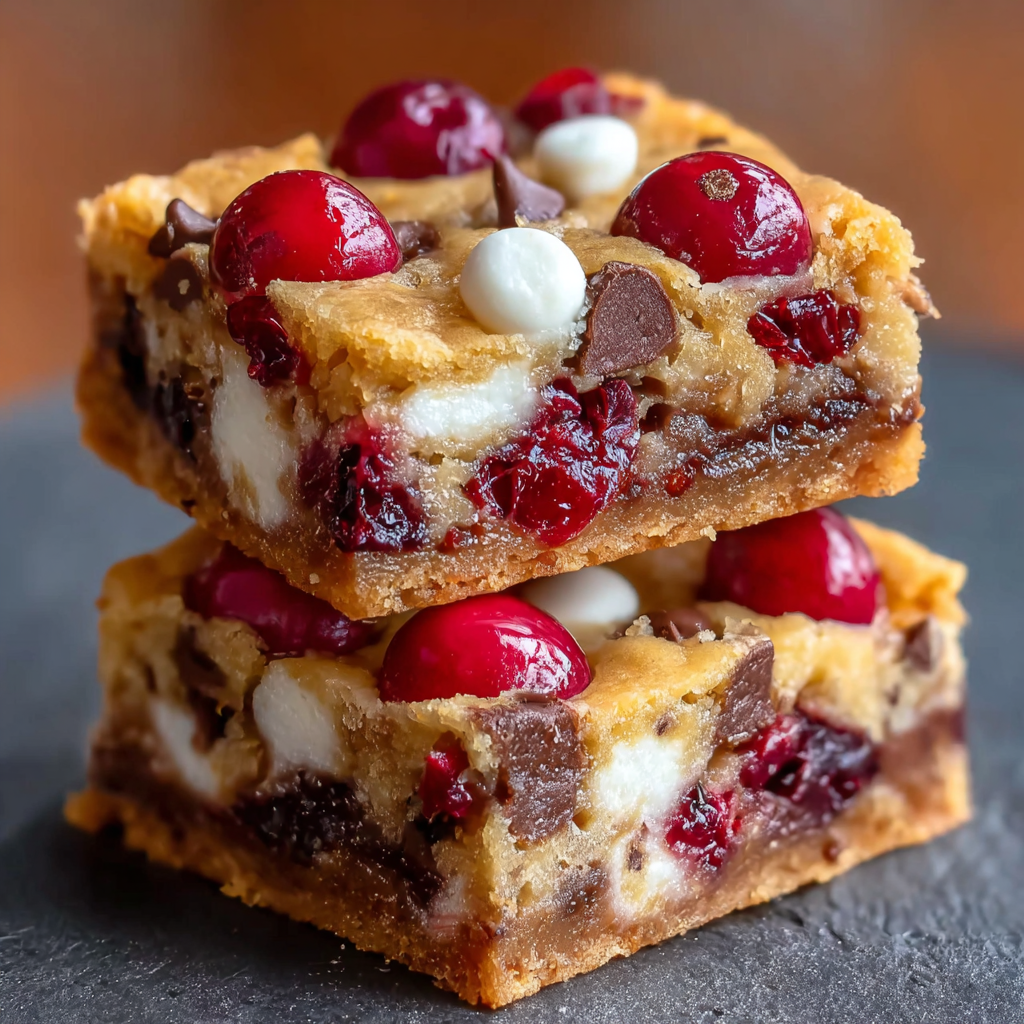
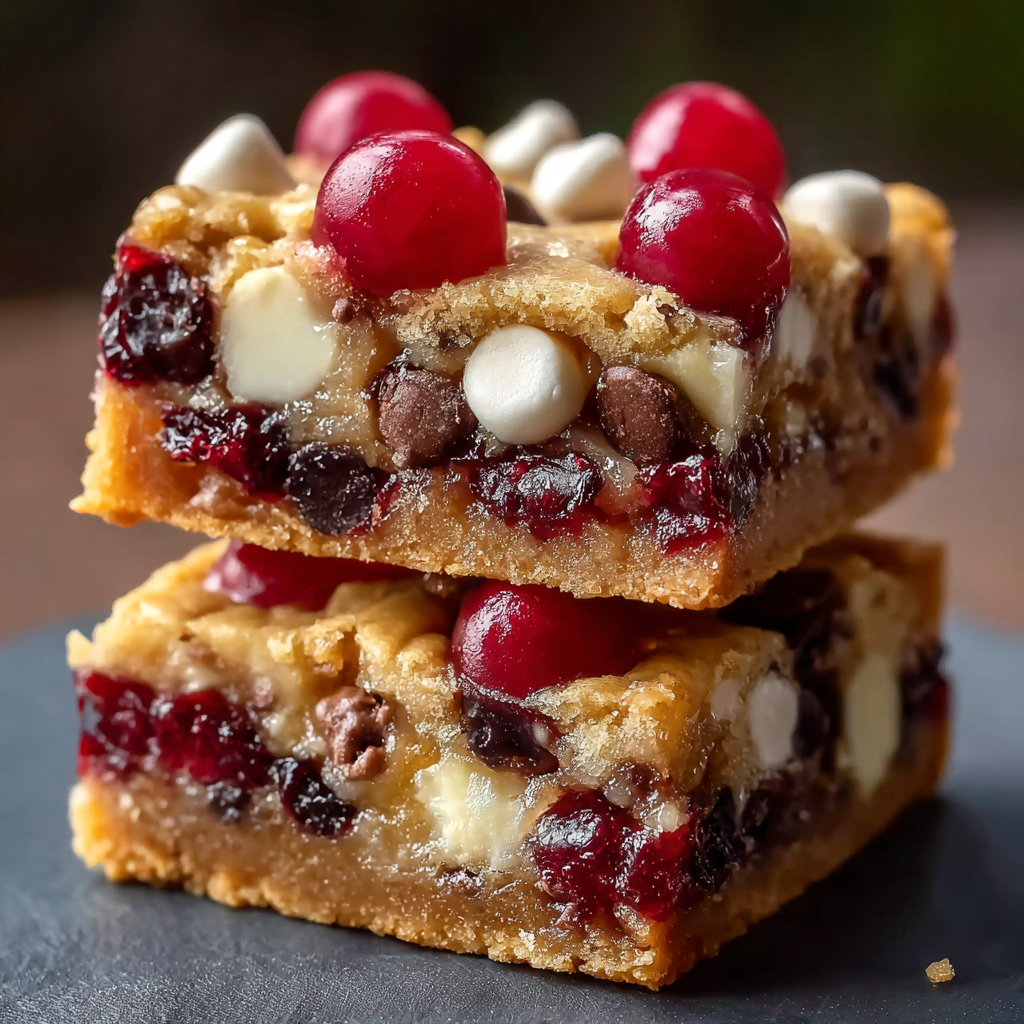
Festive no-bake bars layered with chocolate, marshmallows and a buttery graham base — perfect for holiday parties and cookie exchanges.

This recipe for Christmas bars has been my go-to holiday treat for more years than I can count. I first discovered this combination during a frantic December when I needed something that tasted indulgent, held up on a platter, and required no oven time. The result was a sweet, nostalgic square that bridges the gap between a candy and a dessert bar: a crisp buttery graham base, a molten chocolate-marshmallow center, and a scattering of crunchy nuts if you like contrast. It’s the kind of thing that triggers immediate “who made these?” murmurs around the table.
The texture is what makes these bars special — a firm, almost cookie-like bottom that gives way to a gooey, chocolatey interior studded with soft mini marshmallows. The marshmallows melt just enough to create pockets of chew while the chocolate sets to a glossy finish. I’ve brought these to potlucks, school holiday parties and late-night cookie swaps; they travel well, don’t require fancy tools, and are endlessly adaptable. When my kids were little, we’d sprinkle colorful nonpareils on top for extra holiday cheer; as they grew older, chopped nuts and a dusting of powdered sugar became our signature finish.
My family’s reaction the first time I served these was instant and unanimous — “make these every year.” I’ve learned small adjustments: press the crumbs firmly for a stable base, warm the chocolate just enough to melt but not scorch, and allow adequate chill time so the bars slice cleanly. Those small details make a big difference on the platter.
What I love most is how reliably these bars bring people together. At neighborhood cookie swaps they draw the same crowd every year — friends who remember the chewy marshmallow bites from their childhood. The combination of textures and the glossy chocolate top always feels celebratory, even when assembled in a rush.
Store squares in an airtight container layered with parchment to prevent sticking. Refrigerate for up to 3 days — the structure stays best when chilled. For longer storage, freeze in single layers on a baking sheet until solid, then transfer to a freezer-safe bag for up to 3 months. Thaw in the refrigerator overnight before slicing to preserve clean edges. To revive a slightly firm bar, leave at room temperature for 10–15 minutes before serving so the chocolate softens a touch.
If you want a different flavor profile, swap semi-sweet chocolate chips for dark chocolate for deeper cocoa notes, or use milk chocolate for a sweeter, creamier finish. If you need gluten-free, use certified gluten-free graham-style crumbs or crushed gluten-free cookies; texture will be similar if the crumbs are finely ground. For a dairy-free version, substitute vegan butter and use dairy-free condensed milk alternatives and dairy-free chocolate chips, but expect a slightly different mouthfeel and flavor.
Serve these squares on a festive platter garnished with a dusting of powdered sugar or a few whole marshmallows for a rustic look. Pair with hot cocoa or strong coffee to balance the sweetness. For holiday parties, arrange with peppermint bark or shortbread for contrast. If presenting as a gift, wrap stacks in parchment and tie with ribbon — they make a cheerful edible present.
These squares are a modern American holiday treat drawing on classic candy-making elements — sweetened condensed milk and chocolate are staples of many no-bake confections. The combination of graham crackers and marshmallows echoes s’mores, a beloved campfire tradition adapted here for winter gatherings. Over time, variations have emerged across families, each adding nuts, spices or extracts to adapt the basic, comforting formula to regional tastes.
For winter holidays, add 1/2 teaspoon peppermint extract to the melted chocolate and top with crushed candy cane for a peppermint-chocolate version. In summer, skip the nuts and add toasted coconut flakes on top for a lighter, tropical twist. For a fall spin, stir 1/2 teaspoon ground cinnamon and a pinch of nutmeg into the crust mixture to add warm, seasonal spice.
Plan these as part of a holiday baking day: prepare the crust in the morning and chill, melt the filling mid-afternoon, then assemble and refrigerate until serving. Cut into squares just before guests arrive for the freshest texture. Use a ruler to mark even slices on the parchment before chilling so you can achieve even pieces quickly when it’s time to serve.
These Christmas bars are an ideal combination of nostalgia and convenience — easy enough for last-minute trays, customizable for taste or dietary needs, and reliably loved by guests. Make a double batch if you’re feeding a crowd; they disappear fast.
Press the crust firmly and evenly into the pan to ensure a stable base that slices cleanly.
Warm the chocolate slowly over low heat to avoid scorching; stir constantly for a glossy finish.
Chill the assembled pan at least 2–3 hours to allow the filling to set for clean slicing.
Use a hot, wiped knife between cuts to achieve neat squares; reheat the knife under hot water as needed.
This nourishing christmas bars recipe is sure to be a staple in your kitchen. Enjoy every moist, high protein slice — it is perfect for breakfast or as a wholesome snack any time.
This Christmas Bars recipe makes perfectly juicy, tender, and flavorful steak every time! Serve with potatoes and a side salad for an unforgettable dinner in under 30 minutes.
Line a 9x13-inch pan with parchment. Mix graham crumbs, cocoa powder and powdered sugar. Stir in melted butter and press firmly into the pan. Chill 10–15 minutes.
In a saucepan over low heat, combine sweetened condensed milk and chocolate chips. Stir until smooth. Remove from heat and fold in mini marshmallows and optional nuts.
Spread the filling over the chilled crust. Cool briefly, then refrigerate uncovered until completely set, at least 2–3 hours.
Use a hot, dry knife to slice into 16 squares. Store covered in the refrigerator up to 3 days; freeze for longer storage.
Last Step: Please leave a rating and comment letting us know how you liked this recipe! This helps our business to thrive and continue providing free, high-quality recipes for you.
Leave a comment & rating below or tag
@magicmealideas on social media!

Crispy on the outside, gooey on the inside: easy air-fried pizza rolls made with pizza dough, mozzarella, pepperoni, and a quick Italian seasoning — perfect for snacking or feeding a crowd.
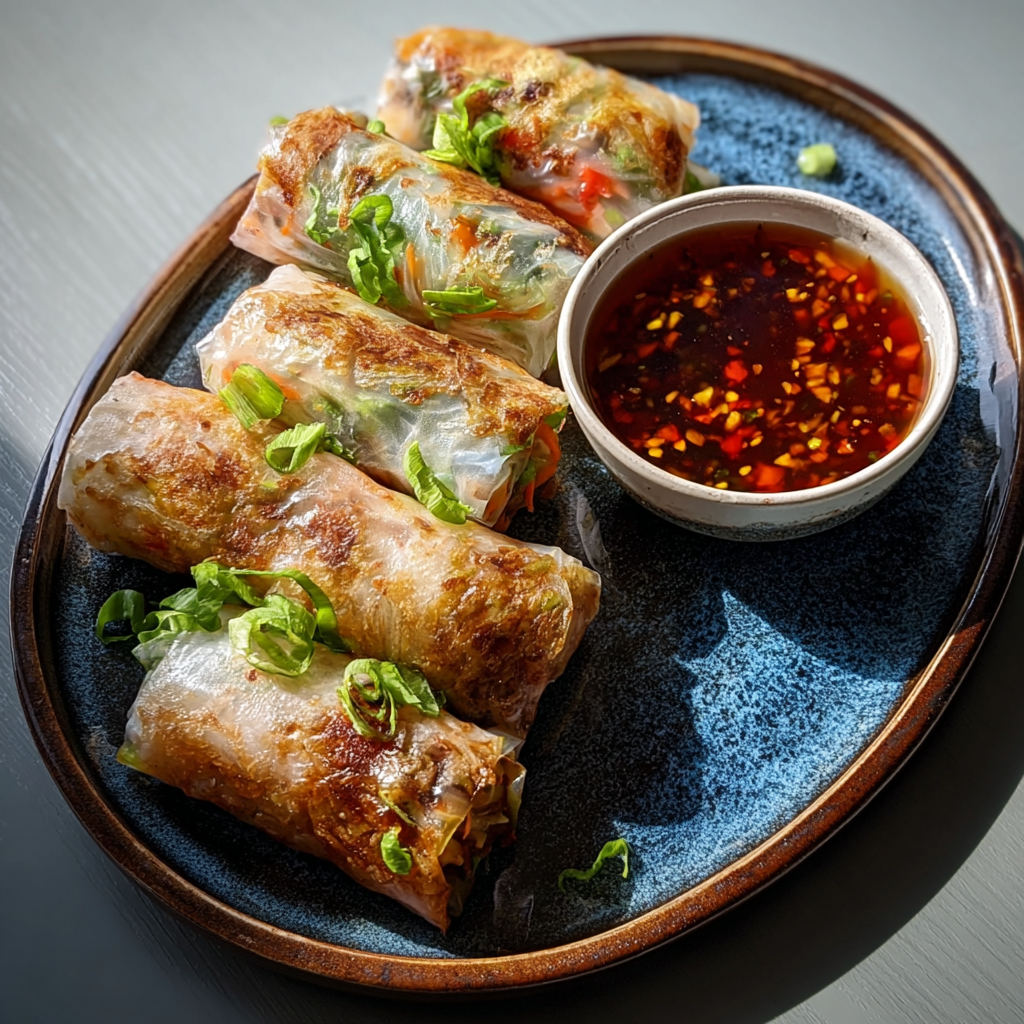
Crispy, light rice paper rolls filled with vermicelli, vegetables and tofu or shrimp, air-fried to golden perfection for a healthy snack or shareable appetizer.

Crispy, cinnamon-sugar coated apple sticks made in the air fryer — a quick, family-friendly treat that tastes like baked apple pie in every bite.
Leave a comment & rating below or tag @magicmealideas on social media!
Enjoyed this recipe? Share it with friends and family, and don't forget to leave a review!
This recipe looks amazing! Can't wait to try it.
Comments are stored locally in your browser. Server comments are displayed alongside your local comments.
Join to receive our email series which contains a round-up of some of our quick and easy family favorite recipes.