
Christmas Cookie Bars

Chewy, festive cookie bars studded with semi-sweet chips and Christmas M&M’s—easy to make, perfect for gifting and holiday parties.
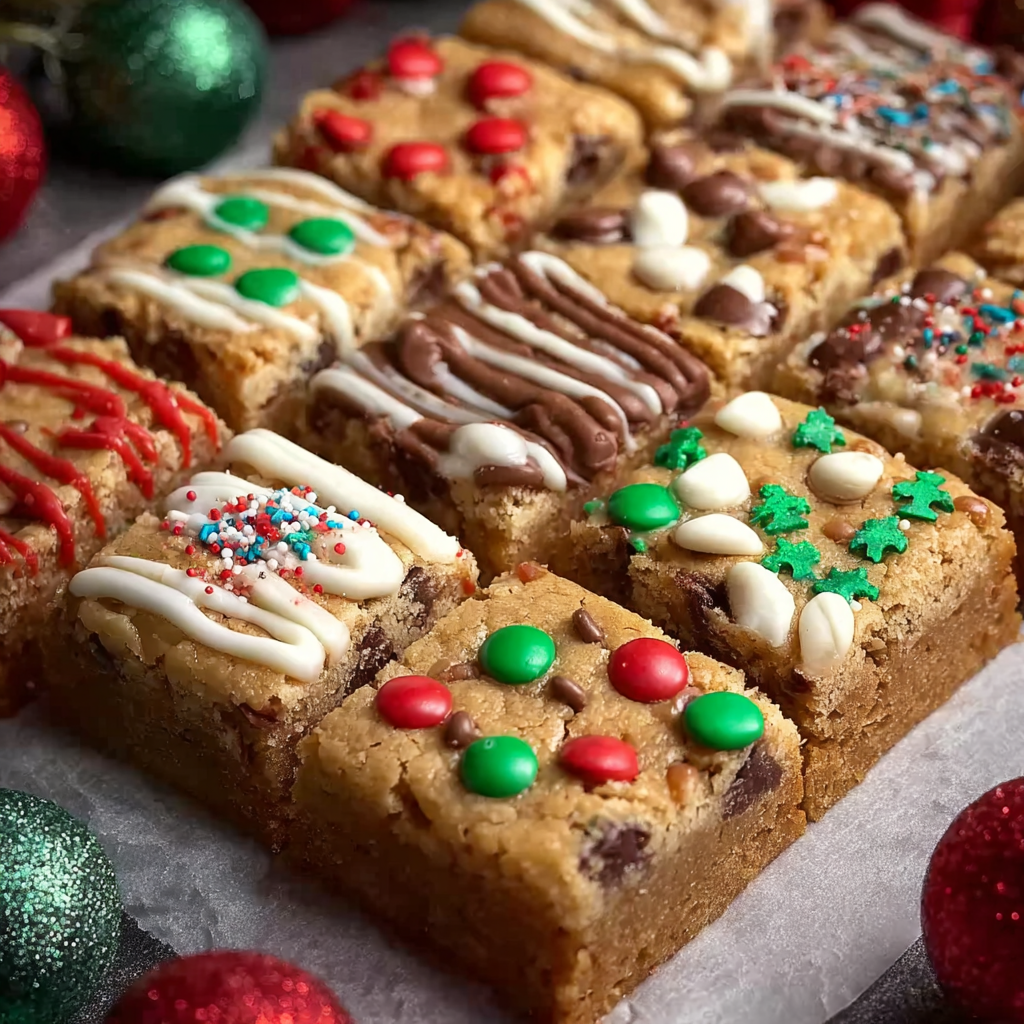
This recipe for Christmas Cookie Bars has been a holiday staple in my kitchen ever since I first pulled it out of a crumpled note tucked inside a recipe box at my grandmother’s house. I remember unwrapping a tin of these bars at a small neighborhood cookie swap and thinking that the texture was impossibly chewy while the candy added a bright, nostalgic pop. I adapted that original version over three seasons to balance chewiness with just enough structure so they cut cleanly into squares without falling apart. The result is a tray of bars that bake up with golden edges, a soft, tender center, and colorful M&M accents that make every bite feel celebratory.
I love these bars because they are forgiving (great for busy holiday baking sessions), use simple pantry staples, and scale easily when you need to make a large batch for a party. They’re also an excellent make-ahead gift: slice them into neat squares, stack them in a box with parchment, and they travel well. The warm butter and brown sugar lend a caramel-like richness while pockets of semi-sweet chocolate and white chips melt into glossy ribbons. Every holiday season, friends and family ask for the recipe—sharing it always sparks stories about cookie swaps, neighborhood traditions, and the little rituals that make December feel special.
Why You'll Love This Recipe
- Ready with about 15 minutes of active prep and roughly 28 minutes of baking—fast enough for weeknight holiday baking yet impressive for parties.
- Uses pantry staples like all-purpose flour, brown sugar, and chocolate chips; perfect when you don’t want to hunt for specialty ingredients.
- Highly adaptable: swap the M&M’s for peppermint chips, nuts, or dried fruit for seasonal twists or dietary needs.
- Make-ahead friendly—store cooled bars up to 4 days at room temperature or freeze for longer storage for easy hostess gifts.
- Crowd-pleasing sweetness balanced by semi-sweet chocolate; kid-friendly appearance with colorful candies on top.
- Slices cleanly if you let the pan cool fully, which means neat presentation for cookie platters and gift boxes.
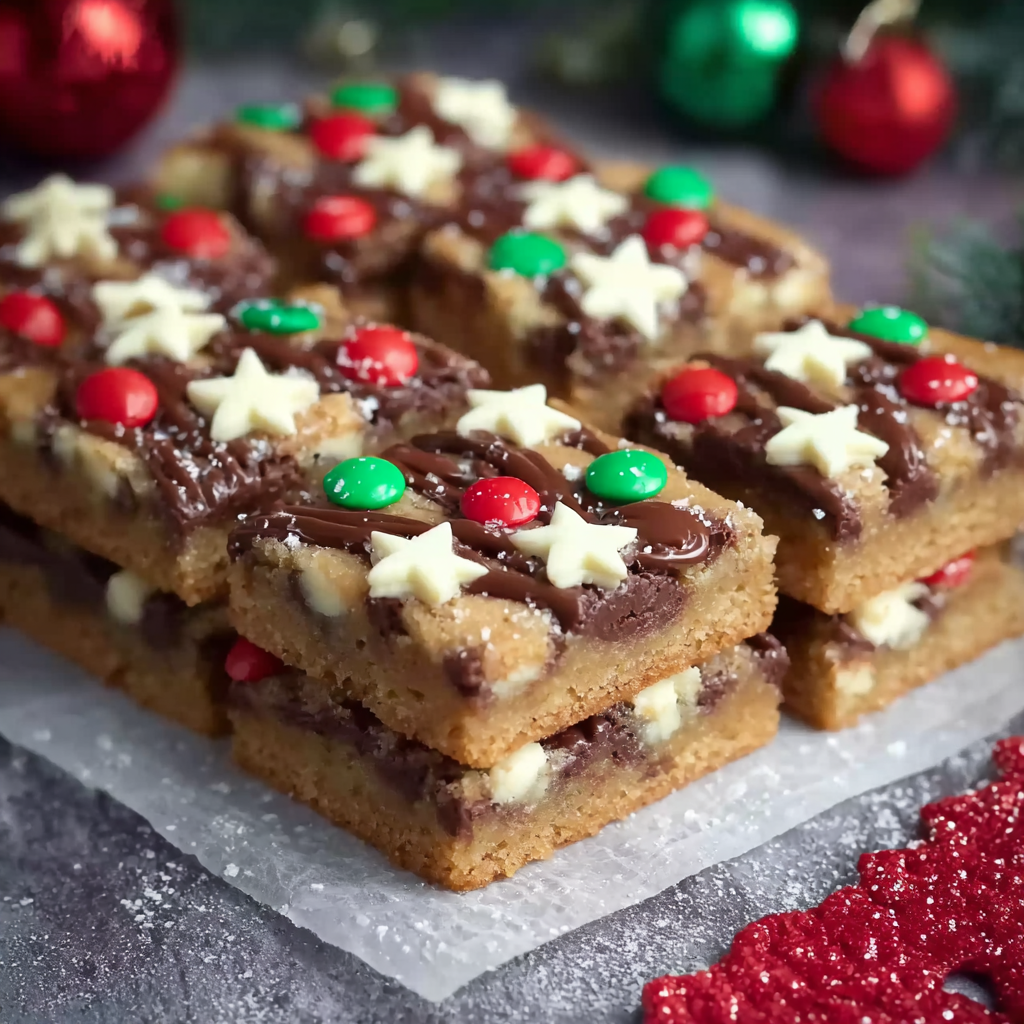
When I first made these for a holiday bake sale, neighbors raved about the texture: not too cakey, not too dense—just right. Over time I learned to press half the M&M’s into the top right before baking for a cheery presentation that keeps the colors on display after slicing.
Ingredients
- 3/4 cup butter (1½ sticks), softened: Use unsalted butter and bring to room temperature for easy creaming. European-style butter gives a slightly richer flavor, but any salted or unsalted butter works—reduce added salt if using salted butter.
- 2 teaspoons vanilla extract: Choose pure vanilla extract for the most authentic flavor; imitation works in a pinch but has a different, slightly sharper profile.
- 2/3 cup granulated sugar: Provides structure and lightness—measured by lightly spooning into the cup and leveling off for accuracy.
- 1 cup packed brown sugar: Adds moisture and a caramel note; use light brown for a milder flavor or dark brown for deeper molasses character.
- 2 large eggs: Room temperature eggs incorporate more easily into the dough and help with emulsion and tenderness.
- 3 cups all-purpose flour: Spoon and level for precise measurement to avoid dense bars. For a tender crumb, you can swap 1/4 cup flour for cake flour in later variations.
- 1 teaspoon salt: Balances sweetness and enhances chocolate flavors; reduce to 1/2 teaspoon if using salted butter.
- 1 teaspoon baking soda: Gives a gentle lift so the bars are tender but still hold their shape.
- 1 cup semi-sweet chocolate chips: (about 6 oz) Stirred into the dough to create melty pockets of chocolate—use high-quality chips for best flavor.
- 1 cup Christmas M&M’s, divided: (use 1/2 cup in the dough and 1/2 cup for the topping) The candy melts and colors add visual charm; reserve half for a bright top layer.
- 1/4 cup white chocolate chips for topping: Optional but recommended for contrast and a holiday look—adds creamy sweetness when sprinkled on top before baking.
Instructions
Prepare the pan and oven: Preheat the oven to 325°F. Lightly grease a 9×13-inch baking pan or line it with parchment and leave a slight overhang for easy removal. A lower oven temperature helps the bars bake evenly with a soft center and golden edges. Cream butter and sugars: In a large bowl, beat the softened butter with the brown sugar and granulated sugar on medium speed for about 3 minutes until the mixture becomes pale and fluffy. This step incorporates air for tenderness—scrape the bowl sides periodically to ensure an even cream. Add eggs and vanilla: Beat in the eggs one at a time until fully incorporated, then stir in the vanilla. The mixture should look smooth and glossy; if it appears curdled, continue mixing gently and it will come together once the dry ingredients are added. Combine dry ingredients: Whisk together the flour, baking soda, and salt in a separate bowl. Gradually add the dry mixture to the wet ingredients and mix on low speed until a soft dough forms—avoid overmixing to prevent tough bars. Fold in chocolate and M&M’s: Gently fold in 1 cup of semi-sweet chocolate chips and 1/2 cup of the M&M’s so they’re distributed without smashing the candies. Use a rubber spatula and fold just until combined. Press into pan and top: Spread the dough evenly into the prepared pan using an offset spatula. Sprinkle the remaining 1/2 cup M&M’s and the 1/4 cup white chocolate chips on top, pressing them lightly into the surface so they adhere during baking. Bake and cool: Bake in the preheated oven for 26–30 minutes until the edges are lightly golden and a toothpick in the center comes out with a few moist crumbs. Remove from the oven and let cool completely in the pan on a wire rack before slicing into squares for clean edges.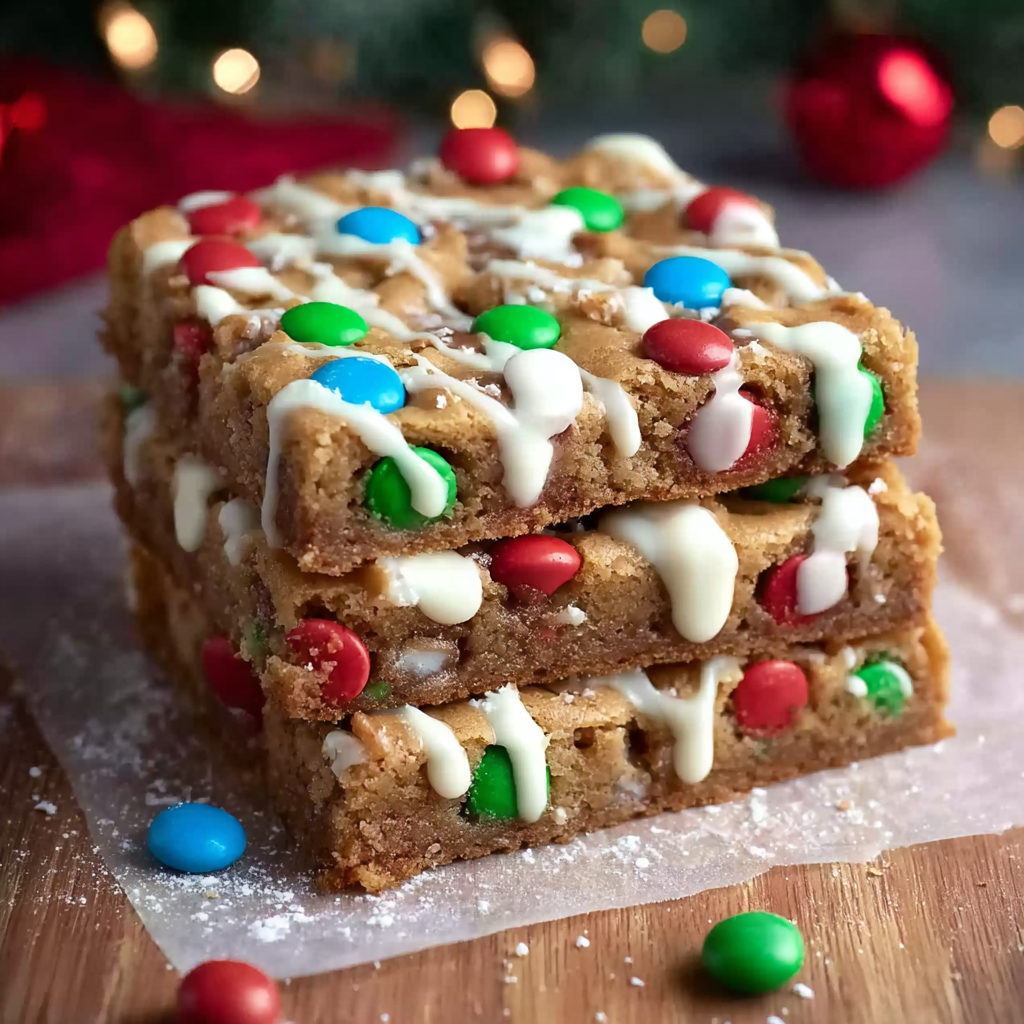
You Must Know
- Store cooled slices in an airtight container at room temperature for up to 4 days; they freeze well for up to 3 months—wrap tightly with plastic and foil to prevent freezer burn.
- These bars are high in energy—about 260 calories per square (assuming 24 squares), with carbohydrates providing most of the bite-sized treat’s quick energy.
- Let the pan cool fully before slicing; warm bars will crumble. If you’re in a hurry, chill the pan for 20–30 minutes for cleaner cuts.
- Use parchment with a 1-inch overhang to lift the whole batch from the pan for neat slicing and easy transfer to a cooling rack or gift box.
My favorite thing about these bars is how they bring people together—neighbors often stop by when I’m packaging them for a holiday party. A single pan can create a ripple of compliments and requests for the recipe; it’s a small way to spread cheer.
Storage Tips
After the bars have cooled completely, store them in a single layer separated by parchment or wax paper to prevent sticking. At room temperature in an airtight container they will remain fresh for up to 4 days. For longer storage, freeze whole or sliced bars in a resealable freezer bag or wrapped tightly in plastic and foil for up to 3 months. To thaw, move to the refrigerator overnight or leave at room temperature for one hour—reheat briefly in a 300°F oven for 6–8 minutes to revive soft edges and glossy chips.
Ingredient Substitutions
If you need to swap ingredients, try these tested alternatives: replace all-purpose flour with a 1:1 gluten-free flour blend if avoiding gluten (note texture will differ). Use dairy-free butter and dairy-free chips to make a lactose-free batch, though bars will be slightly firmer. For nutty depth, substitute 1/2 cup of the M&M’s with chopped roasted pecans or walnuts—toast them first for extra flavor. Use dark brown sugar for a richer molasses note or reduce granulated sugar by 2 tablespoons for a subtly less sweet result.
Serving Suggestions
Serve these bars on a festive platter lined with parchment, garnished with a light dusting of confectioners’ sugar for a snowy look. They pair beautifully with hot cocoa, coffee, or spiced cider at cookie exchanges. For gifting, stack three or four squares in a cello bag with a ribbon and a handwritten tag. At brunch, cut smaller bite-size pieces and place near other sweets to create a diverse spread—balance the platter with some tart options like cranberry biscotti or citrus shortbread.
Cultural Background
Cookie bars are an American holiday tradition that grew out of practical baking—faster than shaping individual cookies and easier to transport. Candy-studded bars echo classic cookie recipes like chocolate chip and sugar cookies, while the use of colored M&M’s became popular in the late 20th century as a simple way to add festive color without special sprinkles or icing. Over time, these slab-style bakes have become a go-to for bake sales, potlucks, and classroom treats because they maximize yield and minimize time.
Seasonal Adaptations
For a winter twist, swap half the M&M’s for crushed peppermint pieces and fold in a teaspoon of peppermint extract with the vanilla for a candy-cane flavor. In summer, replace the red-and-green candies with plain M&M’s or a mix of peanut butter cups for a richer treat. For Thanksgiving, add 1/2 teaspoon cinnamon and 1/4 teaspoon nutmeg to the dry mix and top with toasted pumpkin seeds for a warm spice profile.
Meal Prep Tips
Make a double batch and freeze half of the pan uncut—wrap tightly and label with date. When you need a quick dessert, thaw and slice as needed; this is a great strategy for holiday entertaining when oven time is limited. Use disposable 9×13 pans for potlucks to avoid retrieving dishes, and prepare the dough up to the point of baking and refrigerate for 24 hours if you want to stagger baking times across multiple days.
These Christmas Cookie Bars are straightforward, forgiving, and endlessly adaptable. Whether you’re baking for a crowd, packaging gifts, or keeping a tin on the counter for family nibbling, they bring a practical and joyful sweetness to the holidays. Give them a try, and make them your own with favorite mix-ins and toppings—I guarantee they’ll become part of your seasonal rotation.
Pro Tips
Bring butter and eggs to room temperature before mixing for smoother emulsion and better texture.
Use parchment with an overhang to lift the entire batch from the pan for easier slicing and presentation.
Press the topping candies lightly into the surface so they stay visible after baking.
Chill the pan for 20–30 minutes before slicing if you want extremely clean edges.
If the dough seems dry, add a teaspoon of milk or cream to help it come together without over-mixing.
This nourishing christmas cookie bars recipe is sure to be a staple in your kitchen. Enjoy every moist, high protein slice — it is perfect for breakfast or as a wholesome snack any time.
Tags
Christmas Cookie Bars
This Christmas Cookie Bars recipe makes perfectly juicy, tender, and flavorful steak every time! Serve with potatoes and a side salad for an unforgettable dinner in under 30 minutes.
Instructions
Preheat and prepare pan
Preheat oven to 325°F and lightly grease a 9×13-inch pan or line it with parchment for easy removal.
Cream butter and sugars
Beat the softened butter with brown sugar and granulated sugar on medium speed for about 3 minutes until pale and fluffy, scraping the bowl as needed.
Add eggs and vanilla
Add eggs one at a time and beat until fully incorporated, then mix in the vanilla extract until smooth.
Mix dry ingredients
Whisk flour, baking soda, and salt together; gradually add to the wet mixture on low speed until a soft dough forms—do not overmix.
Fold in chips and candies
Gently fold in 1 cup semi-sweet chips and 1/2 cup M&M’s with a spatula, keeping the mix airy and avoiding crushing the candies.
Spread, top, and bake
Press dough evenly into the prepared pan, sprinkle remaining 1/2 cup M&M’s and 1/4 cup white chips on top, and bake for 26–30 minutes until edges are lightly golden.
Cool and slice
Cool completely in the pan on a wire rack before slicing into 24 squares; for cleaner edges, chill the pan briefly before cutting.
Last Step: Please leave a rating and comment letting us know how you liked this recipe! This helps our business to thrive and continue providing free, high-quality recipes for you.
Nutrition
Did You Make This?
Leave a comment & rating below or tag
@magicmealideas on social media!
Categories:
You might also like...

Air-Fried Pizza Rolls
Crispy on the outside, gooey on the inside: easy air-fried pizza rolls made with pizza dough, mozzarella, pepperoni, and a quick Italian seasoning — perfect for snacking or feeding a crowd.
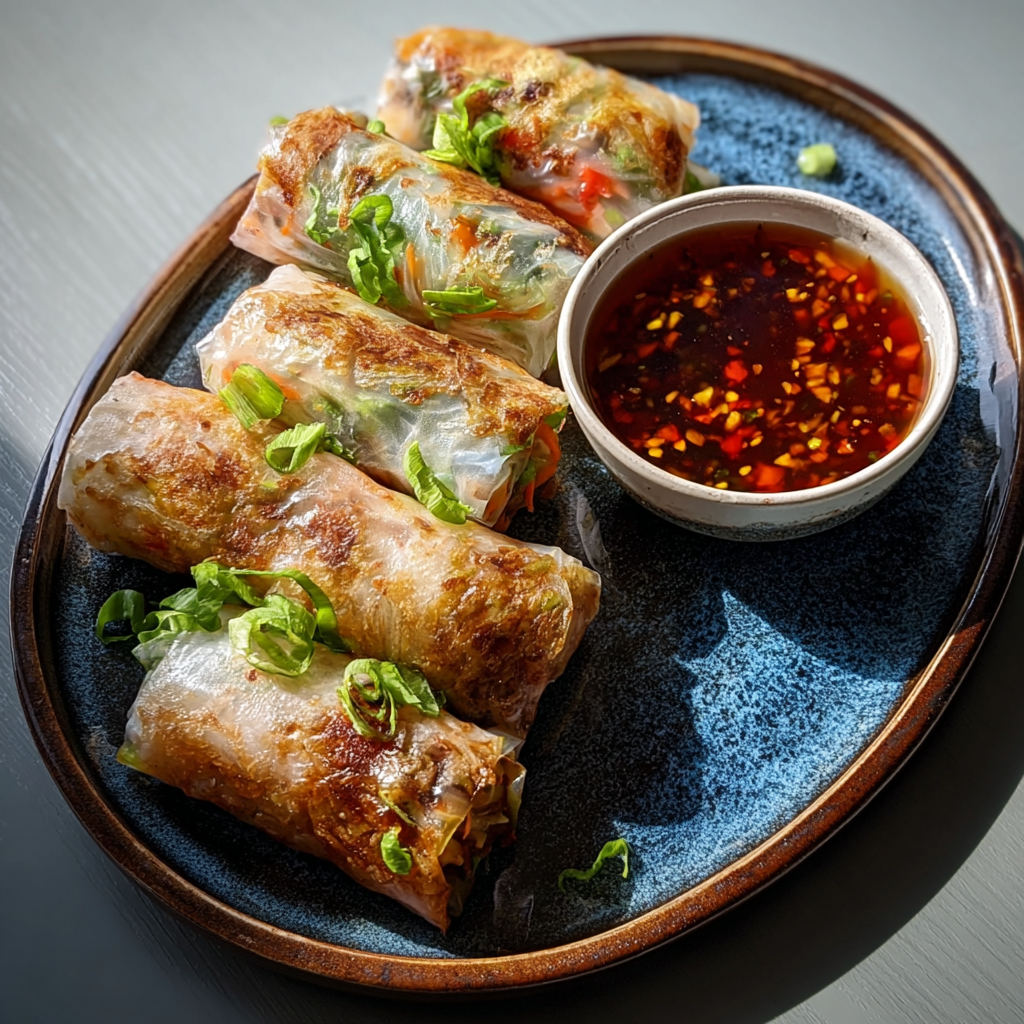
Air-Fried Rice Paper Noodle Rolls
Crispy, light rice paper rolls filled with vermicelli, vegetables and tofu or shrimp, air-fried to golden perfection for a healthy snack or shareable appetizer.

Air Fryer Apple Fries
Crispy, cinnamon-sugar coated apple sticks made in the air fryer — a quick, family-friendly treat that tastes like baked apple pie in every bite.
Did You Make This?
Leave a comment & rating below or tag @magicmealideas on social media!
Rate This Recipe
Share This Recipe
Enjoyed this recipe? Share it with friends and family, and don't forget to leave a review!
Comments (1)
This recipe looks amazing! Can't wait to try it.
Comments are stored locally in your browser. Server comments are displayed alongside your local comments.
Hi, I'm Chef!
What's Popular
30-Minute Meals!
Join to receive our email series which contains a round-up of some of our quick and easy family favorite recipes.