
Christmas Pinwheel Cookies

Festive red, green, and vanilla pinwheel cookies that are buttery, tender, and perfect for holiday cookie exchanges.

This recipe for Christmas pinwheel cookies has been a holiday tradition in my kitchen for more than a decade. I first made these on a snowy December afternoon when I needed a quick, cheerful treat for a neighbor’s cookie swap. The visual impact—the crisp red and green spirals framed by pale vanilla—made them an instant hit. They are tender but hold their shape, with a delicate crunch from the sanding sugar. Every bite balances buttery richness with a clean vanilla note that keeps them from feeling too sweet.
I discovered the technique for rolling layered dough while leafing through an old pastry book and simplified it for home bakers. The method—chill, roll, stack, roll again, then chill—delivers consistent spirals without fussy handling. These cookies are particularly memorable because they look impressive but are surprisingly forgiving: small cracks while rolling become charming rustic edges after baking. I love making them with my kids; they enjoy choosing which slices get the most sanding sugar. They’re the kind of cookie that makes guests smile before tasting them.
Why You'll Love This Recipe
- Quick active prep: most hands-on time is under 30 minutes and you can make dough ahead to simplify day-of baking.
- Uses pantry basics: butter, sugar, flour, an egg, and a bit of vanilla—plus gel color for the festive touch.
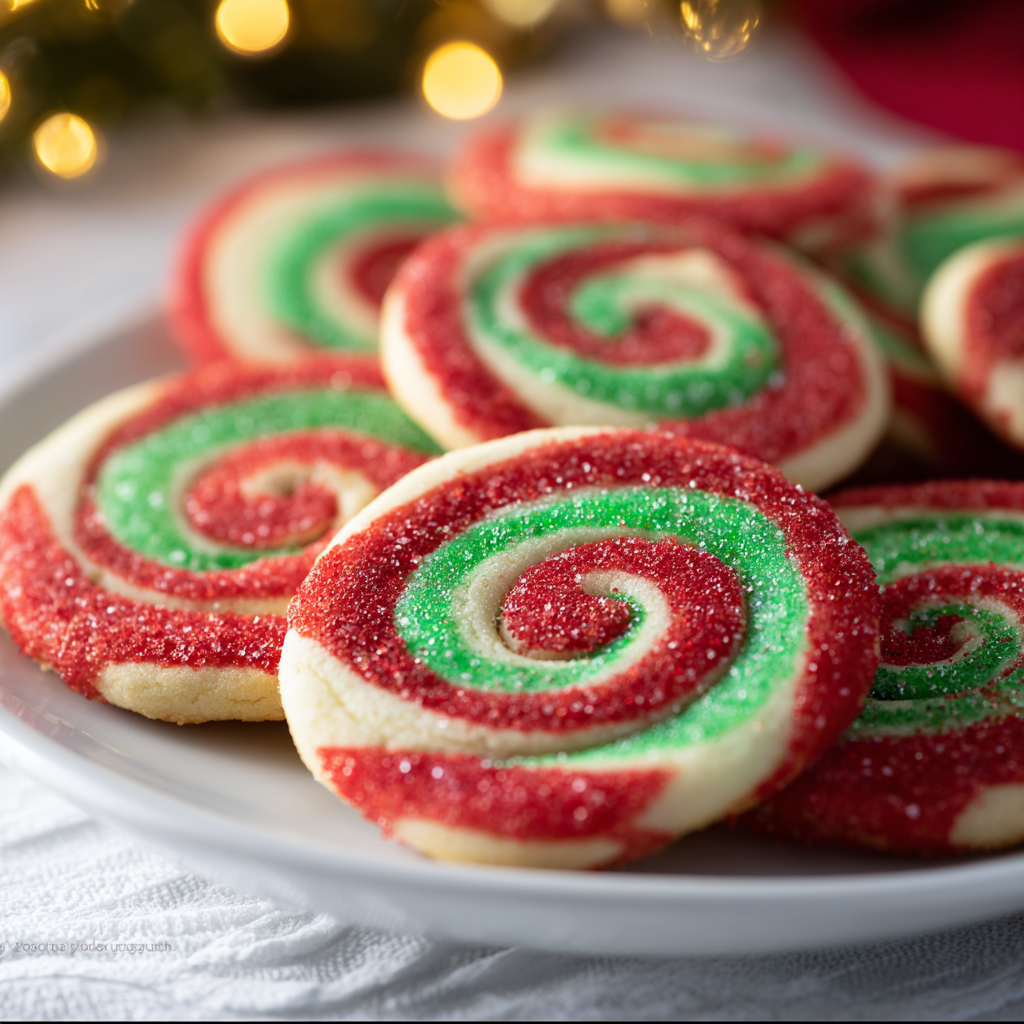
- Visually impressive: layered red and green spirals look bakery-grade without advanced techniques.
- Kid-friendly: rolling and slicing are fun tasks for little helpers, making this a great family project.
- Make-ahead friendly: dough freezes well for up to three months and slices can be frozen pre-bake for convenience.
- Versatile: swap colors or flavorings for other holidays and events without changing the method.
In my experience these cookies are always the first to disappear at holiday gatherings. At a recent office party a colleague asked for the recipe and came back the next day with a batch of their own—an instant success. Their crowd-pleasing combination of buttery texture and pretty presentation has made them a repeat request for cookie exchanges and family get-togethers.
Ingredients
- Unsalted butter (2/3 cup): Use high-quality European-style butter if you can—its higher fat content gives a richer mouthfeel. Soften to room temperature but not greasy.
- Granulated sugar (2/3 cup): Standard white sugar keeps texture crisp. If you prefer a slightly deeper flavor, substitute half with superfine cane sugar.
- Large egg (1): Adds structure and moisture—use a fresh egg at room temperature so it incorporates evenly.
- Vanilla extract (1 teaspoon): Pure vanilla extract is worth it here; it brightens the buttery dough. If you have vanilla paste, use the same amount for flecks of bean.
- All-purpose flour (1 3/4 cups): Measure by spooning into a cup and leveling for consistent dough; too much flour makes slices dry and crumbly.
- Kosher salt (1/2 teaspoon): Enhances flavor—if using table salt, reduce slightly.
- Baking soda (1/4 teaspoon): A small lift so the cookies set tenderly rather than dense.
- Red and green gel food coloring: Gel colors give saturated hues without changing dough consistency—start with a small amount and add more as needed.
- Red sanding sugar: For garnish and a subtle crunch on the edges; coarse sugar helps the slices sparkle after baking.
Instructions
Beat butter and sugar: In the bowl of a stand mixer fitted with the paddle attachment, cream the softened butter and sugar on medium speed about 3 to 4 minutes until pale and fluffy. This aeration yields a lighter texture; scrape down the bowl to ensure even mixing. Add egg and vanilla: With the mixer on low, add the egg and vanilla. Beat until fully incorporated and the mixture appears smooth. Room-temperature egg emulsifies better—if the dough curdles slightly, stop and scrape the bowl, then continue briefly. Combine dry ingredients: Whisk together the flour, kosher salt, and baking soda in a medium bowl. Add to the mixer gradually on low speed and mix just until the dough comes together; avoid overmixing to keep the cookies tender. Divide and color: Remove dough and divide into three equal portions. Return one portion to the bowl and knead in red gel until evenly colored. Repeat in a clean bowl for the green portion. Leave the last portion plain for contrast. Shape each into a ball, wrap tightly in plastic, and chill 1 hour. Roll and layer: Roll each chilled ball between two sheets of parchment into a 7-inch square. Chill the rolled sheets 15 minutes to relax the dough. Stack red, green, and plain sheets on a piece of parchment with a top sheet and gently roll into a 12×8-inch rectangle for an even thickness. Form the log and chill: Remove the top parchment then using a long side, roll the dough tightly into a log. Wrap the log in parchment and freeze 1 hour—this firms the roll for clean slices and prevents the spiral from collapsing when cut. Slice and bake: Preheat oven to 350°F. Line baking sheets with parchment. Use a serrated knife to slice the log into 1/3-inch rounds, roll edges in red sanding sugar, and place 1 inch apart. Bake 8–10 minutes until set but not browned; cool briefly on the sheet, then transfer to a rack.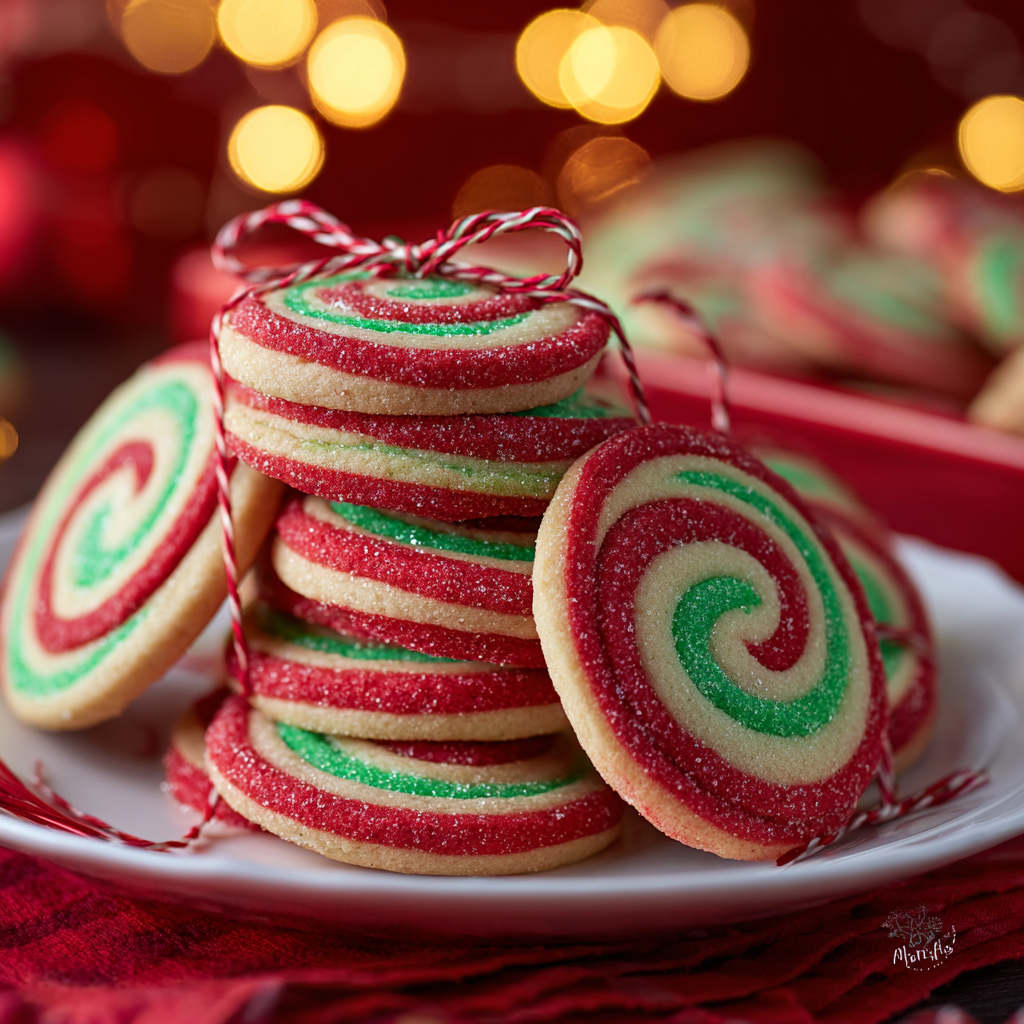
You Must Know
- Storage: cookies keep in an airtight container at room temperature up to 5 days; for longer storage freeze in a single layer for up to 3 months.
- Nutrition: a small cookie is modest in calories but contains butter and sugar—perfect for occasional holiday indulgence.
- Handling: chilling between steps is critical—skip chill times and your slices will smear or flatten in the oven.
- Slicing: a serrated knife gives cleaner cuts through the frozen log than a straight-edge blade.
One of my favorite things about these cookies is how reliably they travel — I’ve sent them to potlucks, given them as neighbor gifts, and they always arrive looking festive. The sanding sugar helps protect the edges slightly during transport and gives a pretty finished look that feels special without much fuss.
Storage Tips
Store cooled cookies in a single layer or separated by parchment in an airtight container at room temperature for up to five days. For longer storage, freeze single slices on a tray until solid, then transfer to a freezer-safe bag for up to three months. To reheat, allow frozen slices to thaw at room temperature and warm briefly in a 300°F oven for 3–4 minutes to revive the buttery aroma and crisp the sugar coating. Avoid refrigeration—it can dry these cookies out.
Ingredient Substitutions
If you need dairy-free options, replace butter with a high-quality vegan stick butter in equal measure; results are close though texture may be slightly different. To make them egg-free, try an egg replacer such as 3 tablespoons aquafaba per egg or a commercial egg replacer, but note color and binding may change slightly. For less refined sugar, substitute coconut sugar for granulated in equal amounts—colors will appear more muted. For gluten-free, use a one-to-one all-purpose gluten-free blend that contains xanthan gum for stability.
Serving Suggestions
Arrange slices on a festive platter layered with pine sprigs or cranberries for holiday parties. They pair wonderfully with lightly brewed black tea, peppermint hot cocoa, or a sparkling cider. For a dessert board, serve alongside chocolate-dipped pretzels, spiced nuts, and shortbread for a variety of textures and flavors. Garnish with a tiny dusting of powdered sugar or a small piped dot of white chocolate for an extra-decorative touch.
Seasonal Adaptations
Change the color palette to suit other holidays—pastel hues for spring, orange and brown for autumn. Swap vanilla for almond extract for a different aromatic profile, or add 1/4 teaspoon ground cinnamon to the plain layer for a warm spice note. For Valentine's Day, use red and pink layers and heart-shaped slices. The method remains identical; only the flavors and colors vary, making this approach highly adaptable.
Meal Prep Tips
Make the dough a day or two in advance and keep the rolled sheets chilled until ready to stack and roll; this saves time the day you want to bake. Alternatively, freeze whole logs after shaping and thaw slightly before slicing—this is a great way to bake fresh cookies on demand. Label and date frozen logs so you can rotate through seasonal flavors and colors during the holidays.
Success Stories
One year I brought a platter to a school fundraiser and a parent recognized them from their grandmother’s recipe; they said the texture brought back memories. Another time I mailed a small box to a college freshman who wrote back that the cookies made their dorm feel like home. Those moments remind me that baking is not just about taste—it's about nostalgia and shared comfort.
These pinwheel cookies are cheerful, reliable, and perfect for gifting. Try making a double batch and freezing one log so you always have a slice-ready option for last-minute celebrations. Happy baking—and enjoy the smiles these little spirals bring to your table.
Pro Tips
Chill dough between each rolling step to keep layers distinct and prevent colors from bleeding.
Use gel food coloring—liquid colors can make the dough too soft and sticky.
Freeze the log for at least one hour before slicing for the cleanest edges and most perfect spirals.
Roll slices in coarse sanding sugar right before baking to keep edges crisp and sparkly.
If dough cracks when rolling, patch with a dab of the same-colored dough and smooth gently.
This nourishing christmas pinwheel cookies recipe is sure to be a staple in your kitchen. Enjoy every moist, high protein slice — it is perfect for breakfast or as a wholesome snack any time.
FAQs about Recipes
Can I make the dough ahead of time?
Yes. You can freeze the dough log wrapped tightly in parchment and foil for up to 3 months. Thaw in the refrigerator before slicing.
How do I get clean pinwheel slices?
Use a serrated knife and slice while the log is very cold or slightly frozen; this prevents squashing the spiral.
Tags
Christmas Pinwheel Cookies
This Christmas Pinwheel Cookies recipe makes perfectly juicy, tender, and flavorful steak every time! Serve with potatoes and a side salad for an unforgettable dinner in under 30 minutes.
Ingredients
Dough
Color & Garnish
Instructions
Cream butter and sugar
Beat the softened butter and granulated sugar in a stand mixer with the paddle attachment on medium speed for 3–4 minutes until pale and fluffy. Scrape the bowl as needed to ensure even aeration.
Add egg and vanilla
With the mixer on low, add one room-temperature egg and the vanilla extract; beat until smooth and fully combined. Stop and scrape down the sides to incorporate any clinging bits.
Mix dry ingredients
Whisk together all-purpose flour, kosher salt, and baking soda. Gradually add to the mixer on low and mix just until the dough comes together—avoid overmixing to keep a tender texture.
Divide and color
Remove the dough, divide into three equal portions. Color one portion red and another portion green using gel food coloring; leave the third plain. Shape into balls, wrap, and chill 1 hour.
Roll and stack
Roll each chilled portion between parchment into a 7-inch square. Chill 15 minutes, then stack red, green, and plain on parchment and roll into a 12×8-inch rectangle for even thickness.
Form log and freeze
Remove the top parchment and tightly roll the dough into a log from a long edge. Wrap and freeze for one hour to firm the log for clean slicing.
Slice, sugar, and bake
Preheat oven to 350°F. Cut the frozen log into 1/3-inch slices with a serrated knife, roll edges in red sanding sugar, place on parchment-lined sheets 1 inch apart, and bake 8–10 minutes until set.
Last Step: Please leave a rating and comment letting us know how you liked this recipe! This helps our business to thrive and continue providing free, high-quality recipes for you.
Nutrition
Did You Make This?
Leave a comment & rating below or tag
@magicmealideas on social media!
Categories:
You might also like...

Air-Fried Pizza Rolls
Crispy on the outside, gooey on the inside: easy air-fried pizza rolls made with pizza dough, mozzarella, pepperoni, and a quick Italian seasoning — perfect for snacking or feeding a crowd.
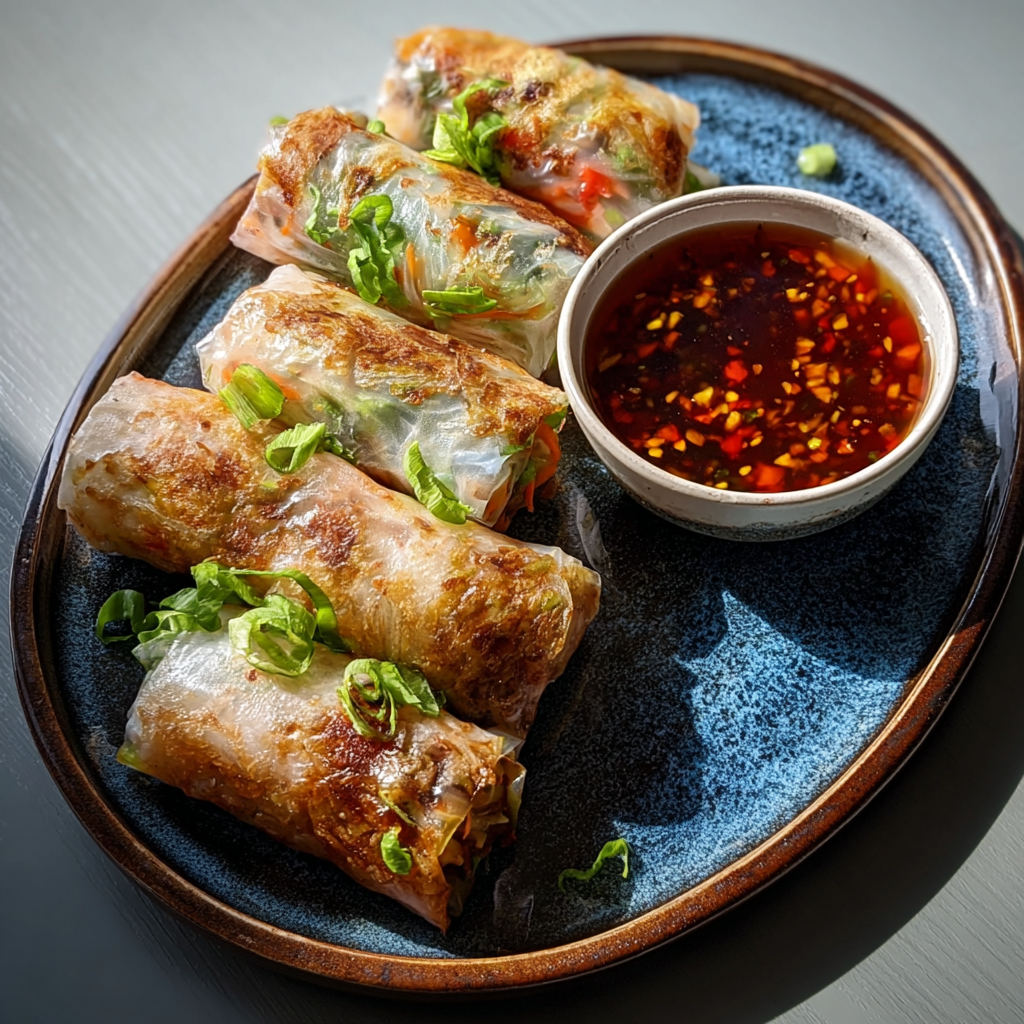
Air-Fried Rice Paper Noodle Rolls
Crispy, light rice paper rolls filled with vermicelli, vegetables and tofu or shrimp, air-fried to golden perfection for a healthy snack or shareable appetizer.

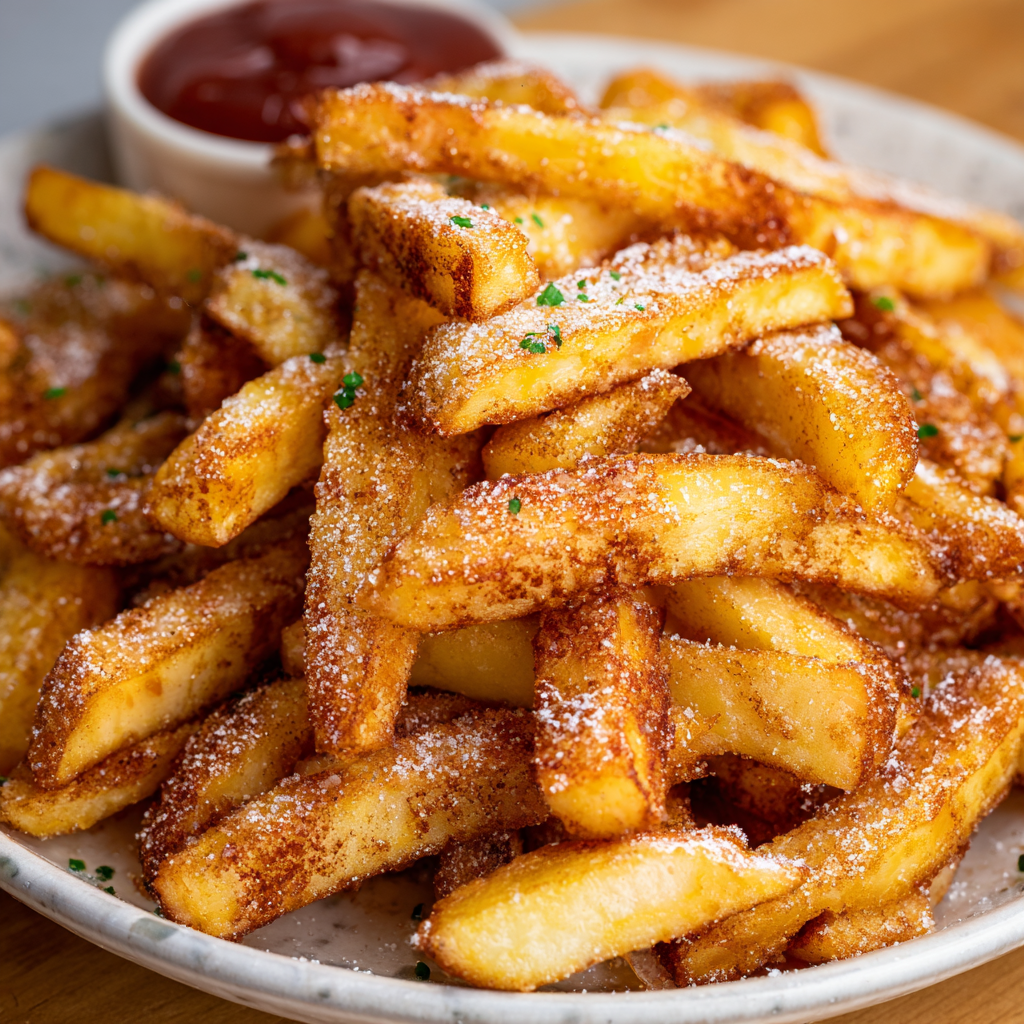
Air Fryer Apple Fries
Crispy, cinnamon-sugar coated apple sticks made in the air fryer — a quick, family-friendly treat that tastes like baked apple pie in every bite.
Did You Make This?
Leave a comment & rating below or tag @magicmealideas on social media!
Rate This Recipe
Share This Recipe
Enjoyed this recipe? Share it with friends and family, and don't forget to leave a review!
Comments (1)
This recipe looks amazing! Can't wait to try it.
Comments are stored locally in your browser. Server comments are displayed alongside your local comments.
Hi, I'm Chef!
What's Popular
30-Minute Meals!
Join to receive our email series which contains a round-up of some of our quick and easy family favorite recipes.