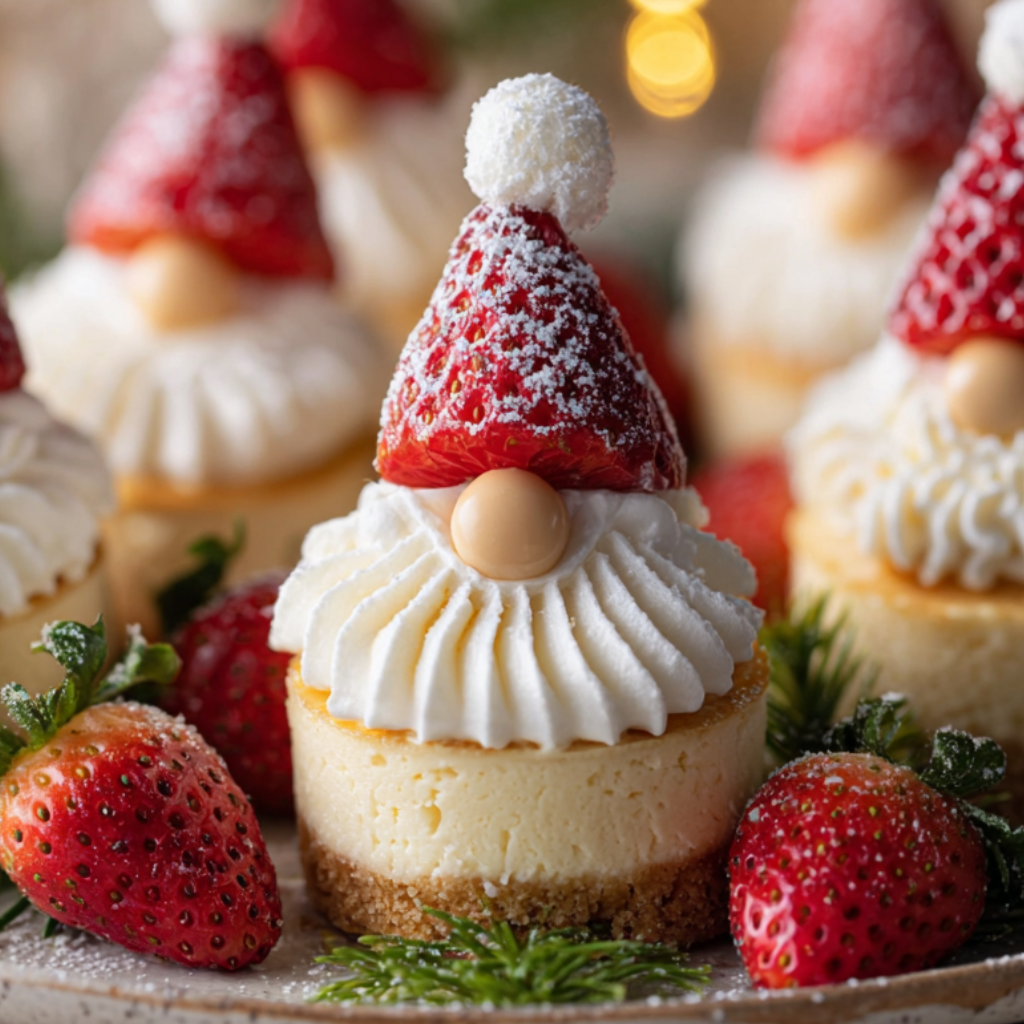
Gnome Mini Cheesecakes

Tiny, whimsical cheesecakes topped like garden gnomes — perfect for parties, afternoons with kids, or a playful finish to a cozy meal.
This playful spin on classic cheesecake grew out of a rainy afternoon when I wanted to make something small, bright, and just a little bit silly. I first discovered the charm of these tiny treats while testing party desserts for my niece’s birthday: the size made them portable, the creamy filling felt indulgent but not overwhelming, and decorating each one like a little gnome became an instant craft project for impatient kids. What makes these gnome mini cheesecakes special is the combination of a buttery crunchy base, a smooth, tangy filling, and the cheerful toppers that let you personalize every bite.
The texture contrast — crisp crust, velvety center, slightly firm top — keeps every mouthful interesting, and the small size makes them ideal for grazing or offering a variety of desserts without piling plates. I usually make a double batch because friends invariably arrive early and disappear into the kitchen with a napkin and a grin. These are reliable, adaptable, and forgiving: if your oven runs hot, a shorter bake time still yields excellent results after chilling.
Why You'll Love This Recipe
- Portable, single-bite sizes are ideal for gatherings, potlucks, and kid-friendly parties; they cut serving fuss and offer sweet variety without leftovers.
- Quick to assemble: active prep is about 25 minutes and hands-off chilling gives you time to decorate or prep other dishes.
- Uses pantry staples like cream cheese, graham cracker crumbs, and eggs — nothing exotic required, perfect for last-minute baking.
- Decorating is customizable: use fresh berries, candy, or fondant pieces to personalize each gnome for holidays or color themes.
- Make-ahead friendly: they hold well in the fridge for 48 hours and freeze beautifully for up to 2 months, saving time on busy days.
When I serve these at family dinners, the adults laugh at the little hats and the kids argue over who gets the blue-garbed gnome. My partner swears they taste better because they look happy, and I’ve learned that a tiny edible face makes even picky eaters more adventurous. They’ve become my secret weapon for turning an ordinary evening into something a bit magical.
Ingredients
- Graham Cracker Crust: 1 1/2 cups graham cracker crumbs (about 10 full sheets), 5 tablespoons unsalted butter, melted. Choose full-flavored crackers for depth; if you prefer a nutty crust, substitute half the crumbs with almond meal.
- Filling: 16 ounces full-fat cream cheese, softened to room temperature; 1/2 cup granulated sugar; 2 large eggs at room temperature; 1/3 cup sour cream for tang and silkiness; 1 teaspoon pure vanilla extract; 1 tablespoon all-purpose flour to improve texture and reduce cracking.
- Toppers & Decoration: Fresh strawberries, mini marshmallows, colored fondant or modeling chocolate for hats, mini chocolate chips for eyes, and a dusting of powdered sugar. Use firm berries (not overripe) and keep decorations simple for best results.
- Optional Flavor Add-ins: 2 tablespoons lemon zest or 2 teaspoons cocoa powder to fold into the batter for citrus or chocolate variations, respectively.
Instructions
Prepare the pan and crust:Preheat oven to 325°F (163°C). Line a 12-cup standard muffin tin with paper liners or use silicone liners for easier removal. Combine 1 1/2 cups graham cracker crumbs with 5 tablespoons melted butter and 2 tablespoons sugar; mix until the texture is like wet sand. Press about 1 tablespoon of crumb mixture into the bottom of each liner, compacting firmly with the bottom of a measuring spoon to form a uniform base. Chill in the fridge while you make the filling to help the crust hold shape during baking.Make the filling:In a large bowl, beat 16 ounces softened cream cheese on medium speed until smooth and lump-free, about 2 minutes. Add 1/2 cup granulated sugar and beat until incorporated. Scrape the bowl, then add 2 large eggs one at a time, mixing just until blended — overbeating can incorporate air and cause cracks. Mix in 1/3 cup sour cream, 1 teaspoon vanilla, and 1 tablespoon flour until the batter is silky and slightly glossy. Taste and adjust sweetness or add 2 tablespoons lemon zest for a brighter flavor.Fill the cups and bake:Divide batter evenly among the chilled crusts using a small cookie scoop or two spoons, filling each about 3/4 full. Tap the pan gently on the counter to release air bubbles and smooth tops with a wet spoon. Bake at 325°F for 14–18 minutes: centers should be set but still slightly jiggly when you gently shake the pan. Overbaking will dry them out, so check at 14 minutes and watch visual cues — the edges will appear matte and the center glossy but not liquid.Cool and chill:Turn off the oven and prop the door open slightly; leave the tin inside for 20 minutes to reduce shock and prevent cracking. Remove and cool to room temperature on a rack, then refrigerate for at least 2 hours, ideally 4, to firm up completely. For best slicing and decoration results, chill overnight.Decorate like gnomes:Trim strawberries into small cone shapes for hats or use small fondant cones. Attach hats with a dab of sour cream or melted chocolate. Add mini chocolate chips for eyes and a tiny marshmallow or fondant nose. Dust with powdered sugar like a light morning frost. Personalize colors with food gel if desired.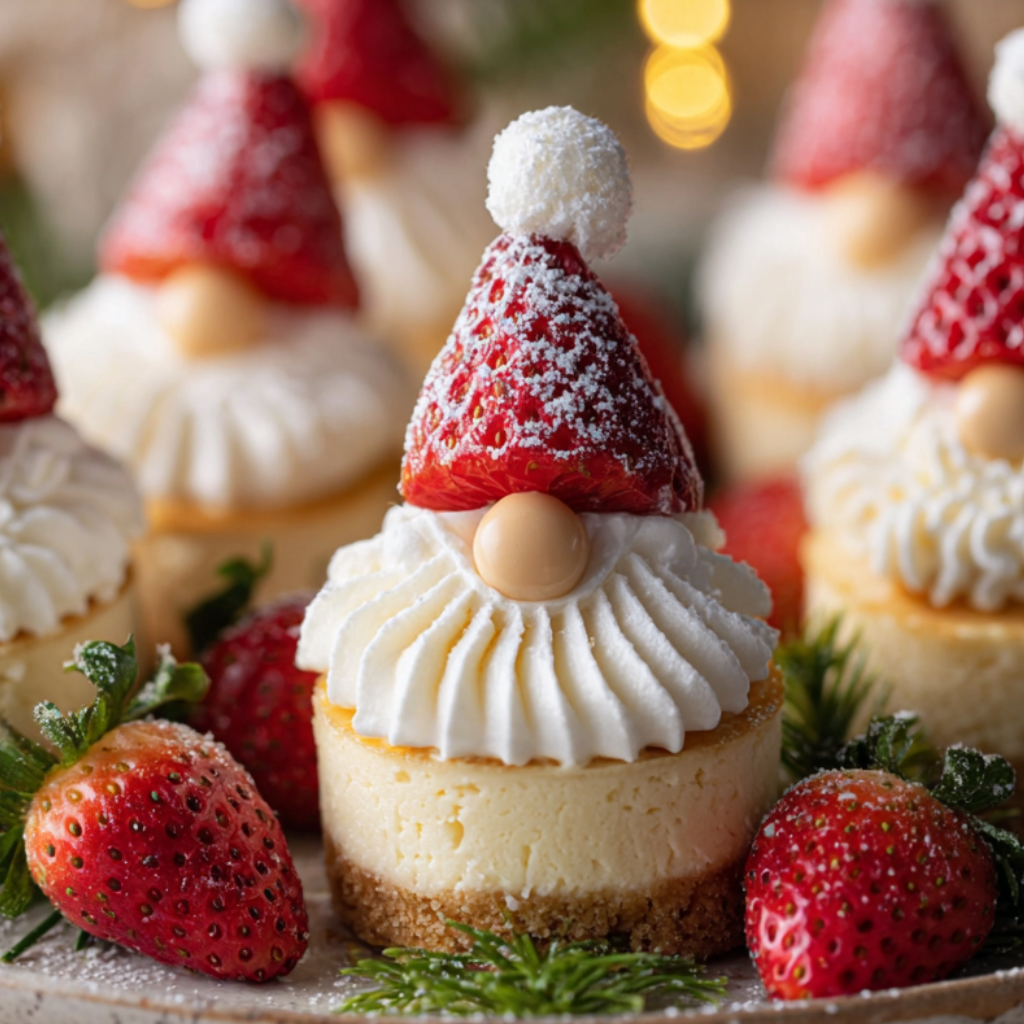
You Must Know
- These are best served chilled and keep well in an airtight container in the refrigerator for up to 48 hours; freeze individually wrapped for up to 2 months.
- Small size means they reheat unevenly — avoid microwaving; instead thaw frozen mini cheesecakes in the fridge overnight for best texture.
- High in calcium and protein from the cream cheese, but also calorie-dense: one mini contains about 180–220 kcal depending on toppings.
- Crust can be made gluten-free by using certified gluten-free graham crumbs or crushed gluten-free cookies; note that texture will vary slightly.
My favorite thing about these mini treats is how they transform a quiet afternoon into a celebration. I remember bringing a tin to a neighbor block party where everyone guessed the flavors and swapped decorating tips. Kids took the lead on design, and adults were thrilled to taste a grown-up cheesecake in dainty form. Those memories are why I keep this method in my back pocket for last-minute entertaining.
Storage Tips
Store finished minis in a single layer in an airtight container lined with parchment to protect decorations. Refrigerate for up to 48 hours; if storing longer, freeze in a single layer on a tray until solid, then transfer to a sealed freezer bag for up to 2 months. When freezing, leave off fresh fruit toppers; add these after thawing. To serve from frozen, move to the refrigerator overnight and add decorations just before serving to preserve texture and appearance.
Ingredient Substitutions
If you need a lighter version, substitute half the cream cheese with full-fat Greek yogurt and reduce sugar by two tablespoons — note the texture becomes slightly less dense and tangier. For a nutty crust, use almond meal in place of half the crumbs and reduce butter by 1 tablespoon. Swap sour cream for crème fraîche for a silkier, less tangy finish, or omit the flour and add 1 teaspoon cornstarch if you prefer a gluten-free binder in the filling.

Serving Suggestions
Arrange the minis on a tiered dessert stand for visual impact and easy grazing. Pair with a small pot of espresso or a lightly sweetened iced tea. For brunch, offer alongside fresh fruit, yogurt, and savory tarts. Garnish with micro mint for color contrast, or serve with a drizzle of berry coulis in small spoons. These small portions are perfect for tasting menus where guests can sample several sweets without feeling overindulgent.
Cultural Background
The concept of mini cheesecakes draws from classic New York–style cheesecake tradition but shrinks it to handheld proportions. Cheesecake itself has roots stretching back to ancient Greece, evolving through European custard tarts and the Americanization of rich, cream cheese–based versions in the early 20th century. The whimsical gnome decoration is a modern, playful twist inspired by Scandinavian garden gnomes and contemporary food styling trends that emphasize personality and storytelling in plating.
Seasonal Adaptations
In spring, top with macerated rhubarb and edible flowers for a bright presentation. Summer calls for tiny diced peaches or blueberries; fall works beautifully with a caramel drizzle and toasted pecans on the crust. For winter gatherings, make red-hatted gnomes with cranberry compote and a dusting of powdered sugar to mimic snow. Adjust spices — add 1/4 teaspoon cinnamon in the crust or 1/8 teaspoon nutmeg in the filling — to match seasonal palates.
Meal Prep Tips
Make crusts and filling the day before and store separately: chilled crusts in the muffin tin and filling in an airtight bowl. Bake the morning of your event and chill immediately; decorate just before guests arrive. For large events, freeze baked and cooled minis without delicate toppers, then thaw in the refrigerator the day of and add fresh decorations. Use disposable piping bags to speed up decoration and keep workspace tidy.
Whether you’re making these for small children who appreciate the faces or grown-ups who enjoy the delicate balance of tang and sweet, these tiny cheesecakes have a way of inviting smiles. Give them a try, make them your own, and don’t be surprised if they become a regular request at your table.
Pro Tips
Soften cream cheese to room temperature before mixing to prevent lumps and ensure a silky texture.
Avoid overmixing after adding eggs; mix until just combined to reduce cracks and a dense texture.
Chill crusts before filling to help them set and prevent sogginess during baking.
Use silicone liners or nonstick spray in paper liners for the easiest removal.
Decorate just before serving if using fresh fruit to maintain color and freshness.
This nourishing gnome mini cheesecakes recipe is sure to be a staple in your kitchen. Enjoy every moist, high protein slice — it is perfect for breakfast or as a wholesome snack any time.
FAQs about Recipes
How long do I need to chill the cheesecakes?
Yes. Chill for at least 2 hours, preferably 4, or overnight for the best texture.
Can I freeze these mini cheesecakes?
Freeze without delicate fruit toppers for up to 2 months; thaw in the refrigerator overnight before decorating.
Tags
Gnome Mini Cheesecakes
This Gnome Mini Cheesecakes recipe makes perfectly juicy, tender, and flavorful steak every time! Serve with potatoes and a side salad for an unforgettable dinner in under 30 minutes.
Ingredients
Crust
Filling
Toppings
Instructions
Prepare pan and crust
Preheat oven to 325°F. Line a 12-cup muffin tin with liners. Mix graham crumbs, melted butter, and sugar until combined; press about 1 tablespoon into each liner and chill.
Make filling
Beat softened cream cheese until smooth, add sugar, then eggs one at a time. Mix in sour cream, vanilla, and flour until just combined and silky.
Fill and bake
Scoop batter into chilled crusts, filling 3/4 full. Bake 14–18 minutes until edges are set and centers slightly jiggle. Do not overbake.
Cool and chill
Let tin cool in oven with door ajar for 20 minutes, then remove to cool on a rack. Refrigerate at least 2 hours to firm completely.
Decorate
Add strawberry or fondant hats, chocolate chip eyes, and small marshmallow noses. Dust with powdered sugar and serve chilled.
Last Step: Please leave a rating and comment letting us know how you liked this recipe! This helps our business to thrive and continue providing free, high-quality recipes for you.
Nutrition
Did You Make This?
Leave a comment & rating below or tag
@magicmealideas on social media!
Categories:
You might also like...

Air-Fried Pizza Rolls
Crispy on the outside, gooey on the inside: easy air-fried pizza rolls made with pizza dough, mozzarella, pepperoni, and a quick Italian seasoning — perfect for snacking or feeding a crowd.
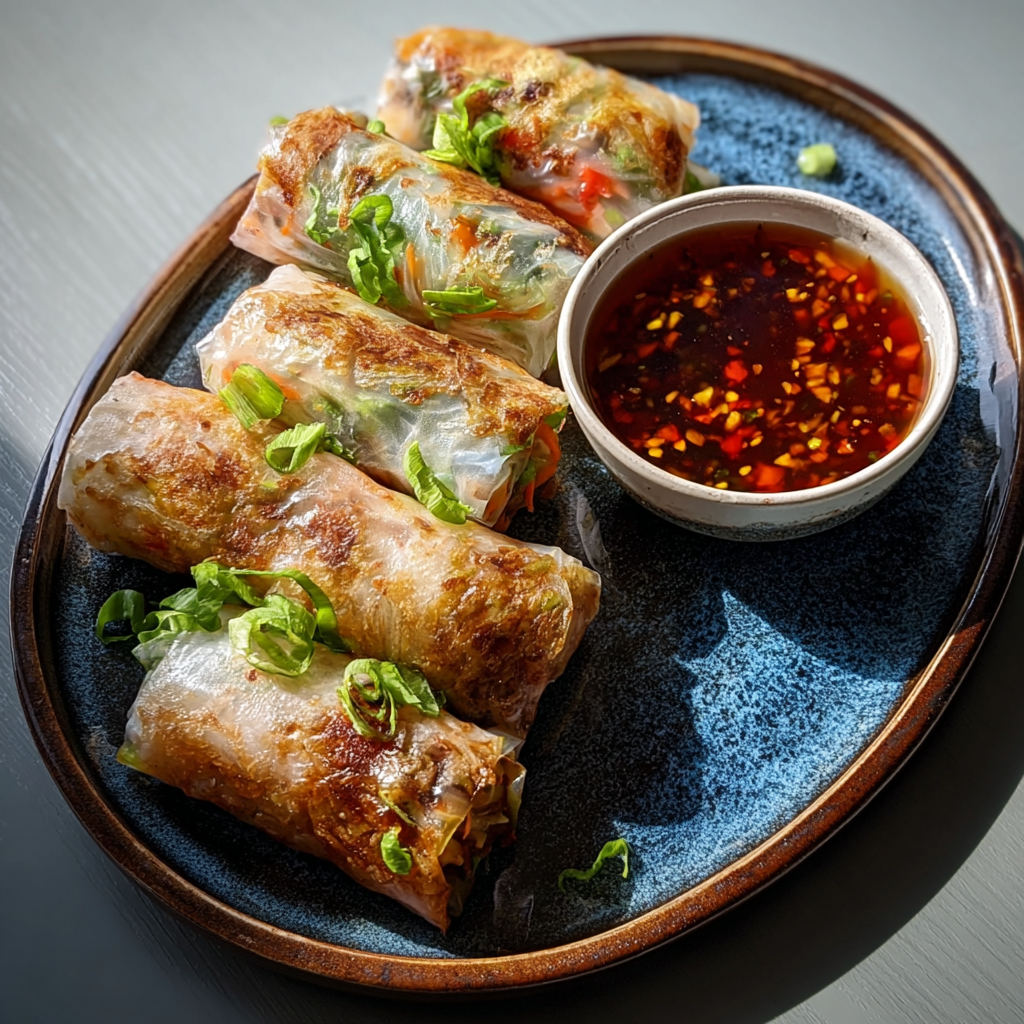
Air-Fried Rice Paper Noodle Rolls
Crispy, light rice paper rolls filled with vermicelli, vegetables and tofu or shrimp, air-fried to golden perfection for a healthy snack or shareable appetizer.

Air Fryer Apple Fries
Crispy, cinnamon-sugar coated apple sticks made in the air fryer — a quick, family-friendly treat that tastes like baked apple pie in every bite.
Did You Make This?
Leave a comment & rating below or tag @magicmealideas on social media!
Rate This Recipe
Share This Recipe
Enjoyed this recipe? Share it with friends and family, and don't forget to leave a review!
Comments (1)
This recipe looks amazing! Can't wait to try it.
Comments are stored locally in your browser. Server comments are displayed alongside your local comments.
Hi, I'm Chef!
What's Popular
30-Minute Meals!
Join to receive our email series which contains a round-up of some of our quick and easy family favorite recipes.