
No-Bake Christmas Cheesecake Bites

Festive, bite-sized no-bake cheesecake balls coated in colorful candy melts and sprinkles—easy to make, perfect for holiday parties and last-minute dessert tables.

This recipe for No-Bake Christmas Cheesecake Bites is my go-to for holiday gatherings when I want something festive, effortless, and universally loved. I first made these during a hectic December when oven space was scarce and I needed a dessert that traveled well. The result was an instant crowd-pleaser: creamy, slightly sweet centers with a delicate crunch from cookie crumbs and a glossy candy shell that pops with seasonal color. Each bite delivers the familiar tang of cream cheese softened by white chocolate and balanced by buttery crumbs, making them perfect for cookie plates, classroom parties, or an elegant platter at a potluck.
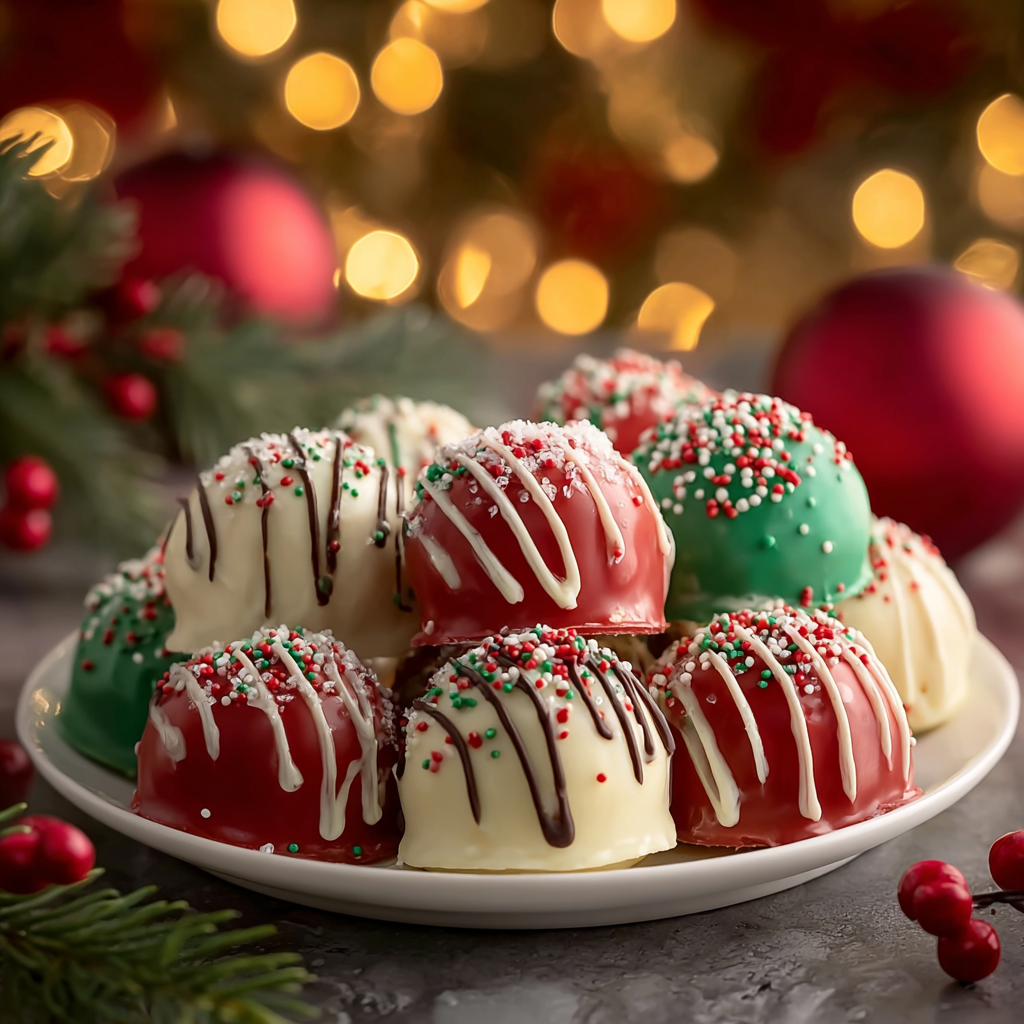
I discovered the combination by adapting a classic no-bake cheesecake filling and shaping it into small rounds for easy serving. The technique of chilling the mixture briefly before shaping yields smooth, uniform balls that hold together and take a thin coating beautifully. Decorating with red and green candy melts and holiday sprinkles lets the bites look upscale without hours of work. These little confections are as nostalgic as they are contemporary; they remind me of family cookie swaps where everyone takes at least one too many. They store well, travel nicely, and reliably disappear before the second round of coffee arrives.
Why You'll Love This Recipe
- Ready with minimal hands-on time: about 20 minutes of active work and a short chill time, perfect for busy holiday days.
- Uses pantry-friendly ingredients like cream cheese, white chocolate chips, and graham crackers—no specialty shopping required.
- Completely no-bake: no oven needed, which keeps your kitchen cool and frees up oven space for savories.
- Highly adaptable: easy to color and flavor with extracts or mix-ins, and excellent for make-ahead planning.
- Portable and crowd-pleasing: bite-sized portions are great for parties, gift boxes, or school events.
- Kid-friendly decorating: let little helpers dip and sprinkle for a fun family activity that results in polished treats.
In my experience these bites consistently win over picky eaters and enthusiastic bakers alike. At a recent holiday brunch I brought three dozen and returned with only crumbs; friends asked for the recipe and one neighbor offered to trade savory tarts. The simplicity and visual appeal make these a repeat favorite every season.
Ingredients
- Cream cheese (8 ounces): Full-fat cream cheese yields the creamiest texture and best mouthfeel. Buy a well-known brand and ensure it is softened to room temperature for easy mixing.
- Powdered sugar (1/2 cup): Confectioners sugar dissolves into the filling without graininess and adds gentle sweetness. Sift if lumpy for the smoothest results.
- Vanilla extract (1 teaspoon): Pure vanilla enhances the dairy flavors. Use high-quality pure vanilla rather than imitation for depth.
- White chocolate chips (1 cup): Melts into the filling to add richness and stability. Use good-quality white chocolate chips or chopped couverture if available.
- Graham cracker or cookie crumbs (1 cup): Adds body and a subtle crunch. Regular graham crumbs provide classic flavor; digestive biscuits or shortbread work for different profiles.
- Whipped topping, thawed (1/2 cup): Cool Whip or similar lightens the filling and makes the texture pillowy. Fully thaw and fold gently to retain air.
- Red and green melting chocolate or candy melts: For coating and decorating. Candy melts are easy to melt smoothly and hold color well.
- Holiday sprinkles: Decorative sprinkles add festive texture. Choose nonpareils, jimmies, or shaped sprinkles as desired.
Instructions
Prepare the cheesecake mixture: Beat the softened cream cheese in a large bowl with an electric mixer on medium speed until completely smooth and free of lumps, about 1 to 2 minutes. Add the powdered sugar and vanilla extract and continue to mix until fully incorporated and silky. Scrape down the sides of the bowl to ensure even texture. If the cream cheese was not fully softened, pause and let it come to room temperature to avoid lumps. Melt the white chocolate: Place white chocolate chips in a microwave-safe bowl and heat in 20-second intervals, stirring between bursts until just melted and smooth. Allow the chocolate to cool slightly for 1 to 2 minutes so it is warm but not hot before adding it to the cream cheese; overly hot chocolate will thin the filling too much. Combine crumbs and whipped topping: Fold the slightly cooled melted white chocolate into the cream cheese mixture until even. Stir in the crushed graham crackers or cookie crumbs to give structure. Gently fold in the thawed whipped topping in thirds to keep the mixture airy. The final texture should be soft but hold shape when scooped. Chill and shape: Cover the bowl and refrigerate the mixture for 30 to 40 minutes to firm up slightly. Using a 1-inch cookie scoop or a spoon, portion the chilled filling and roll into 1-inch balls between your palms. Place each ball on a parchment-lined baking sheet. If the mixture becomes too sticky, chill for an additional 10 minutes. Melt and color the coating: Melt red and green candy melts in separate microwave-safe bowls following package directions, usually heating in short intervals and stirring until smooth. If the melts are too thick, stir in a scant teaspoon of neutral oil to achieve a fluid coating. Use a fork or dipping tool to coat each chilled ball in the colored chocolate and set back on parchment. Work quickly but gently to avoid melting the centers. Decorate and set: While the coating is still tacky, add holiday sprinkles. For two-toned decorations, drizzle the alternate color over the set coating with a spoon or piping bag. Chill the completed bites for 15 minutes to fully set the coating before serving. Store refrigerated until ready to serve to maintain texture.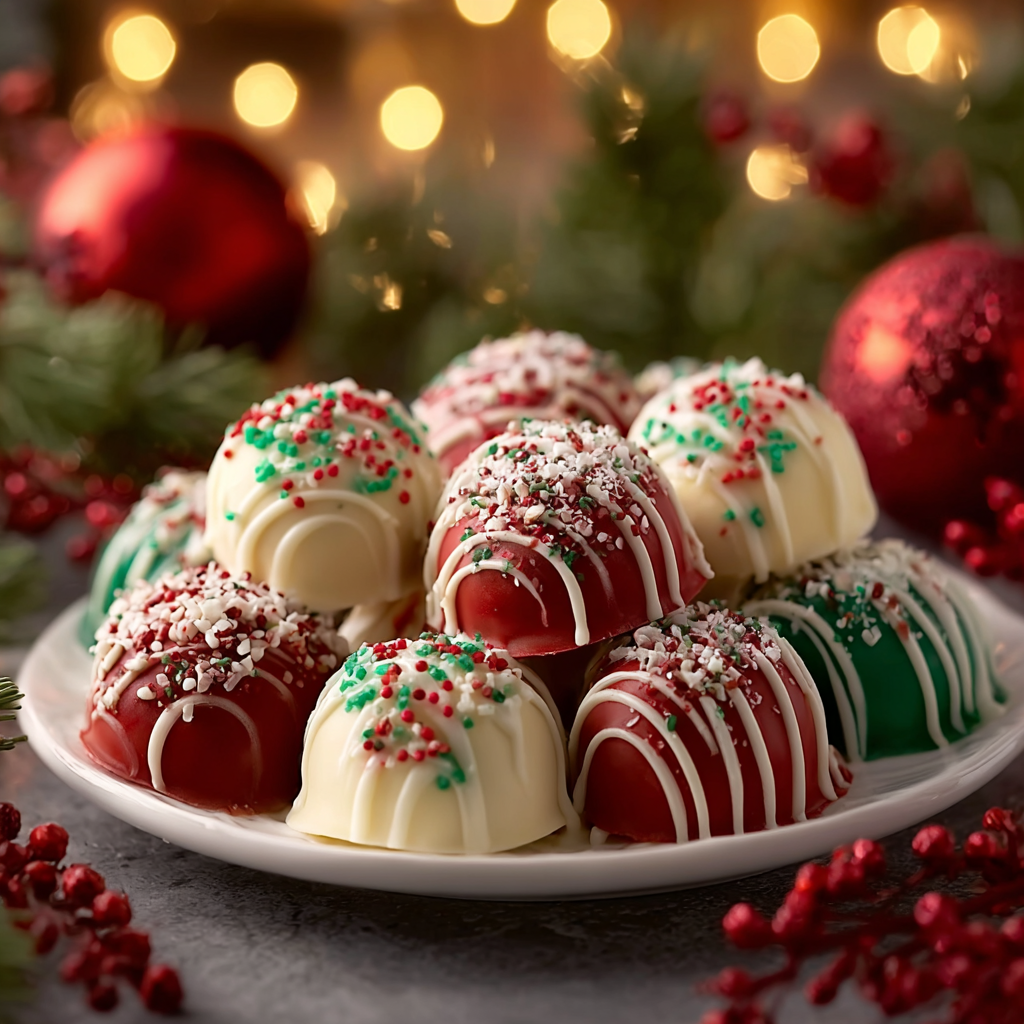
You Must Know
- These bites keep best refrigerated in an airtight container for up to 5 days, or freeze for up to 3 months layered between parchment.
- They are rich in dairy and contain gluten unless you substitute gluten-free crumbs, so plan accordingly for guests with allergies.
- Chilling the mixture before shaping is essential to get clean, round bites and prevent sticking while dipping.
- Coating with candy melts sets fairly quickly; tempering is not necessary for candy melts, but avoid overheating to maintain color and shine.
My favorite thing about these bites is how versatile they are. One year I made three batches to test flavor variations—orange zest, peppermint extract, and toasted coconut—and each brought a new crowd of fans. The simple recipe is forgiving and excellent for decorating practice, which makes it a holiday staple in my kitchen.
Storage Tips
Store the finished bites in a single layer in an airtight container or in layers separated by parchment paper to prevent sticking. Refrigerate for up to 5 days for best texture. For longer storage, freeze arranged in a single layer on a sheet pan until firm, then transfer to a sealed freezer container; they will keep for up to 3 months. Thaw in the refrigerator overnight before serving to avoid condensation on the candy coating. If the coating loses some shine after thawing, a quick room-temperature rest helps restore mouthfeel.
Ingredient Substitutions
If you need gluten-free options, swap graham crumbs for gluten-free graham crackers or finely crushed gluten-free cookies. For a lighter version, use reduced-fat cream cheese and a lighter whipped topping, though texture will be slightly less rich. To avoid white chocolate, substitute semisweet chips for a deeper flavor; the filling will be less sweet and may need a touch more powdered sugar. For dairy-free diets, use plant-based cream cheese and dairy-free white chocolate; expect a subtle difference in mouthfeel and flavor.
Serving Suggestions
Arrange the bites on a festive platter with a mix of red and green colors for a striking centerpiece. They pair well with strong coffee, spiced tea, or a glass of dessert wine. For a dessert table, mix them with assorted cookies and peppermint bark for contrast. Garnish with edible gold dust or small mint leaves for an elevated presentation at dinner parties. These are also perfect packaged in cellophane bags as edible party favors.
Cultural Background
Bite-sized no-bake cheesecakes are a modern adaptation of the classic chilled cake, scaled down for convenience and portion control. The concept of coating sweets in colored chocolate for holidays has roots in decorative confectionery traditions, and candy melts are a contemporary product that makes this simple and accessible. These little treats combine the American tradition of graham crust with European-style cream cheese fillings, resulting in a hybrid that suits modern entertaining.
Seasonal Adaptations
Change extracts or add-ins to match the season: orange or cranberry zest for winter, peppermint extract for a candy cane twist, or a swirl of salted caramel in autumn. Swap sprinkles to match themes—pastels for spring, metallics for New Year’s. For summer parties, use bright fruit-flavored candy melts and top with freeze-dried fruit bits. Small changes in garnish can update the bites for any holiday or celebration.
Meal Prep Tips
Make the filling up to 48 hours ahead and store tightly covered in the refrigerator. Shape and chill on the day of serving for the freshest texture. Prepare melted coating in small batches to maintain consistent temperature; reheating in short bursts prevents seizing. Label containers with date and flavor variations if preparing multiple batches. Use a 1-inch scoop for uniform pieces and save time by chilling formed balls on a sheet pan before coating.
These No-Bake Christmas Cheesecake Bites are simple to make, endlessly adaptable, and always a hit on holiday dessert tables. Try a small test batch to experiment with colors and flavors, then scale up for gatherings. The joy of sharing bite-sized sweets with loved ones makes every minute spent worth it—now go dip and decorate to make someone smile.
Pro Tips
Chill the filling for at least 30 minutes before shaping to make rolling easier and neater.
Use a 1-inch cookie scoop for consistent bite size and faster assembly.
If candy melts thicken, stir in a small amount of neutral oil, 1/4 teaspoon at a time, until pourable.
Work in small batches when coating to keep centers cold and avoid melting the filling.
This nourishing no-bake christmas cheesecake bites recipe is sure to be a staple in your kitchen. Enjoy every moist, high protein slice — it is perfect for breakfast or as a wholesome snack any time.
Tags
No-Bake Christmas Cheesecake Bites
This No-Bake Christmas Cheesecake Bites recipe makes perfectly juicy, tender, and flavorful steak every time! Serve with potatoes and a side salad for an unforgettable dinner in under 30 minutes.
Instructions
Prepare the filling
Beat 8 ounces softened cream cheese until smooth, add 1/2 cup powdered sugar and 1 teaspoon vanilla, and mix until creamy and lump-free.
Melt the white chocolate
Melt 1 cup white chocolate chips in 20-second intervals, stirring between each until smooth. Cool slightly before adding to the filling to avoid thinning it.
Combine crumbs and whipped topping
Stir melted white chocolate into the cream cheese mixture, then fold in 1 cup crushed graham crackers. Gently fold in 1/2 cup thawed whipped topping until evenly incorporated.
Chill and shape
Refrigerate the mixture for 30 to 40 minutes. Use a 1-inch scoop to portion and roll into 1-inch balls. Place on a parchment-lined baking sheet.
Melt and color the coating
Melt red and green candy melts in separate bowls following package instructions. Thin with a little neutral oil if needed for a smooth coating.
Coat and decorate
Dip each chilled ball into the colored coating, set on parchment, sprinkle with holiday decorations, and chill for 15 minutes to set the coating.
Last Step: Please leave a rating and comment letting us know how you liked this recipe! This helps our business to thrive and continue providing free, high-quality recipes for you.
Nutrition
Did You Make This?
Leave a comment & rating below or tag
@magicmealideas on social media!
Categories:
You might also like...

Air-Fried Pizza Rolls
Crispy on the outside, gooey on the inside: easy air-fried pizza rolls made with pizza dough, mozzarella, pepperoni, and a quick Italian seasoning — perfect for snacking or feeding a crowd.

Air-Fried Rice Paper Noodle Rolls
Crispy, light rice paper rolls filled with vermicelli, vegetables and tofu or shrimp, air-fried to golden perfection for a healthy snack or shareable appetizer.

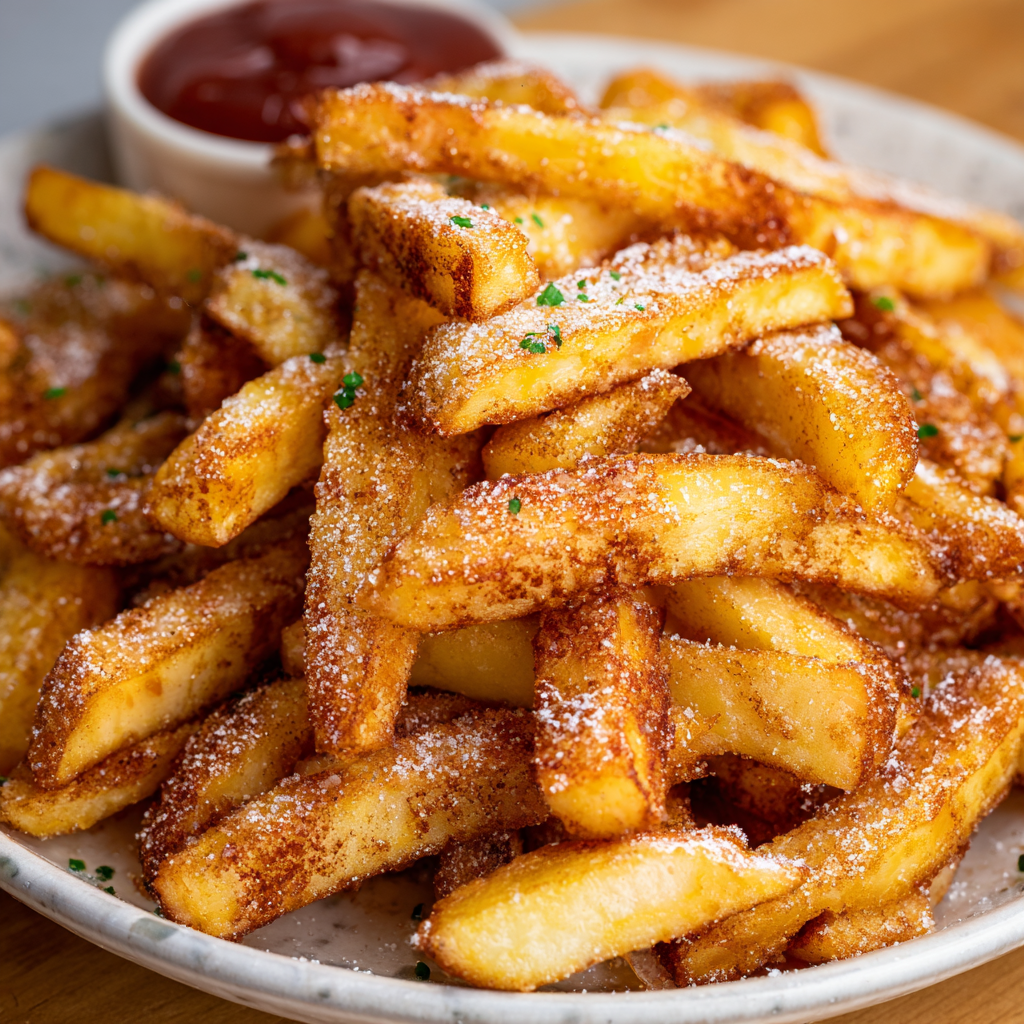
Air Fryer Apple Fries
Crispy, cinnamon-sugar coated apple sticks made in the air fryer — a quick, family-friendly treat that tastes like baked apple pie in every bite.
Did You Make This?
Leave a comment & rating below or tag @magicmealideas on social media!
Rate This Recipe
Share This Recipe
Enjoyed this recipe? Share it with friends and family, and don't forget to leave a review!
Comments (1)
This recipe looks amazing! Can't wait to try it.
Comments are stored locally in your browser. Server comments are displayed alongside your local comments.
Hi, I'm Chef!
What's Popular
30-Minute Meals!
Join to receive our email series which contains a round-up of some of our quick and easy family favorite recipes.