
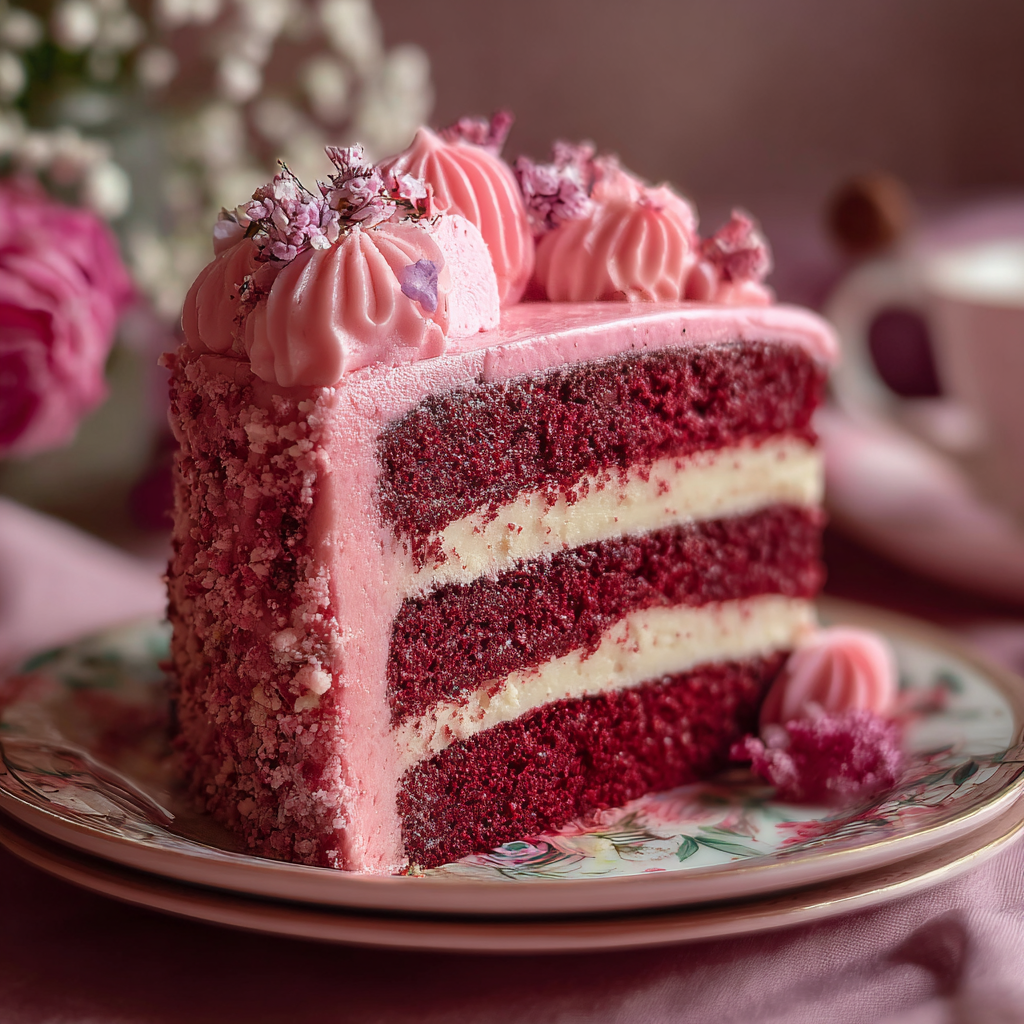
Pink Velvet Cake

A tender, pillowy pink layer cake with subtly tangy buttermilk and a silky cream cheese buttercream — a joyful centerpiece for celebrations big and small.

This Pink Velvet Cake became my go-to for birthdays and spring gatherings the moment I first tested it. I was chasing a pastel, tender crumb that felt lighter than a traditional red velvet but still carried the same gentle tang from buttermilk and a hint of cocoa. The result was a cake that slices cleanly, holds its frosting beautifully, and looks utterly celebratory when finished with a few edible flowers or sprinkles. I discovered this version while adapting a classic recipe to use less dye and more natural flavors; the crumb is moist, fine-textured, and yields a delicate vanilla-cocoa note that pairs perfectly with cream cheese buttercream.
I remember bringing this to my niece's baby shower: guests kept asking what gave it that whisper of pink and tender crumb. Because it uses pantry staples and a small amount of dye or beet concentrate, it’s accessible for busy bakers who want a showstopper without fuss. The texture is soft but stable — sliceable for layered assembly, yet light on the palate. Over time I refined the balance of sugar and acid so each bite lingers with a gentle tang rather than cloying sweetness. This cake has become the dessert I turn to when I want something elegant, nostalgic, and just a little whimsical.
Why You'll Love This Recipe
- Light, tender crumb that stays moist for days when stored properly, so you can bake a day ahead without sacrificing texture.
- Uses pantry staples like all-purpose flour and granulated sugar; no obscure ingredients required for a stunning result.
- Ready to assemble in about 1 hour of active time; total hands-on time is manageable for a weeknight bake.
- Customizable color: use a tiny drop of gel dye or natural beet juice for a softer pink that still looks festive.
- Cream cheese buttercream balances sweetness with a tangy finish — a crowd-pleasing pairing for celebrations or casual dessert.
- Easy to scale into cupcakes or a sheet cake, making it great for small gatherings and large parties alike.
I’ve served this at showers, family dinners, and neighborhood potlucks. The first time I swapped red dye for a teaspoon of beet concentrate, the room noticed — not because the color shouted, but because the cake looked refreshingly soft and elegant. Friends who usually avoid sweet frostings asked for seconds, and I kept notes to refine timing and frosting consistency until it was consistently excellent.
Ingredients
- All-purpose flour (2 1/2 cups): Choose a reliable brand with consistent protein like King Arthur or Gold Medal for a tender structure. Spoon into the cup and level for an accurate measure.
- Granulated sugar (1 3/4 cups): Regular granulated sugar provides structure and tenderness; caster sugar is optional if you prefer a slightly finer texture.
- Unsalted butter (1/2 cup, 1 stick, softened): Use room-temperature butter for even creaming; plug in European-style butter for a richer flavor if available.
- Buttermilk (1 cup): Key for tang and moistness. If you don’t have buttermilk, stir 1 tablespoon white vinegar into 1 cup milk and let sit 5 minutes.
- Large eggs (3): At room temperature — they incorporate more evenly and help the cake rise uniformly.
- Baking powder (1 teaspoon) & baking soda (1/2 teaspoon): Provide lift and a crumb with gentle aeration; check freshness for best rise.
- Unsweetened cocoa powder (1 tablespoon): Adds a whisper of classic velvet flavor without making it chocolatey; use natural cocoa for proper tang balance.
- Pure vanilla extract (1 teaspoon): Use real vanilla for depth of flavor; synthetic extracts will taste flatter.
- White vinegar (1 teaspoon): Reacts with baking soda to give a light crumb and subtle tang — part of the classic velvet chemistry.
- Pink gel food coloring or concentrated beet juice (1/2 to 1 teaspoon): Gel dye gives consistent color with minimal quantity; beet juice yields natural pink but may carry a touch of earthiness.
- Sour cream or yogurt (optional 1/4 cup): For extra richness and moisture — only if you want an ultra-tender crumb.
- Cream cheese buttercream: 8 ounces cream cheese (softened), 1/2 cup unsalted butter (softened), 4 cups powdered sugar, 1 teaspoon vanilla, 1–2 tablespoons milk to adjust consistency.
Instructions
Prepare and preheat: Preheat the oven to 350°F (177°C). Grease two 8-inch round pans and line the bottoms with parchment. Sift together 2 1/2 cups all-purpose flour, 1 teaspoon baking powder, 1/2 teaspoon baking soda, 1 tablespoon unsweetened cocoa, and 1/2 teaspoon salt into a bowl so the dry mix is aerated and lump-free. This sifting lightens the crumb and ensures even distribution of raising agents. Cream butter and sugar: In a large bowl, cream 1/2 cup softened unsalted butter with 1 3/4 cups granulated sugar until pale and slightly fluffy, about 3–4 minutes with a hand or stand mixer on medium speed. Scrape the bowl occasionally. Proper creaming traps air which helps the cake rise and contributes to a tender texture. Add eggs and flavor: Add 3 room-temperature eggs one at a time, mixing briefly after each addition so the batter remains emulsified. Stir in 1 teaspoon vanilla and 1 teaspoon white vinegar. If using gel color or beet concentrate, add 1/2 teaspoon now and adjust to reach your preferred shade — gel dyes are concentrated so start small. Combine wet and dry: Alternately add the dry ingredients and 1 cup buttermilk to the butter mixture in three additions, beginning and ending with the dry mix. Mix on low speed until just combined; avoid overmixing to keep the crumb tender. If you prefer extra richness, fold in 1/4 cup sour cream at this stage. Bake: Divide batter evenly between the prepared pans and smooth the tops with a spatula. Bake at 350°F for 22–28 minutes, rotating halfway through, until a toothpick inserted into the center comes out with a few moist crumbs. The cakes will spring back lightly when pressed. Cool and prepare frosting: Allow cakes to cool in pans for 10 minutes, then invert onto a rack to cool completely. For the cream cheese buttercream, beat 8 ounces softened cream cheese with 1/2 cup softened butter until smooth, then gradually add 4 cups powdered sugar and 1 teaspoon vanilla. Thin with 1–2 tablespoons milk if needed; chill briefly if too soft for spreading. Assemble: Level the tops if needed, place the bottom layer on a cake board, spread a generous layer of frosting, top with the second layer, and crumb-coat the cake. Chill for 15–20 minutes, then finish with a final smooth coat of buttercream. Decorate with sprinkles, edible flowers, or a light dusting of freeze-dried raspberry powder for contrast.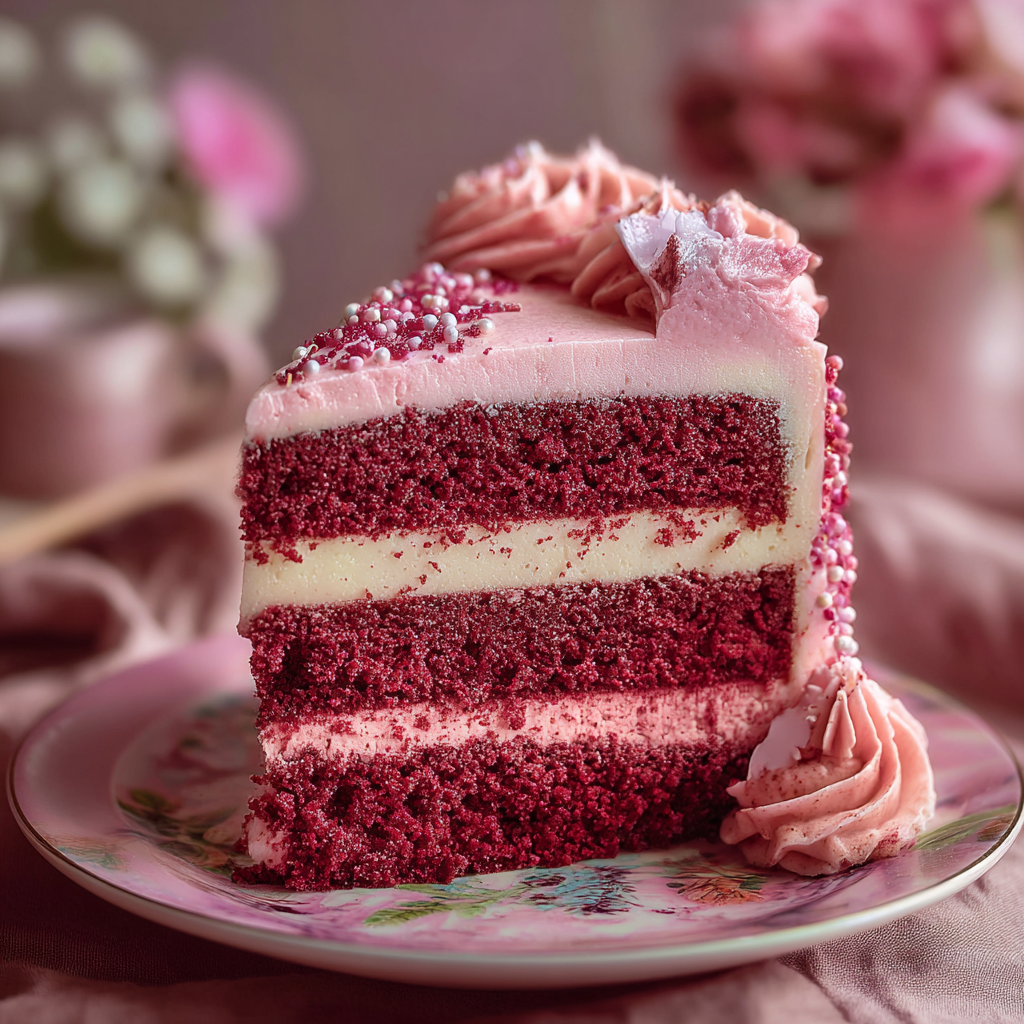
You Must Know
- Freshness of ingredients matters: fresh baking powder and soda give reliable rise and a light crumb.
- Room-temperature butter and eggs emulsify better, preventing broken batter and dense crumb.
- The amount of dye needed is tiny; when in doubt, add less and deepen color in the frosting rather than the batter.
- This cake freezes well for up to 3 months if wrapped tightly; thaw overnight in the refrigerator before frosting.
- Let the cake cool completely before frosting to avoid melting the buttercream and creating streaks.
One of my favorite things about this cake is how forgiving it is. Slight variations in oven performance or a little overmixing often translate into a still-delicious outcome — the buttermilk and proper fat balance rescue the texture. I’ve learned to trust visual cues: a lightly domed top, evenly browned edges, and a toothpick test with moist crumbs indicate readiness. The tang from buttermilk and the sheen of a well-whipped buttercream are the final signals that this cake is ready to be shared.
Storage Tips
Store the finished cake in the refrigerator, loosely covered or in a cake carrier, for up to 4 days. For longer storage, freeze unfrosted layers wrapped tightly in plastic and foil for up to 3 months; thaw in the refrigerator overnight and bring to room temperature before frosting. If the buttercream firms in the fridge, let it sit at room temperature for 20–30 minutes and re-whip briefly to restore a spreadable consistency. Avoid storing near strong-smelling foods as cream cheese absorbs odors; use an airtight container when possible.
Ingredient Substitutions
If you prefer a natural color, substitute 1 teaspoon beet powder or 1 tablespoon beet juice for gel dye; reduce other liquids slightly if using juice. For a dairy-free version, use plant-based butter and a dairy-free cream cheese alternative — note the texture will be softer and may require more powdered sugar. To make the cake more chocolate-forward, increase cocoa to 2 tablespoons and reduce flour by 2 tablespoons. For a lighter frosting, swap half the butter in the buttercream for extra cream cheese and add an extra cup of powdered sugar to stabilize it.
Serving Suggestions
Slice this cake thinly and serve with fresh berries and a small dollop of whipped cream for a spring dessert, or present it as a layered centerpiece with edible flowers for a shower or birthday. Pair a slice with a cup of Earl Grey tea or a light rosé wine for an elegant finish. For casual gatherings, individual cupcakes made from this batter are easier to serve and can be garnished with small candy pearls or a blueberry on top.
Cultural Background
The cake draws inspiration from the classic American red velvet tradition, which likely originated in the 19th-century United States as a luxury dessert marked by its striking color and velvety crumb. Traditionally achieved with natural reactions between cocoa, acid, and sometimes dye, modern variations like this pink version lean toward softer color palettes for contemporary celebrations. The interplay of buttermilk and vinegar gives velvet-style cakes their characteristic tender texture and tang, a hallmark of Southern baking heritage.
Seasonal Adaptations
In spring, highlight seasonal berries and floral decorations like pansies or rose petals. For autumn gatherings, add a pinch of warm spices (1/4 teaspoon cinnamon) to the batter and finish with candied nuts. At holiday time, turn the cake into a sheet cake and top with salted caramel drizzle and chopped toasted pecans for contrast. Color intensity can be adjusted for any occasion — pale blush for baby showers or a deeper pink for Valentine’s celebrations.
Meal Prep Tips
Make the cake layers a day ahead and refrigerate them tightly wrapped. Prepare the buttercream the morning of the event and store it chilled; bring to room temperature and re-whip before spreading. For large events, assemble and crumb-coat the cake the night before, then add the final coat and decorations just before serving to keep the finish crisp. Use disposable pastry bags and couplers for easy transport and quick finishing on-site if needed.
Every time I make this cake I’m reminded of the small delight of sharing something homemade that looks and tastes like celebration. Keep a note of the dye amount that achieves your favorite shade, and you’ll have a reliable template for many joyful occasions. Enjoy the process — it’s as much about the memories you make as it is about the dessert on the table.
Pro Tips
Measure flour by spooning into the cup and leveling to avoid a dense cake.
Bring eggs and dairy to room temperature to ensure even mixing and a stable emulsion.
Chill the cake briefly after crumb-coating to make final frosting easier and neater.
Start with a small amount of gel dye and increase in tiny increments until you reach the desired shade.
This nourishing pink velvet cake recipe is sure to be a staple in your kitchen. Enjoy every moist, high protein slice — it is perfect for breakfast or as a wholesome snack any time.
FAQs about Recipes
Can I make the color natural?
If you want a natural pink, use beet powder or beet juice; start with a small amount and test, as it can add earthiness.
Can I freeze the cake layers?
Yes — bake the layers, cool completely, wrap tightly, and freeze for up to 3 months. Thaw overnight in the refrigerator before frosting.
Tags
Pink Velvet Cake
This Pink Velvet Cake recipe makes perfectly juicy, tender, and flavorful steak every time! Serve with potatoes and a side salad for an unforgettable dinner in under 30 minutes.
Ingredients
Cake
Buttercream
Instructions
Preheat and sift dry ingredients
Preheat oven to 350°F. Grease two 8-inch round pans and line with parchment. Sift together flour, baking powder, baking soda, cocoa, and salt to aerate and remove lumps.
Cream butter and sugar
Cream softened butter with granulated sugar until pale and fluffy, about 3–4 minutes. This step traps air for lift and contributes to a tender texture.
Add eggs and flavorings
Add eggs one at a time, then stir in vanilla, vinegar, and a small amount of gel color or beet juice. Use room-temperature eggs for a stable emulsion.
Combine dry and wet
Alternate adding dry ingredients and buttermilk to the creamed mixture, beginning and ending with the dry mix. Mix on low until just combined to avoid overdevelopment of gluten.
Bake the layers
Divide batter between pans and bake 22–28 minutes, rotating halfway, until a toothpick shows moist crumbs. Let cool in pans 10 minutes then transfer to a rack.
Frost and assemble
Make the cream cheese buttercream by beating cream cheese and butter, adding powdered sugar and vanilla. Level cake layers, spread frosting between layers, crumb-coat, chill, then finish frosting and decorate.
Last Step: Please leave a rating and comment letting us know how you liked this recipe! This helps our business to thrive and continue providing free, high-quality recipes for you.
Nutrition
Did You Make This?
Leave a comment & rating below or tag
@magicmealideas on social media!
Categories:
You might also like...

Air-Fried Pizza Rolls
Crispy on the outside, gooey on the inside: easy air-fried pizza rolls made with pizza dough, mozzarella, pepperoni, and a quick Italian seasoning — perfect for snacking or feeding a crowd.
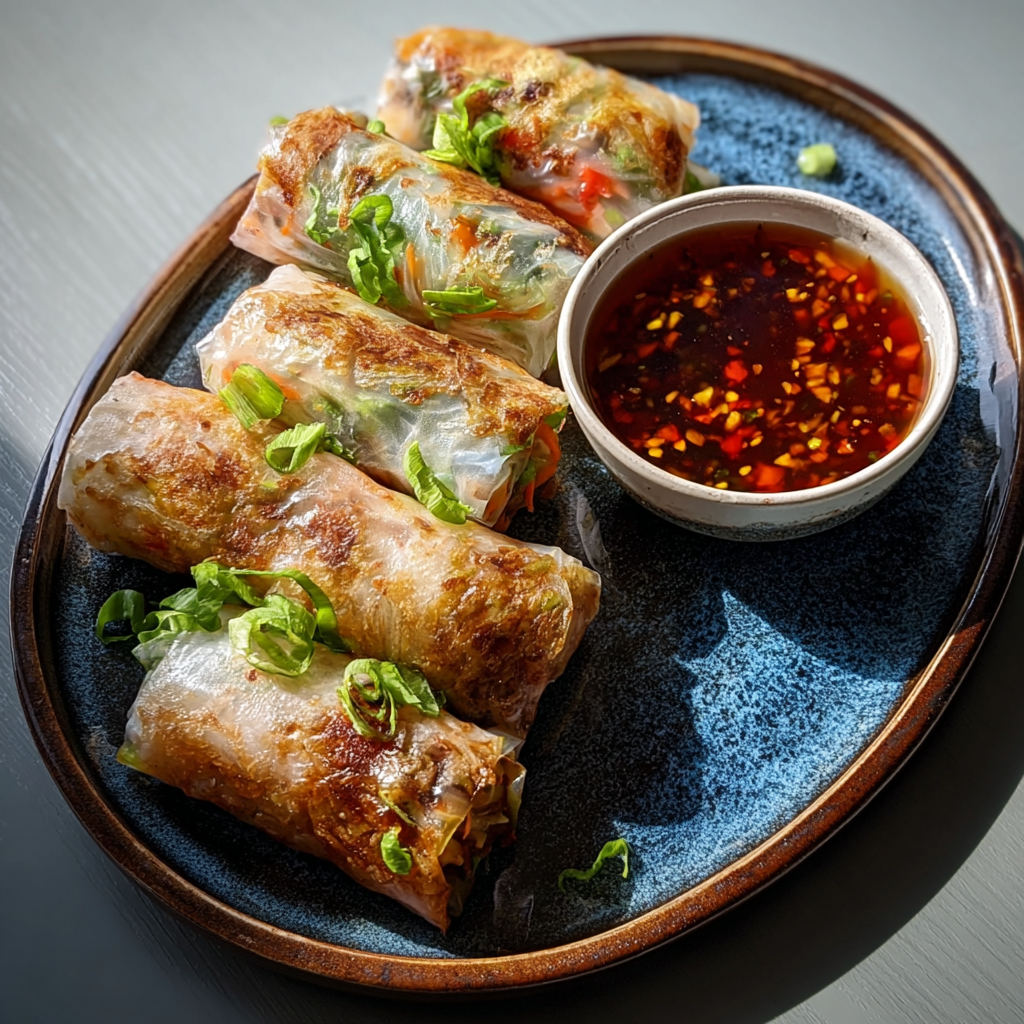
Air-Fried Rice Paper Noodle Rolls
Crispy, light rice paper rolls filled with vermicelli, vegetables and tofu or shrimp, air-fried to golden perfection for a healthy snack or shareable appetizer.

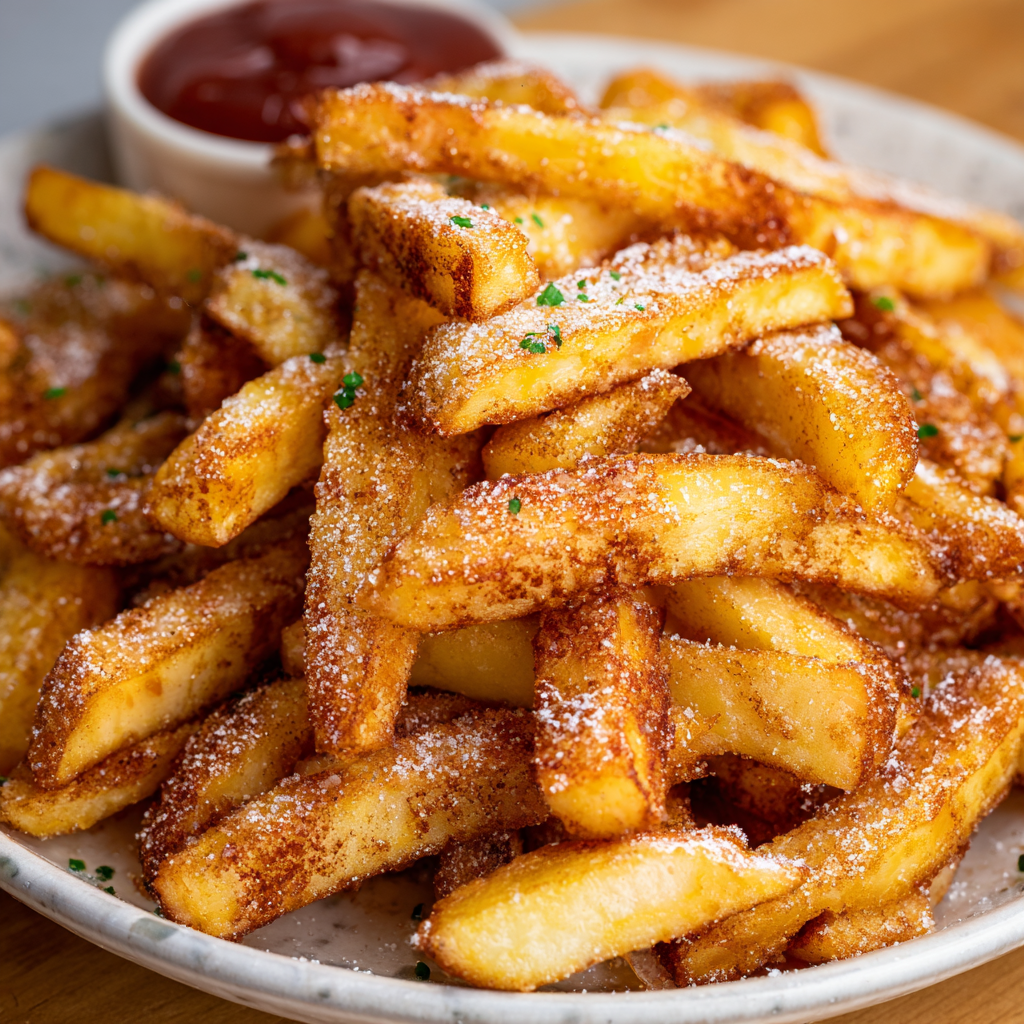
Air Fryer Apple Fries
Crispy, cinnamon-sugar coated apple sticks made in the air fryer — a quick, family-friendly treat that tastes like baked apple pie in every bite.
Did You Make This?
Leave a comment & rating below or tag @magicmealideas on social media!
Rate This Recipe
Share This Recipe
Enjoyed this recipe? Share it with friends and family, and don't forget to leave a review!
Comments (1)
This recipe looks amazing! Can't wait to try it.
Comments are stored locally in your browser. Server comments are displayed alongside your local comments.
Hi, I'm Chef!
What's Popular
30-Minute Meals!
Join to receive our email series which contains a round-up of some of our quick and easy family favorite recipes.