
Pumpkin Dump Cake

An effortless, crowd-pleasing autumn dessert: velvety pumpkin filling topped with a buttery cake crust and toasted pecans. Ready in under an hour.
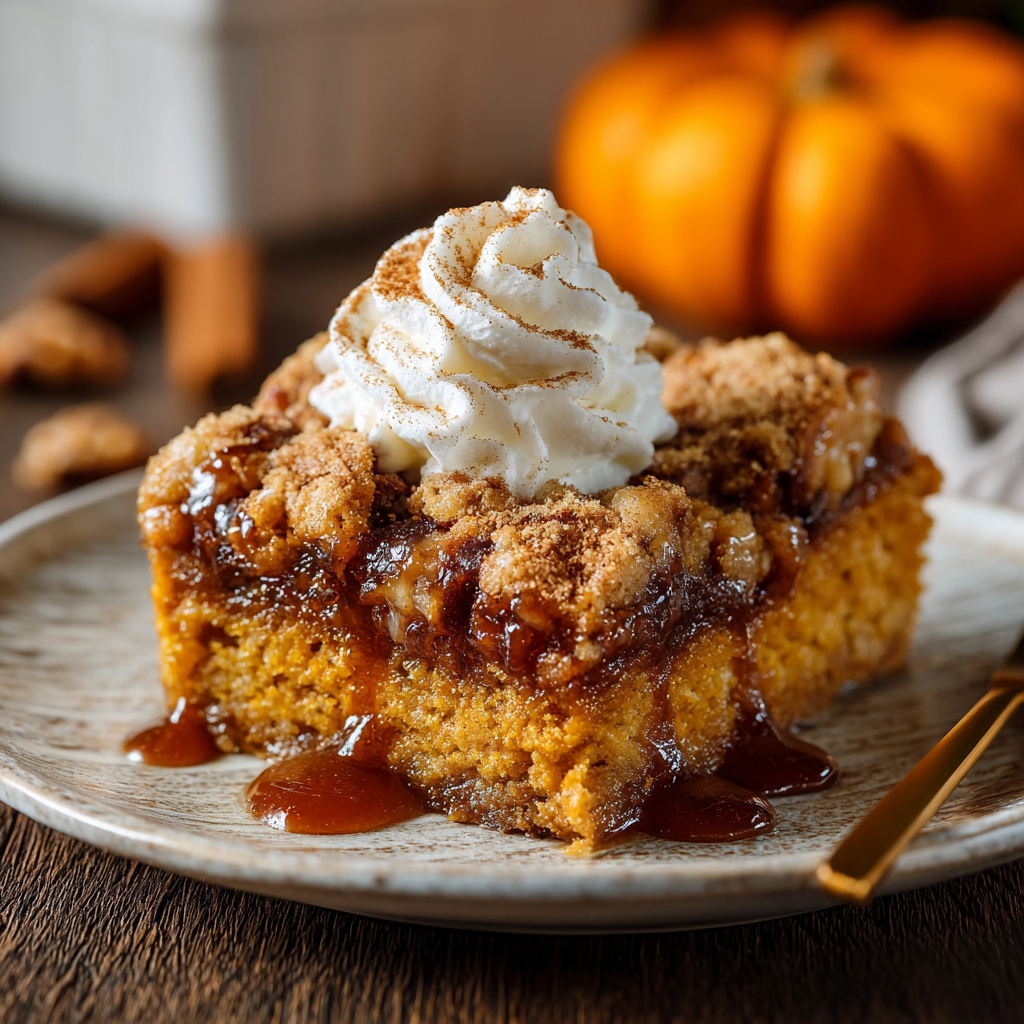
This Pumpkin Dump Cake has quietly become the dessert I bring to every late-fall gathering and simple weeknight celebration. I first discovered this method while short on time during a hectic October; I wanted all the warm spice and pumpkin flavor of a classic pie without the fuss of rolling crust or tempering eggs. The result is a deeply spiced, custardy pumpkin layer finished with a golden, slightly crisp cake topping that soaks up pumpkin juices in the most comforting way. It’s rustic, forgiving, and always disappears fast.
What makes this version special to me is the balance of textures and the nostalgia it evokes—warm, smooth pumpkin beneath a cakey, buttery top with toasted pecans for a little crunch. The aroma of cinnamon and nutmeg that fills the kitchen while it bakes is unforgettable; my family will often start hovering around the oven ten minutes before I pull it out. It’s the kind of dessert that’s simple enough for busy weeknights yet special enough for holiday tables.
Why You'll Love This Recipe
- Effortless preparation: no rolling, no blind-baking, and minimal mixing—ready in about 60 minutes from start to finish.
- Pantry-friendly ingredients: uses canned pumpkin, boxed cake mix, and staple baking spices so you can make it anytime without a special grocery run.
- Big crowd appeal: serves a family or small gathering comfortably and scales well for potlucks and bake sales.
- Make-ahead friendly: can be baked the day before and gently reheated, or assembled and baked later for convenience.
- Customizable texture: swap yellow or spice cake mix and adjust butter quantity for crispier or more tender topping.
On the first time I made this, my skeptical teenager declared it "better than pie," which sealed its place in our rotation. I appreciate how forgiving it is—if you forget an egg or use slightly more spice, the final result still feels intentional and indulgent. It’s one of those recipes I freely tweak depending on what I have on hand and it never judges me.
Ingredients
- 15 oz canned pumpkin puree: Use plain pumpkin puree (not pumpkin pie filling) for the cleanest flavor and control over sweetness. Libby's is a reliable brand; look for a BPA-free can if possible. It creates the lush, velvety base.
- 1 cup granulated sugar: Balances the pumpkin and spices. You can reduce to 3/4 cup for a less sweet finish, but 1 cup gives the classic pumpkin-sweetness ratio.
- 2 large eggs: Room temperature eggs help stabilize the filling and give the custardy texture that sets as it bakes.
- 1 teaspoon vanilla extract: Adds depth and rounds the spices. Use pure vanilla when you can; it brightens the pumpkin notes.
- 2 teaspoons pumpkin pie spice: A balanced blend of cinnamon, ginger, nutmeg, and cloves. If you don’t have it, use 1 1/2 teaspoons cinnamon plus 1/2 teaspoon ground ginger and a pinch of cloves.
- 1/2 teaspoon fine salt: Enhances sweetness and rounds flavors; don’t skip it.
- 1 box (15.25 oz) yellow or spice cake mix: For the topping. A spice cake mix adds an extra layer of warmth, while yellow cake keeps the topping milder and more buttery.
- 1/2 cup (8 tablespoons) unsalted butter: Sliced into thin pats or melted and drizzled. Butter creates the golden, slightly crisp top that marries with the cake mix.
- 1/4 cup packed brown sugar: Optional, sprinkled over the top for a caramelized note and deeper color.
- 1/2 cup chopped pecans: Optional for crunch and a toasty, nutty contrast. Toast them briefly in a dry skillet for extra flavor.
- Whipped cream or vanilla ice cream: For serving. Adds a cool counterpoint to the warm dessert.
Instructions
Preheat and prepare pan:Preheat the oven to 350 degrees Fahrenheit. Use a 9x13-inch baking dish; lightly grease it with butter or nonstick spray so the cake releases cleanly. This pan size creates the ideal thickness of pumpkin filling to cake topping.Make the pumpkin filling:In a large bowl, whisk together the canned pumpkin, granulated sugar, eggs, vanilla extract, pumpkin pie spice, and salt until completely smooth and homogenous. The eggs should be well incorporated to ensure the filling sets evenly—about 30–45 seconds of vigorous whisking. Scrape down the sides so no pockets of unmixed egg remain.Assemble layers in the pan:Pour the pumpkin mixture into the prepared 9x13 pan and use a spatula to level the surface. Sprinkle the dry cake mix evenly over the pumpkin—do your best to cover the pumpkin entirely, but do not attempt to press the cake mix into the wet layer; it should sit loose on top so butter can melt through and create the crust.Add butter, sugar, and nuts:Scatter the thin pats of butter evenly across the surface of the cake mix. If you prefer, melt the butter and drizzle it slowly over the top for slightly faster melting; using pats gives a more uneven, rustic top crust. Sprinkle the brown sugar and chopped pecans over the top if using—these add crunch and caramel notes.Bake until bubbly and golden:Place the pan in the preheated oven and bake for 45–55 minutes. You want the pumpkin layer to be set near the center and the cake top to be a deep golden color. The edges will bubble up—this is a good visual cue that moisture is rising through the cake mix and creating that tender interior.Cool and serve:Allow the dish to cool at least 20 minutes so the filling firms slightly. Serve warm with whipped cream or vanilla ice cream. Leftovers taste even better the next day after flavors meld.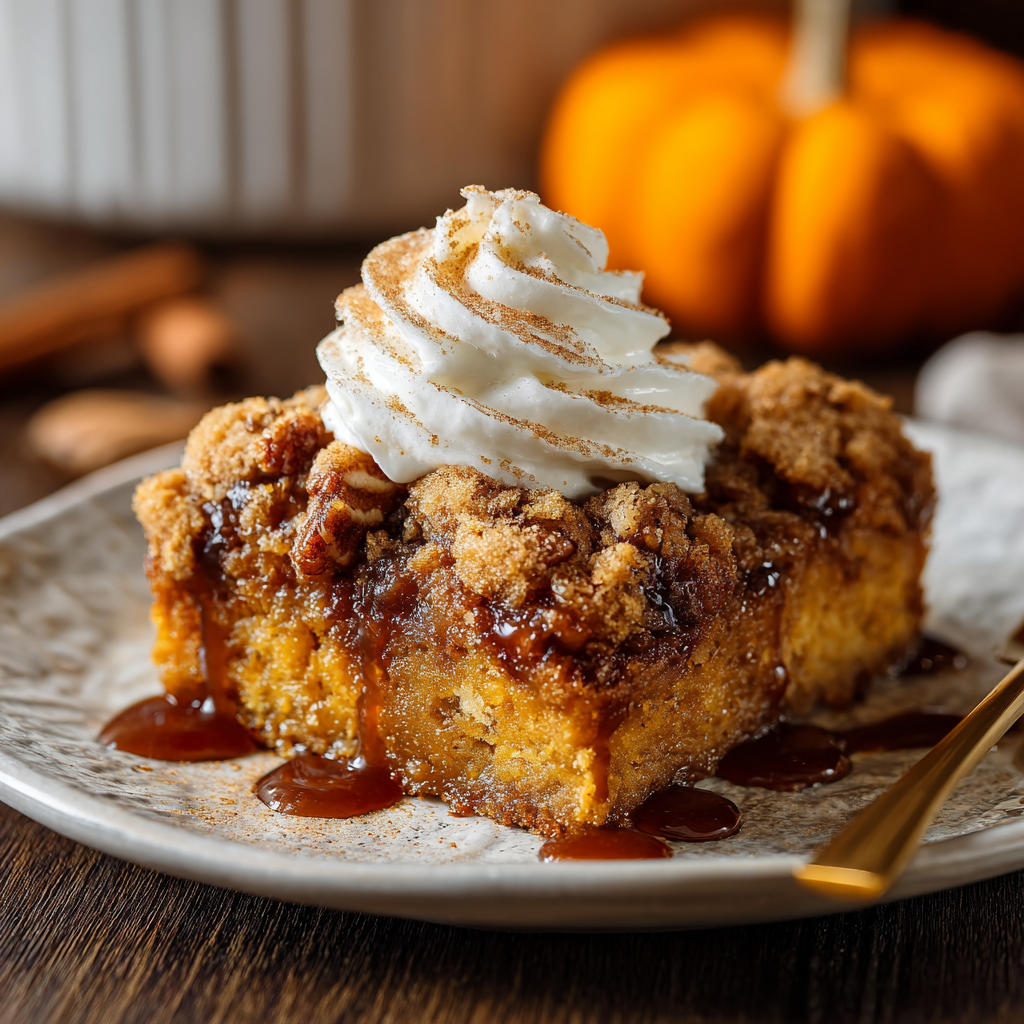
You Must Know
- Store leftovers in an airtight container in the refrigerator for up to 4 days; reheat gently in a 325°F oven to revive the top texture.
- This preparation freezes well for up to 3 months; thaw overnight in the refrigerator and warm before serving for best texture.
- High in beta-carotene from pumpkin and a comforting source of energy, though caloric content increases with toppings like pecans and ice cream.
- Great for busy cooks: minimal hands-on time and uses common pantry items, making it reliable in last-minute hosting situations.
My favorite aspect of this dish is how it bridges simplicity and celebration. It is incredibly forgiving—if you’re juggling errands and a casserole to bring, you can assemble this and know it will taste like you’ve tended to it all afternoon. One memorable Thanksgiving I brought this because the oven was full; it arrived warm, boxed, and somehow more requested than the turkey. That never happens, and it still makes me smile when I remember carrying a steaming pan out the door.

Storage Tips
To maintain texture and flavor, let the pan cool to room temperature before covering tightly with plastic wrap or transferring portions to airtight containers. Refrigerate for up to four days; the filling will firm and the topping will soften, so reheat in a 325 degrees Fahrenheit oven for 10–15 minutes to refresh the crust. For freezing, cut into single portions, wrap each piece in plastic wrap followed by foil and freeze up to three months. Thaw overnight in the refrigerator and warm gently so the filling regains silkiness without becoming watery.
Ingredient Substitutions
If you need to adapt ingredients, there are straightforward swaps that preserve texture and flavor. Replace the yellow cake mix with a spice cake mix to intensify autumnal flavors, or use gluten-free yellow cake mix to make the dessert gluten-free—be sure the mix is a 1:1 gluten-free variety. For a dairy-free version, use vegan butter or coconut oil in place of butter and serve with coconut milk–based whipped topping. Reduce sugar by 25% if you prefer a less sweet result; adding a teaspoon of molasses to the filling will add warmth if you reduce sugar.
Serving Suggestions
Serve warm bowls of this pumpkin confection with a generous scoop of cold vanilla ice cream or a dollop of freshly whipped cream and a sprinkle of toasted pecans or cinnamon. For a brunch twist, top with cinnamon-spiced granola and a drizzle of maple syrup. Pair it with strong coffee or a lightly spiced chai for balanced sweetness. Presentation tip: sprinkle a pinch of flaky sea salt across the top just before serving to amplify flavors and create an adult-friendly edge.
Cultural Background
While this specific assembly-style dessert is a modern convenience, its flavors echo longstanding autumn traditions in North American cooking where pumpkin, warming spices, and nuts feature heavily. The idea of a "dump" preparation evolved from wartime and postwar American home cooking when convenience items like canned pumpkin and boxed mixes became pantry staples. This version is a contemporary adaptation that celebrates pumpkin’s historic role in seasonal cooking while embracing the simplicity of mid-20th-century convenience foods.
Seasonal Adaptations
For winter holidays, add 1/4 cup cranberry chutney or chopped dried cranberries into the pumpkin layer for brightness. In early fall, fold in a mashed ripe banana for natural sweetness and moisture. During summer harvests, top with sliced roasted apples tossed in cinnamon and bake until both pumpkin and apples are tender. You can also swap pecans for toasted walnuts or pepitas to highlight regional preferences.
Success Stories
Readers often tell me this dish saves the day at potlucks and family dinners. One friend shared a story of bringing this to a neighborhood bake sale where it sold out three times faster than the artisan cupcakes. Another reader said she made it after a long day at work and that the smell instantly turned her small apartment into a festive space, helping her relax. Those notes remind me that easy, delicious food can create little moments of joy.
Meal Prep Tips
Assemble the filling and store it in the fridge up to 24 hours before baking; keep the dry cake mix separate until you’re ready to bake so the topping stays crisp. If you want single-serving convenience, bake in individual ramekins for 20–25 minutes. For large gatherings, double the recipe and use a half-sheet pan, adjusting baking time until the center is set and edges bubble. Label frozen portions with the date and reheating instructions to avoid overbaking when reheating from frozen.
Whether you make it for a busy weeknight, a festive table, or a potluck, this preparation is one of my favorite reminders that simple ingredients handled with care can produce unforgettable results. Make it your own, and don’t be surprised if it becomes one of your trusted autumn staples.
Pro Tips
Use room-temperature eggs to help the filling set evenly and avoid cold spots in the baked custard.
Scatter butter in thin pats rather than pouring melted butter for a more varied, rustic crust texture.
Toast pecans briefly in a dry skillet to amplify their nutty flavor before adding them to the top.
If the top browns too quickly, tent the pan with foil during the last 10–15 minutes of baking.
This nourishing pumpkin dump cake recipe is sure to be a staple in your kitchen. Enjoy every moist, high protein slice — it is perfect for breakfast or as a wholesome snack any time.
FAQs about Recipes
Can I make this gluten-free?
Yes. Use a gluten-free yellow or spice cake mix marked 1:1 GF and confirm all other ingredients are gluten-free.
How long will it keep?
Assemble and bake as directed; leftovers keep 3–4 days refrigerated and freeze well for up to 3 months.
Tags
Pumpkin Dump Cake
This Pumpkin Dump Cake recipe makes perfectly juicy, tender, and flavorful steak every time! Serve with potatoes and a side salad for an unforgettable dinner in under 30 minutes.
Ingredients
Filling
Topping & Garnish
Instructions
Preheat and prepare pan
Preheat oven to 350°F (177°C). Lightly grease a 9x13-inch baking dish with butter or nonstick spray to prevent sticking and ensure even browning.
Mix pumpkin filling
In a large bowl whisk together pumpkin puree, granulated sugar, eggs, vanilla, pumpkin pie spice, and salt until smooth and fully combined.
Assemble in pan
Pour the pumpkin mixture into the prepared pan and smooth the surface with a spatula. Evenly sprinkle the dry cake mix over the pumpkin, covering as much surface as possible without pressing it in.
Add butter and toppings
Distribute thin pats of butter over the cake mix. Optionally sprinkle brown sugar and toasted pecans for added caramel notes and crunch.
Bake until set
Bake 45–55 minutes until the filling is set near the center and the topping is golden and bubbling at the edges. Tent with foil if the top gets too brown.
Cool and serve
Cool at least 20 minutes before serving so the filling firms. Serve warm with whipped cream or vanilla ice cream.
Last Step: Please leave a rating and comment letting us know how you liked this recipe! This helps our business to thrive and continue providing free, high-quality recipes for you.
Nutrition
Did You Make This?
Leave a comment & rating below or tag
@magicmealideas on social media!
Categories:
You might also like...

Air-Fried Pizza Rolls
Crispy on the outside, gooey on the inside: easy air-fried pizza rolls made with pizza dough, mozzarella, pepperoni, and a quick Italian seasoning — perfect for snacking or feeding a crowd.
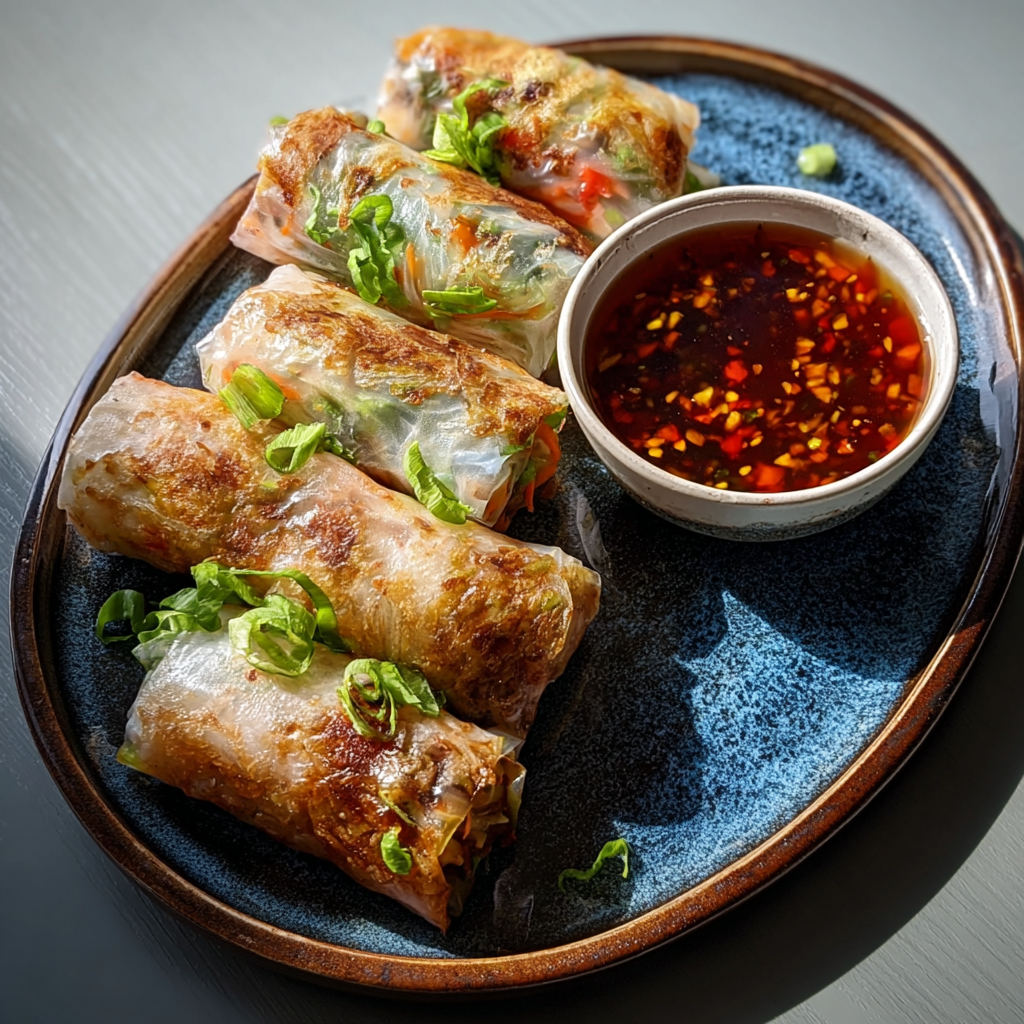
Air-Fried Rice Paper Noodle Rolls
Crispy, light rice paper rolls filled with vermicelli, vegetables and tofu or shrimp, air-fried to golden perfection for a healthy snack or shareable appetizer.

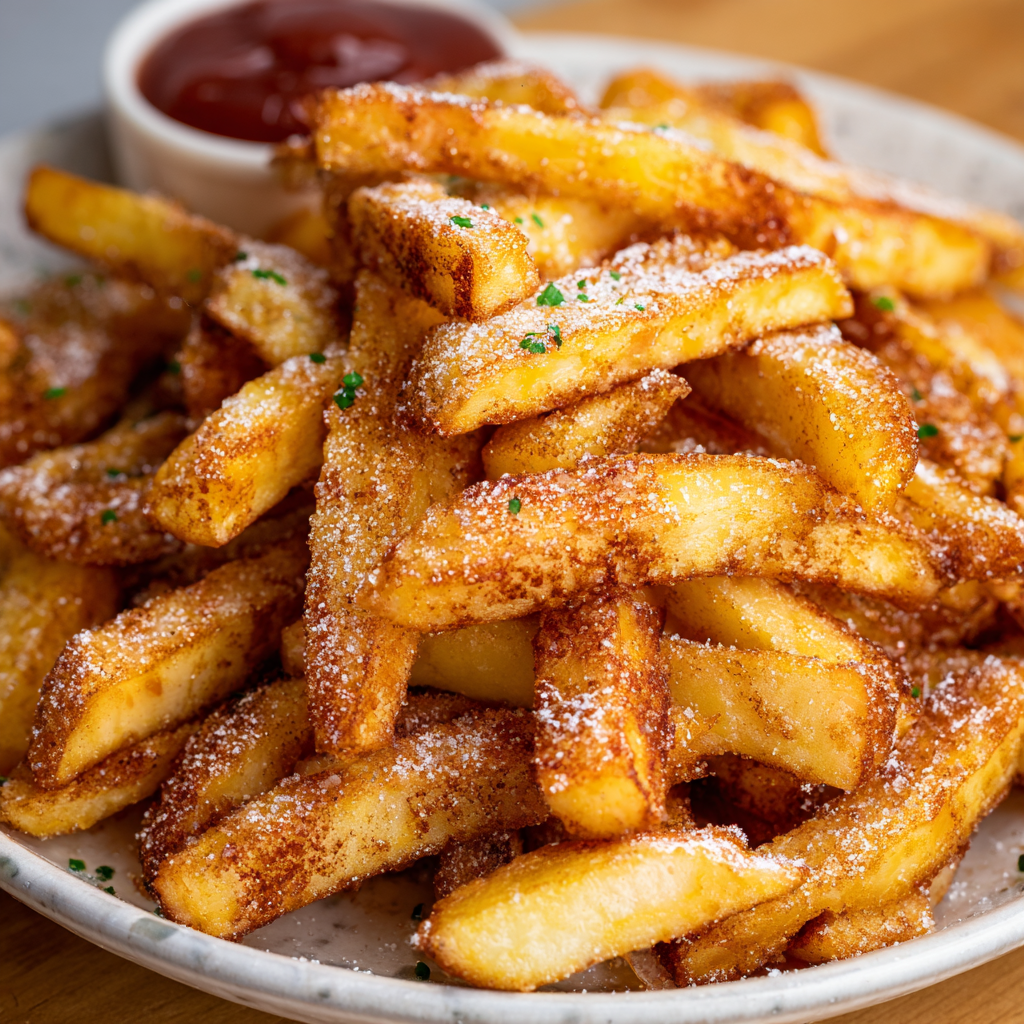
Air Fryer Apple Fries
Crispy, cinnamon-sugar coated apple sticks made in the air fryer — a quick, family-friendly treat that tastes like baked apple pie in every bite.
Did You Make This?
Leave a comment & rating below or tag @magicmealideas on social media!
Rate This Recipe
Share This Recipe
Enjoyed this recipe? Share it with friends and family, and don't forget to leave a review!
Comments (1)
This recipe looks amazing! Can't wait to try it.
Comments are stored locally in your browser. Server comments are displayed alongside your local comments.
Hi, I'm Chef!
What's Popular
30-Minute Meals!
Join to receive our email series which contains a round-up of some of our quick and easy family favorite recipes.