
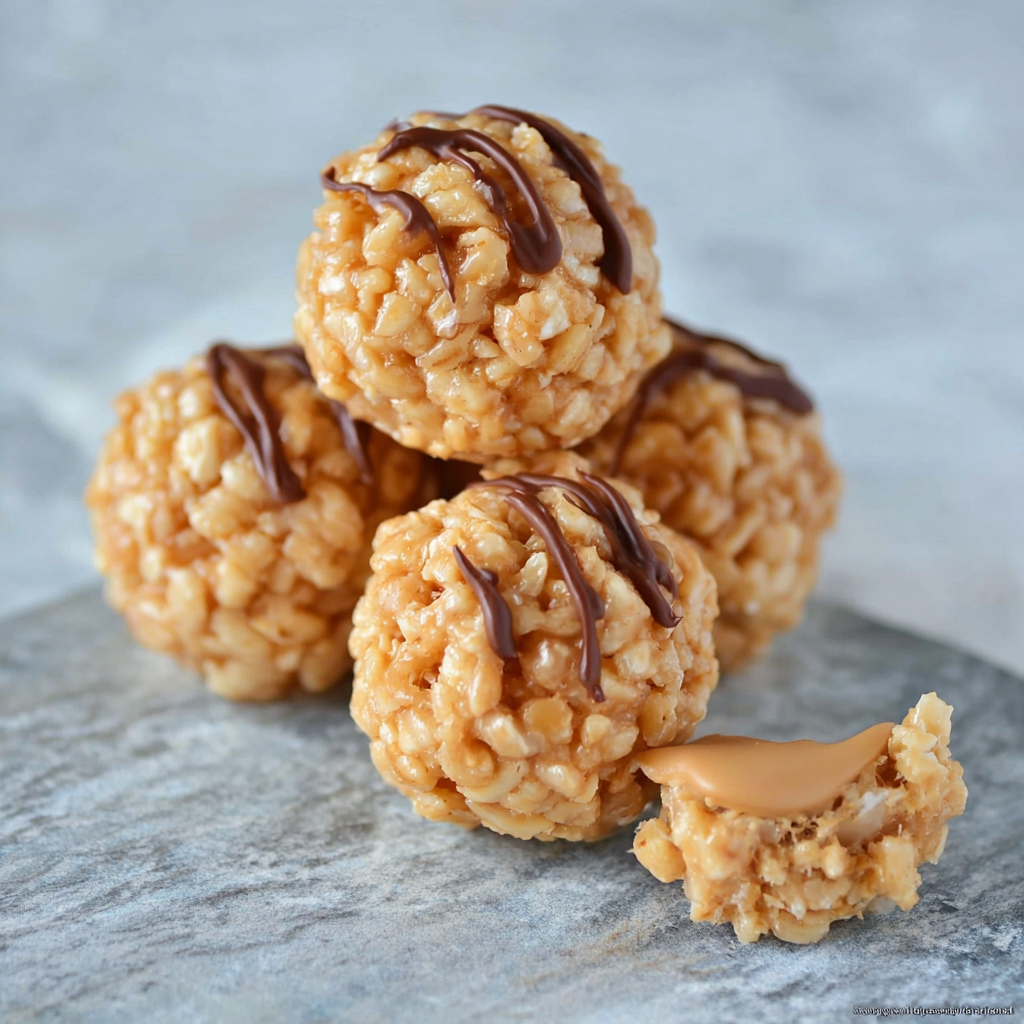
Rice Crispy Peanut Butter Balls

Sweet, chewy peanut butter and crisp rice cereal come together in simple no-bake balls — a nostalgic, crowd-pleasing snack perfect for parties, lunchboxes, and last-minute treats.

This recipe for Rice Crispy Peanut Butter Balls is one of those keeper recipes I reach for when I want something nostalgic, quick, and wildly satisfying. I first made a version of these in college when late-night study groups needed sugar and comfort; the simple chemistry of hot sugar joining peanut butter and rice cereal felt almost magical. Over the years I've refined the texture so the centers remain tender while the rice cereal keeps a pleasant crunch — not soggy or hard — and family members now expect a tin of them at birthdays and holiday gatherings.
They matter because they land in that perfect sweet spot: enough chew to feel indulgent but light enough to eat a couple without feeling weighed down. I discovered a reliable ratio after a snowy Sunday afternoon of trial and error: the right balance of peanut butter, sweetener, and a touch of butter to create a glossy binder that sets just firm enough. The best part is the speed — from start to finish you can have a batch ready in under 30 minutes, which makes them a go-to for last-minute guests or quick bake-sale contributions.
Why You'll Love This Recipe
- Ready in about 25 minutes from pantry staples like creamy peanut butter, marshmallow or corn syrup, and crisp rice cereal — perfect for quick desserts or snack emergencies.
- No oven required: everything comes together on the stovetop and sets at room temperature or in the fridge, great for hot days or minimal cleanup.
- Highly adaptable: swap nut butters, use chocolate coatings, or toss in dried fruit or seeds for texture; suitable for picky eaters and party platters alike.
- Make-ahead friendly: they store well in an airtight container for days and freeze beautifully for up to three months — ideal for holiday planning.
- Kid-friendly and portable: easy to pack for lunchboxes, picnics, or road trips; the compact size makes them perfect for portion control.
- Crowd-pleasing balance of soft peanut center and crisp cereal exterior that appeals to all ages.
On first serving these to friends, I was struck by how a simple change in the binder (a touch of butter plus corn syrup) made the texture more luxurious. My niece declared them better than store-bought candy and asked for the recipe — which I happily shared because they're fast, forgiving, and always disappear quickly at gatherings.
Ingredients
- Peanut butter (creamy): I use 1 cup of a natural-style creamy peanut butter for a pronounced peanut flavor; choose an unsalted or lightly salted jar depending on your preference. Jif or Skippy give a smoother, sweeter result, while a natural brand adds roastiness.
- Crisp rice cereal: 6 cups (about one standard 12 oz box) of classic puffed rice cereal. Look for varieties labeled gluten-free if you need that; avoid heavily sweetened 'frosted' kinds to keep sweetness balanced.
- Sweet binder: 1 cup of mini marshmallows and 1/4 cup light corn syrup (or 1 1/4 cups total marshmallow-only for a simpler approach). The combination creates shine and chew without becoming overly sticky.
- Butter: 2 tablespoons unsalted butter at room temperature helps emulsify and give a silkier mouthfeel; use vegan butter for dairy-free variations.
- Vanilla and salt: 1 teaspoon pure vanilla extract and 1/4 teaspoon fine salt to brighten flavors and balance sweetness.
- Optional coatings and add-ins: 1 cup melted dark chocolate or 1/2 cup mini chocolate chips, 1/4 cup chopped peanuts, or 1/4 cup toasted coconut for coating or folding in.
Instructions
Warm the binder: In a medium saucepan over low heat combine the mini marshmallows, corn syrup, and butter. Stir continuously until the marshmallows are melted and the mixture is glossy, about 3 to 5 minutes. Keep heat low to avoid scorching; the mixture should be smooth and pourable, not bubbling vigorously. Add flavor and peanut butter: Remove the pan from heat and stir in the peanut butter, vanilla, and salt. Stir until fully combined and homogeneous — the peanut butter should form a silky ribbon when lifted. This step is where texture is set: ensure the binder is warm enough to coat cereal but not so hot it will make balls overly soft. Fold in cereal: Transfer the crisp rice cereal to a large bowl and pour the peanut-binder over it. Gently fold using a spatula until every flake is coated. Work quickly before the binder cools; do not overmix, which can break the cereal and create a denser result. Shape into balls: Use a 1½ tablespoon cookie scoop or two spoons to form 1-inch to 1½-inch balls. If the mixture sticks, lightly oil your hands or spray them with nonstick spray. Place balls on a parchment-lined sheet and press gently to compact. If coating with chocolate, chill the balls for 15 minutes to firm before dipping. Optional coating: For a chocolate shell, melt 1 cup dark chocolate chips with 1 teaspoon oil in 30-second bursts, stirring between, until smooth. Dip chilled balls using a fork, shake off excess, and set on parchment. Sprinkle with chopped peanuts or flaky salt if desired. Allow to set at room temperature or refrigerate for 10 minutes. Rest and serve: Let the balls set in an airtight container for at least 30 minutes so they hold their shape. Serve at room temperature for best texture; store leftovers as described below.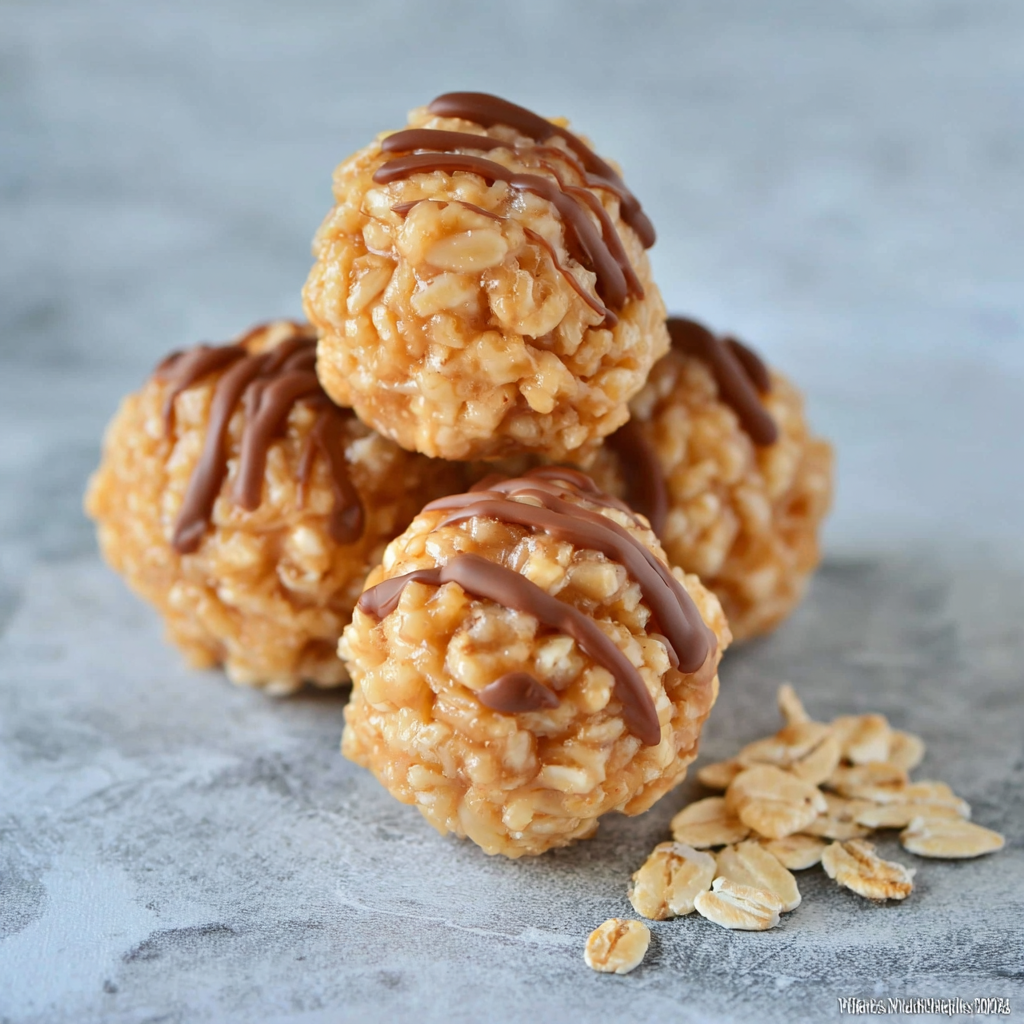
You Must Know
- These keep best in an airtight container at room temperature for 3 to 5 days; refrigeration extends life up to 10 days but will firm them significantly.
- They freeze very well for up to 3 months; thaw at room temperature for 15–20 minutes before serving to regain chewiness.
- Check your crisp rice cereal for gluten-free labeling if you require it; many brands are processed in shared facilities.
- For a firmer bite, increase toasted cereal by 1/2 cup; for a chewier ball, add 1–2 tablespoons more peanut butter.
My favorite part is how adaptable they are: I once halved the sugar for a less sweet batch and topped them with a ribbon of dark chocolate — they disappeared even faster. Making them with kids is a joy because shaping is playful, and they take pride in sprinkling the toppings. Family gatherings often end with an empty tray and happy chatter about whose version is best.
Storage Tips
Store finished balls in a single layer or separated by parchment in an airtight container to maintain crispness. At room temperature they stay soft and chewy for about 3 to 5 days; refrigeration will extend life to about 10 days but can make them firmer — bring them to room temperature before serving for best texture. For long-term storage, freeze on a tray until solid, then transfer to a freezer-safe bag; to thaw, leave at room temperature for 20 to 30 minutes. Avoid storing near strong odors like onions because the peanut butter will absorb scents.
Ingredient Substitutions
If you need dairy-free options, swap the butter for 2 tablespoons of coconut oil or a vegan butter spread; the flavor will be slightly different but the texture remains similar. Use almond or sunflower seed butter (1:1 substitution) for a nut-free or different-flavored treat — sunflower butter yields a slightly more savory finish. To reduce sugar, replace half the corn syrup with an equal amount of all-natural honey and reduce marshmallows by 1/4 cup, though texture will be less glossy. For gluten-free, ensure the rice cereal is certified gluten-free.
Serving Suggestions
Serve at room temperature on a dessert platter with seasonal fruits and a small bowl of extra melted chocolate for dipping. They pair wonderfully with coffee or milk for a classic snack table, and make excellent additions to lunchboxes when wrapped individually in parchment. For parties, arrange on a tiered stand and sprinkle with toasted sesame seeds or flaky sea salt for contrast. They’re also charming on holiday cookie trays beside shortbread and fudge.
Cultural Background
These treats are a descendant of mid-20th-century American no-bake confections that grew popular because of convenience and shelf-stable ingredients. The marriage of peanut butter and rice cereal echoes classic snacks like peanut butter and jelly sandwiches and demonstrates the pragmatic creativity of home cooks who turned pantry items into celebratory bites. Regional variations abound — some areas favor chocolate-dipped versions, others add spices like cinnamon or nutmeg for warmth.
Seasonal Adaptations
In winter, fold in 1/4 cup of crushed peppermint candy and drizzle with white chocolate for a festive feel. Summer versions can incorporate toasted coconut and a squeeze of lime zest for brightness. For autumn gatherings, stir in 1/2 teaspoon ground cinnamon and top with chopped roasted pecans. Small changes like using pumpkin seed butter and a dash of pumpkin spice create themed varieties perfect for holidays.
Success Stories
Readers have told me these are a hit at bake sales and office parties — one friend reported selling out within an hour because the texture was unlike any other item on her table. My sister makes these for every picnic, and guests often ask for the recipe. I once brought a batch to a neighborhood potluck and returned home with an empty container and requests to bring them weekly.
Meal Prep Tips
Make a double batch and freeze half in portions to save time later: place a dozen on a tray, freeze until solid, then bag and label. For quick assembly later, prepare the binder ahead and warm it gently to re-liquefy before folding into cereal. Use a cookie scoop to portion uniformly — this speeds shaping and helps with consistent freezing and thawing times.
These Rice Crispy Peanut Butter Balls are simple, nostalgic, and endlessly adaptable. Whether you need a last-minute dessert, something to pack into lunchboxes, or a treat for a crowd, they deliver. Make them your own by experimenting with coatings and mix-ins — the base formula is forgiving and rewarding. Happy mixing and tasting!
Pro Tips
Use a 1½ tablespoon cookie scoop to form evenly sized balls quickly and with minimal sticking.
If the mixture is too sticky to shape, chill it 10–15 minutes to firm the binder slightly before scooping.
To prevent cereal from going soggy, fold gently and avoid overmixing which crushes flakes and releases starch.
For glossy chocolate coatings, add 1 teaspoon of neutral oil to melted chocolate to improve flow and sheen.
This nourishing rice crispy peanut butter balls recipe is sure to be a staple in your kitchen. Enjoy every moist, high protein slice — it is perfect for breakfast or as a wholesome snack any time.
FAQs about Recipes
How long do these keep?
They will keep at room temperature for 3–5 days in an airtight container. Refrigerate to extend to 10 days or freeze up to 3 months.
Can I make these dairy-free or nut-free?
Yes — use a vegan butter substitute and check the chocolate is dairy-free. For nut allergies, use sunflower seed butter and ensure all equipment is clean.
Tags
Rice Crispy Peanut Butter Balls
This Rice Crispy Peanut Butter Balls recipe makes perfectly juicy, tender, and flavorful steak every time! Serve with potatoes and a side salad for an unforgettable dinner in under 30 minutes.
Ingredients
Base
Binders
Optional coatings and add-ins
Instructions
Warm the binder
In a medium saucepan over low heat combine mini marshmallows, corn syrup, and butter. Stir constantly until marshmallows are melted and mixture is glossy, about 3–5 minutes. Keep heat low to avoid scorching.
Add peanut butter and flavor
Remove from heat and stir in peanut butter, vanilla extract, and salt until fully combined and smooth. The binder should be warm and pourable to coat cereal evenly.
Fold in cereal
Pour the binder over the crisp rice cereal in a large bowl. Fold gently with a spatula until all cereal is coated, working quickly before binder cools and firms.
Shape into balls
Use a 1½ tablespoon cookie scoop or two spoons to portion mixture and form 1–1½ inch balls. Place on parchment and chill 15 minutes if coating with chocolate.
Optional chocolate coating
Melt dark chocolate chips with 1 teaspoon neutral oil in 30-second bursts, stirring until smooth. Dip chilled balls, let excess drip off, and set on parchment. Sprinkle toppings while chocolate is wet.
Rest and serve
Allow coated or plain balls to rest until set, about 10–30 minutes. Store in an airtight container at room temperature for up to 5 days, refrigerate for longer storage, or freeze for up to 3 months.
Last Step: Please leave a rating and comment letting us know how you liked this recipe! This helps our business to thrive and continue providing free, high-quality recipes for you.
Nutrition
Did You Make This?
Leave a comment & rating below or tag
@magicmealideas on social media!
Categories:
You might also like...

Air-Fried Pizza Rolls
Crispy on the outside, gooey on the inside: easy air-fried pizza rolls made with pizza dough, mozzarella, pepperoni, and a quick Italian seasoning — perfect for snacking or feeding a crowd.
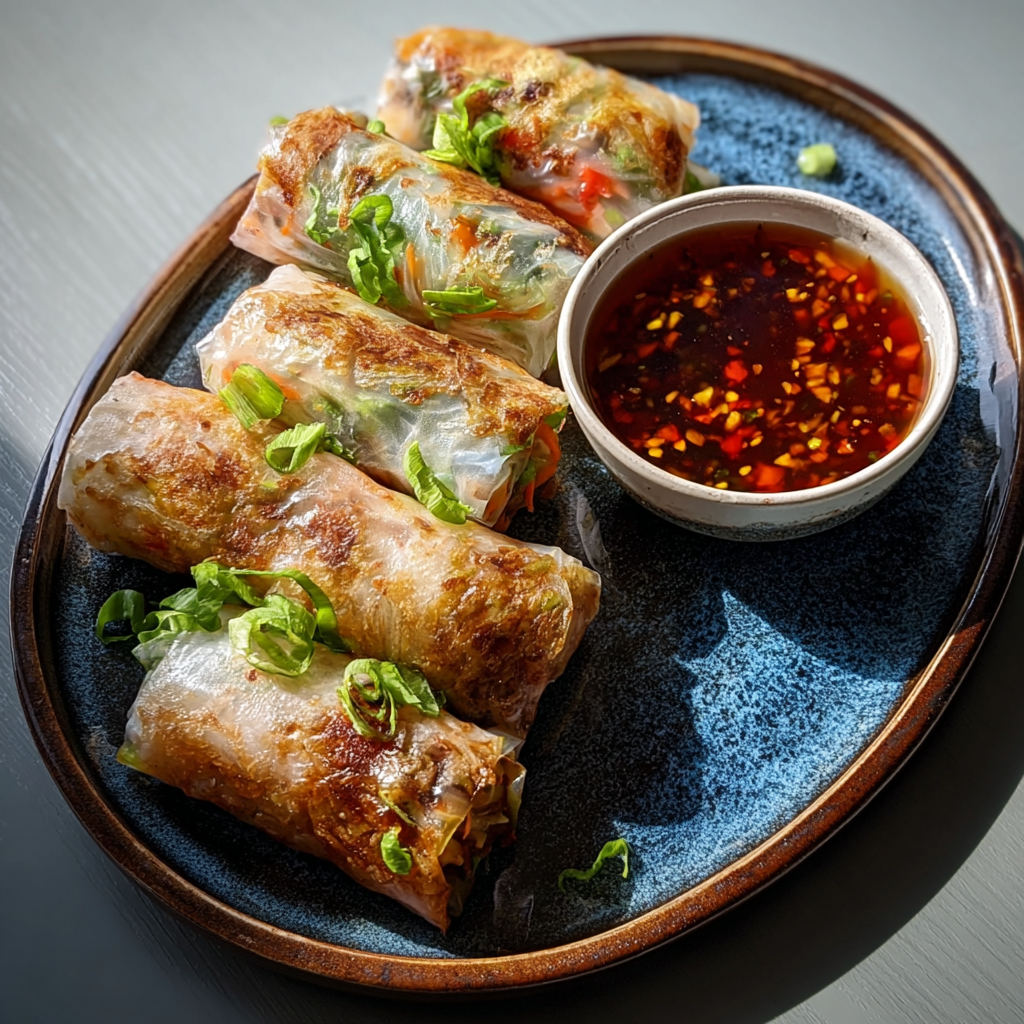
Air-Fried Rice Paper Noodle Rolls
Crispy, light rice paper rolls filled with vermicelli, vegetables and tofu or shrimp, air-fried to golden perfection for a healthy snack or shareable appetizer.

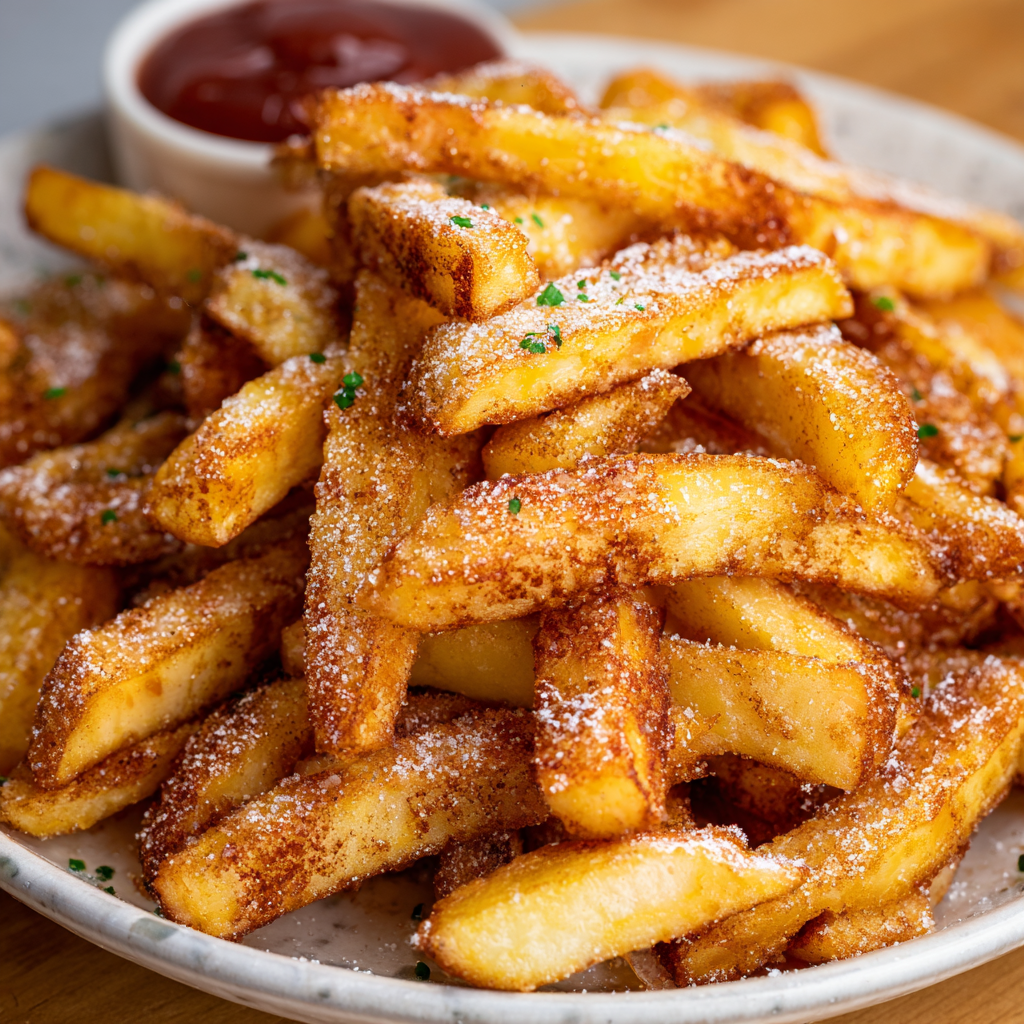
Air Fryer Apple Fries
Crispy, cinnamon-sugar coated apple sticks made in the air fryer — a quick, family-friendly treat that tastes like baked apple pie in every bite.
Did You Make This?
Leave a comment & rating below or tag @magicmealideas on social media!
Rate This Recipe
Share This Recipe
Enjoyed this recipe? Share it with friends and family, and don't forget to leave a review!
Comments (1)
This recipe looks amazing! Can't wait to try it.
Comments are stored locally in your browser. Server comments are displayed alongside your local comments.
Hi, I'm Chef!
What's Popular
30-Minute Meals!
Join to receive our email series which contains a round-up of some of our quick and easy family favorite recipes.