
Stovetop Turkish Flatbread (No Oven)

Soft, pillowy Turkish-style flatbread cooked entirely on the stovetop — no oven required. Ready in about 90 minutes including proofing; perfect for dunking in stews or making sandwiches.
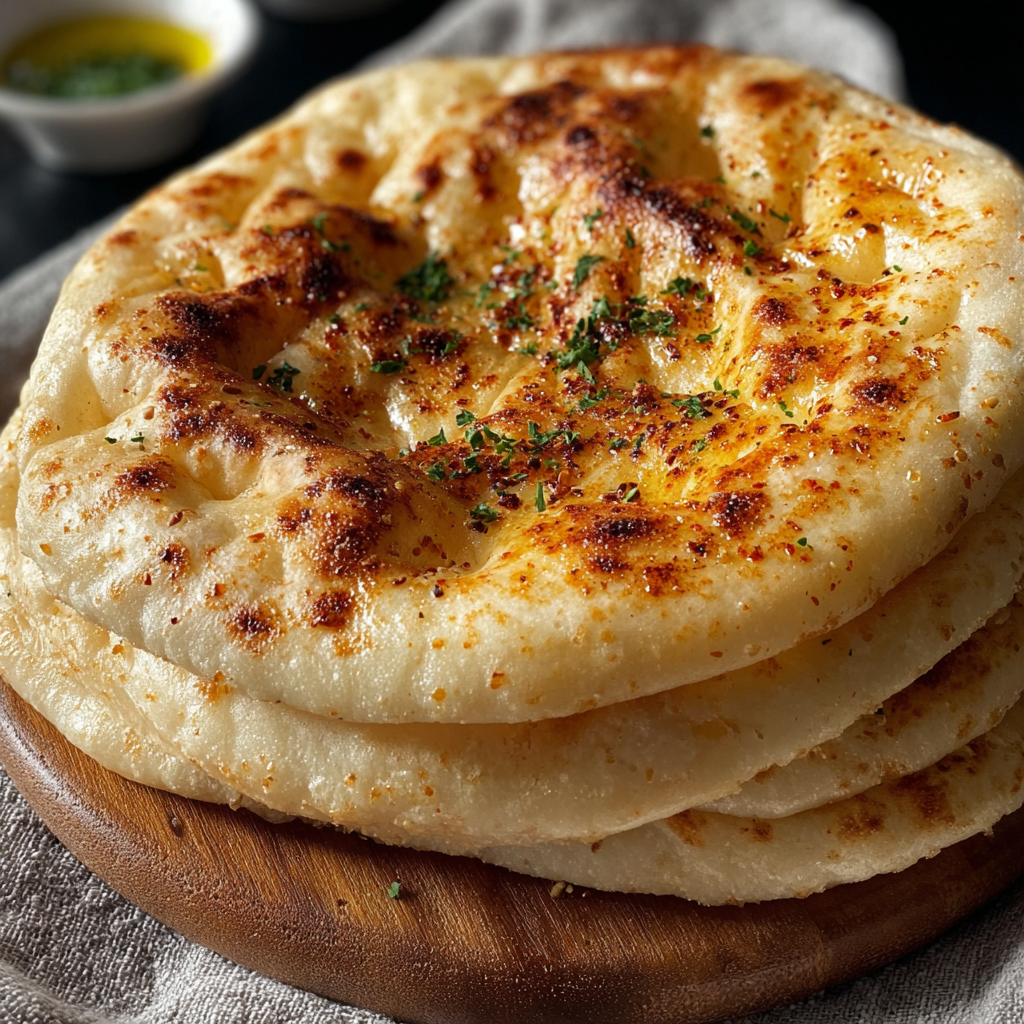
This Turkish-style flatbread has been my go-to when the oven is occupied or when I want fresh bread in under two hours. I first learned this stovetop method on a trip to a friend’s apartment in Istanbul when the shared kitchen didn’t have an oven — only sturdy pans and a warm stove. The result surprised me: bread that puffs, develops a slightly blistered exterior, and stays soft inside. The first time I made it at home my partner declared it the best bread he’d had outside of a bakery, and our kitchen smelled like fresh-baked loaves even though everything was cooked on the burner.
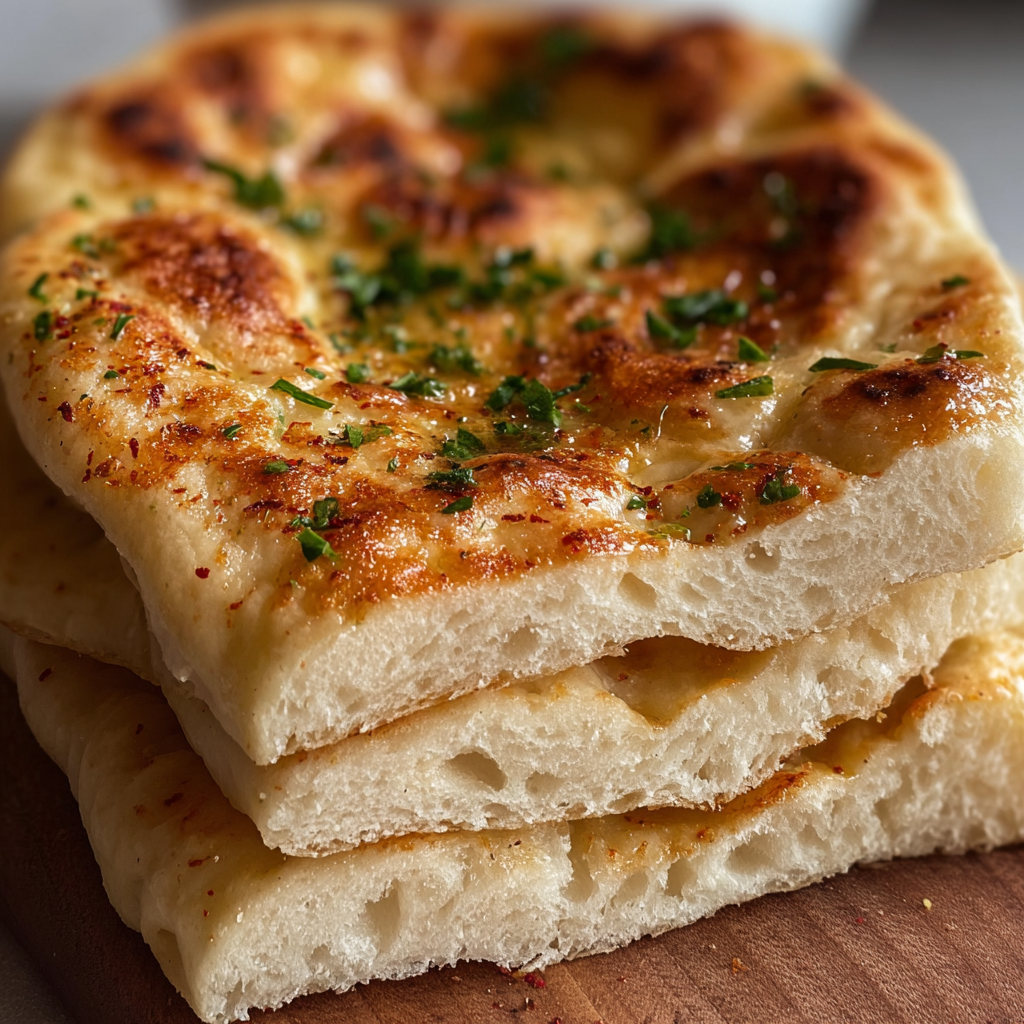
What I love about this method is how approachable it is. The dough is simple — flour, water, milk, a little sugar and yeast, and salt — and it responds beautifully to a short knead and a single proof. The crust is thin and slightly glossy when brushed with butter or olive oil; the crumb is open enough to soak up olive oil, stews, or chile oils but dense enough to make hearty sandwiches. There’s a satisfying moment when the dough puffs like a balloon under the lid — that’s the steam doing its work. This flatbread became our last-minute picnic favorite and a weekday dinner companion because it’s fast, forgiving, and utterly delicious.
Why You'll Love This Recipe
- Cook entirely on the stovetop — no oven required, perfect for apartments and summer cooking when you don't want to heat the house.
- Simple pantry ingredients: all-purpose or bread flour, milk, water, yeast, sugar, and salt — most kitchens will have everything on hand.
- Ready to serve in roughly 90 minutes including proofing; active hands-on time is under 30 minutes.
- Produces six 18 cm (about 7-inch) rounds that are perfect for sharing, sandwiches, dipping, or tearing straight off the pan.
- Make-ahead friendly: dough can be chilled for a slow overnight ferment for more flavor, or the cooked rounds freeze well for quick reheating.
My family always asks for an extra piece — especially when I brush the finished rounds with melted butter and sprinkle fresh parsley. Once I taught a neighbor this technique, she started a weekly bread swap: I bring stovetop bread, she brings jam. Little moments like that are why I keep returning to this easy, soulful bread.
Ingredients
- Flour: 4 cups bread flour or all-purpose flour (use bread flour for a slightly chewier texture). Look for high-protein bread flour if you want extra chew; King Arthur and Bob's Red Mill are reliable brands.
- Milk: 2/3 cup warm milk. Whole milk will make a softer crumb; you can use 2% or a plant milk substitute if dairy-free is needed (adjust is_dairy_free accordingly).
- Water: 2/3 cup warm water. Use lukewarm water (about 100–110°F / 38–43°C) to activate the yeast without killing it.
- Instant yeast: 1 1/2 tablespoons instant dry yeast. Instant yeast works without prior proofing, but we bloom it briefly here with sugar to ensure activity.
- Sugar: 1 tablespoon to feed the yeast and aid browning.
- Salt: 2 1/2 teaspoons fine salt (about 0.8 tablespoon or 8 g). Adjust slightly to taste but don’t omit — it's essential for flavor and gluten strength.
- Optional topping: 1 1/2 tablespoons melted unsalted butter or olive oil and chopped parsley for brushing and garnish.
Instructions
Activate the yeast: Pour 2/3 cup warm milk and 2/3 cup warm water into a medium bowl or measuring cup. Add 1 tablespoon sugar and 1 1/2 tablespoons instant dry yeast, stir briefly, and let sit for 5–8 minutes until slightly foamy. If no foam appears, the yeast may be old and you should replace it. Mix the dough: Add 4 cups flour and 2 1/2 teaspoons salt to the yeast mixture. Stir with a wooden spoon until the dough starts to come together. Turn the dough out onto a lightly floured surface and knead by hand for 6–8 minutes until it's no longer sticky and the surface is smooth and slightly elastic. If the dough is too sticky, add flour a tablespoon at a time; if it's too stiff, wet your hands and continue kneading. The dough should be soft but hold its shape. First proof: Place the dough in a lightly oiled bowl, cover with plastic wrap or a damp towel, and let it rise in a warm spot for about 1 hour, or until doubled in size. A warm oven (turned off) or sunny windowsill works well. Proofing time will vary with room temperature. Divide and rest: Punch down the dough gently, then divide it into 6 equal pieces (about 3.5–4 ounces / 100–115 g each). Shape each piece into a smooth round, cover them with a plastic bag or damp towel, and allow to rest for 10–15 minutes — this relaxes the gluten and makes rolling easier. Roll out: On a lightly floured surface, press each round with a rolling pin into an 18 cm (about 7-inch) circle about 1/8 inch (5 mm) thick. Keep the edges even; if the dough springs back, let it rest another 5 minutes. Pan-cook: Heat a heavy-bottomed skillet or cast-iron pan over medium heat. When the pan is hot, place one dough round in the dry pan. Cook until bubbles form across the surface (about 1–2 minutes), then flip. You’ll see the underside develop brown patches. When the piece puffs like a balloon, reduce the heat to low and continue cooking for another 30–45 seconds covered with a lid and a clean cloth draped over the lid to trap steam. Use a thick pan; thin skillets won’t allow sufficient rise. Finish and serve: Brush hot rounds with melted butter or olive oil and sprinkle chopped parsley if desired. Keep cooked pieces wrapped in a clean towel to stay soft while you finish the rest. Serve warm.
You Must Know
- These rounds freeze well for up to 3 months; thaw at room temperature and reheat on a hot pan for 30–60 seconds per side.
- High protein (bread) flour gives a chewier interior; all-purpose flour yields a softer, slightly more tender crumb.
- Proofing in a cooler kitchen will take longer — expect 1.5–2 hours in winter; alternatively, refrigerate the dough overnight for deeper flavor and bake the next day.
- Cooking in a heavy pan (cast iron preferred) builds the right bottom color and gives time for the center to puff; a thin pan will prevent rise.
My favorite aspect is that the center stays soft even when the exterior develops character from the pan. On a rainy afternoon I once made a batch that fed a group of friends with leftover stew; everyone raved about the texture and the fact it was made entirely on the stovetop. This method gives you bakery-style satisfaction without specialized equipment.
Storage Tips
Store cooled rounds wrapped in foil or in an airtight container at room temperature for up to 2 days. For longer storage, freeze individually wrapped pieces in a zip-top bag for up to 3 months. Reheat from frozen directly on a hot skillet over medium-low heat for 1–2 minutes per side until warmed through, or wrap in foil and warm in a low oven if available. To preserve softness, keep cooked pieces covered in a clean kitchen towel while serving. Avoid refrigeration, which dries bread quickly.
Ingredient Substitutions
If you need a dairy-free version, swap the milk for unsweetened almond or oat milk at the same volume; the crumb will be slightly less rich. For whole-grain flavor, substitute up to half the flour with whole-wheat flour — add an extra tablespoon or two of water if the dough feels tight. To reduce yeast, use 1 teaspoon active dry yeast and allow a longer, cooler rise of 6–8 hours. For a softer crust, brush the rounds with olive oil instead of butter.
Serving Suggestions
These rounds are perfect torn and dipped in extra-virgin olive oil with za'atar, used for sandwiches with grilled chicken and roasted peppers, or served alongside hearty soups and stews. For a Turkish-inspired pairing, serve with labneh, sliced tomatoes, cucumber, and olives. Garnish with fresh parsley or nigella seeds for a rustic finish. They are also excellent spread with butter and honey for a simple breakfast treat.
Cultural Background
Flat breads cooked on a griddle or pan are a cornerstone of many cuisines, and in Turkey you’ll find regional variations from thin yufka to thicker pide. Cooking bread on a hot surface is an ancient technique: before ovens were household fixtures, bakers relied on hearths and skillets. This stovetop method channels that heritage — the blistering and puffing you see are time-honored signs of properly formed pockets of steam, a technique widely used across the Middle East and Central Asia for portable and versatile breads.
Seasonal Adaptations
In colder months, add warm spices like a pinch of ground cumin or fennel to the dough for aromatic notes that pair well with winter stews. In summer, lighten the bread by using part yogurt instead of milk for a tangy lift. For holiday gatherings, top the rounds with sesame seeds or nigella seeds before cooking for a festive look and additional crunch.
Meal Prep Tips
For meal prep, double the dough and shape into 12 rounds, freezing half of the raw shaped pieces on a tray before bagging. When ready to use, thaw overnight in the refrigerator and cook as directed. Cooked rounds can be stacked with parchment between them and frozen; reheat directly from frozen on a hot pan. Portion cooked bread into individual bags for quick lunches or wraps throughout the week.
Enjoy making these quick, soulful rounds — they’re a small ritual that brings people together, whether you’re tearing them with friends or using them to sop up a fragrant stew. Make the dough your own, and don’t be surprised when neighbors come knocking for a taste.
Pro Tips
Use a heavy cast-iron skillet for best puffing and even browning.
Keep cooked rounds wrapped in a clean towel to maintain softness between batches.
If the dough resists rolling, let it rest 5–10 minutes to relax the gluten.
For deeper flavor, refrigerate shaped dough overnight and cook the next day.
This nourishing stovetop turkish flatbread (no oven) recipe is sure to be a staple in your kitchen. Enjoy every moist, high protein slice — it is perfect for breakfast or as a wholesome snack any time.
Tags
Stovetop Turkish Flatbread (No Oven)
This Stovetop Turkish Flatbread (No Oven) recipe makes perfectly juicy, tender, and flavorful steak every time! Serve with potatoes and a side salad for an unforgettable dinner in under 30 minutes.
Ingredients
Dough
Topping (optional)
Instructions
Activate yeast
Combine 2/3 cup warm milk, 2/3 cup warm water, 1 tablespoon sugar, and 1 1/2 tablespoons instant yeast in a bowl. Stir and let rest 5–8 minutes until slightly foamy.
Mix and knead
Add 4 cups flour and 2 1/2 teaspoons salt to the yeast mixture. Stir until combined, then knead on a floured surface for 6–8 minutes until smooth and elastic. Adjust with flour or water as needed.
First proof
Place dough in a lightly oiled bowl, cover, and let rise in a warm spot until doubled, about 1 hour.
Divide and rest
Divide into 6 equal pieces, shape into rounds, cover with plastic, and rest for 10–15 minutes to relax the gluten.
Roll out
Roll each round into an 18 cm (7-inch) circle about 1/8 inch (5 mm) thick on a lightly floured surface.
Pan-cook
Heat a heavy pan over medium. Cook each round until bubbles form (1–2 minutes), flip, and when it puffs, reduce to low, cover, and finish for 30–45 seconds. Use a lid and towel over the lid to trap steam.
Finish
Brush with melted butter or olive oil and sprinkle parsley. Keep cooked rounds wrapped in a towel to stay soft while finishing the batch.
Last Step: Please leave a rating and comment letting us know how you liked this recipe! This helps our business to thrive and continue providing free, high-quality recipes for you.
Nutrition
Did You Make This?
Leave a comment & rating below or tag
@magicmealideas on social media!
Categories:
You might also like...

Air-Fried Pizza Rolls
Crispy on the outside, gooey on the inside: easy air-fried pizza rolls made with pizza dough, mozzarella, pepperoni, and a quick Italian seasoning — perfect for snacking or feeding a crowd.
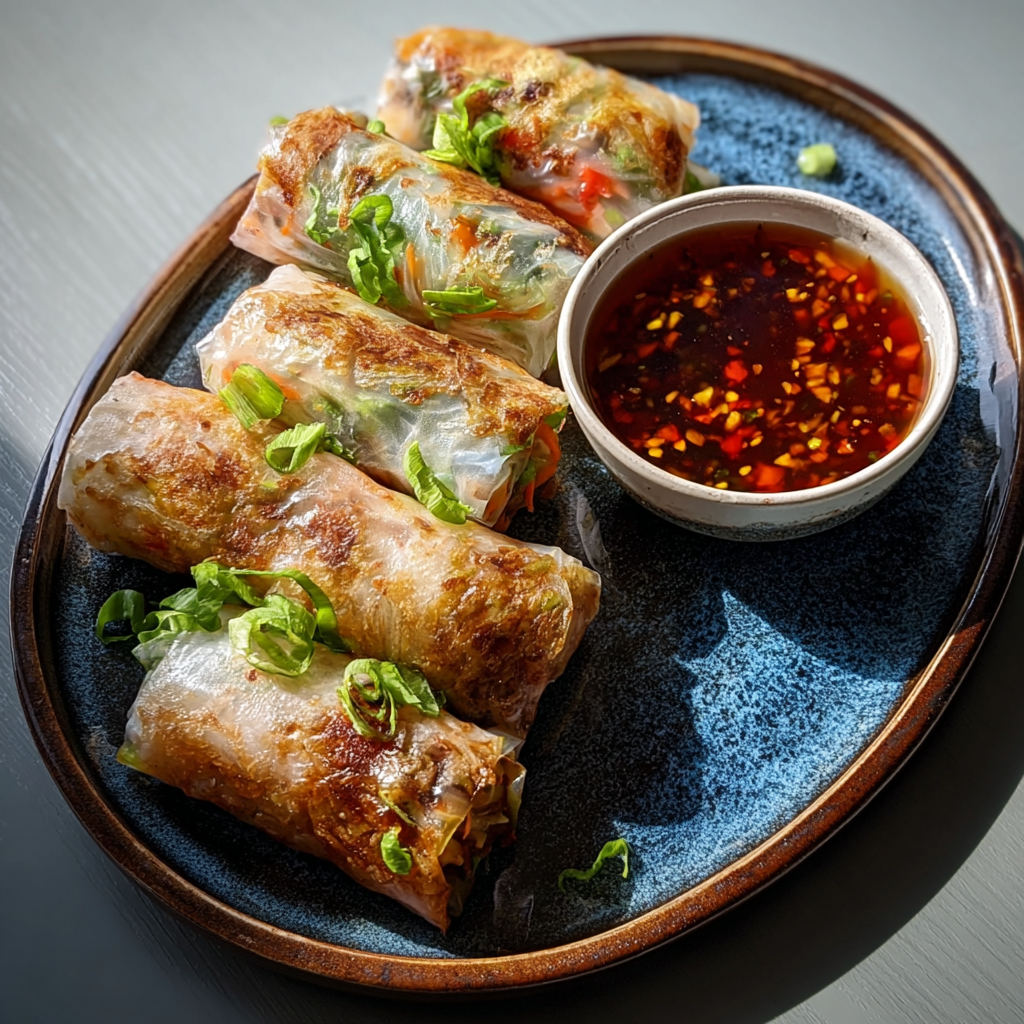
Air-Fried Rice Paper Noodle Rolls
Crispy, light rice paper rolls filled with vermicelli, vegetables and tofu or shrimp, air-fried to golden perfection for a healthy snack or shareable appetizer.

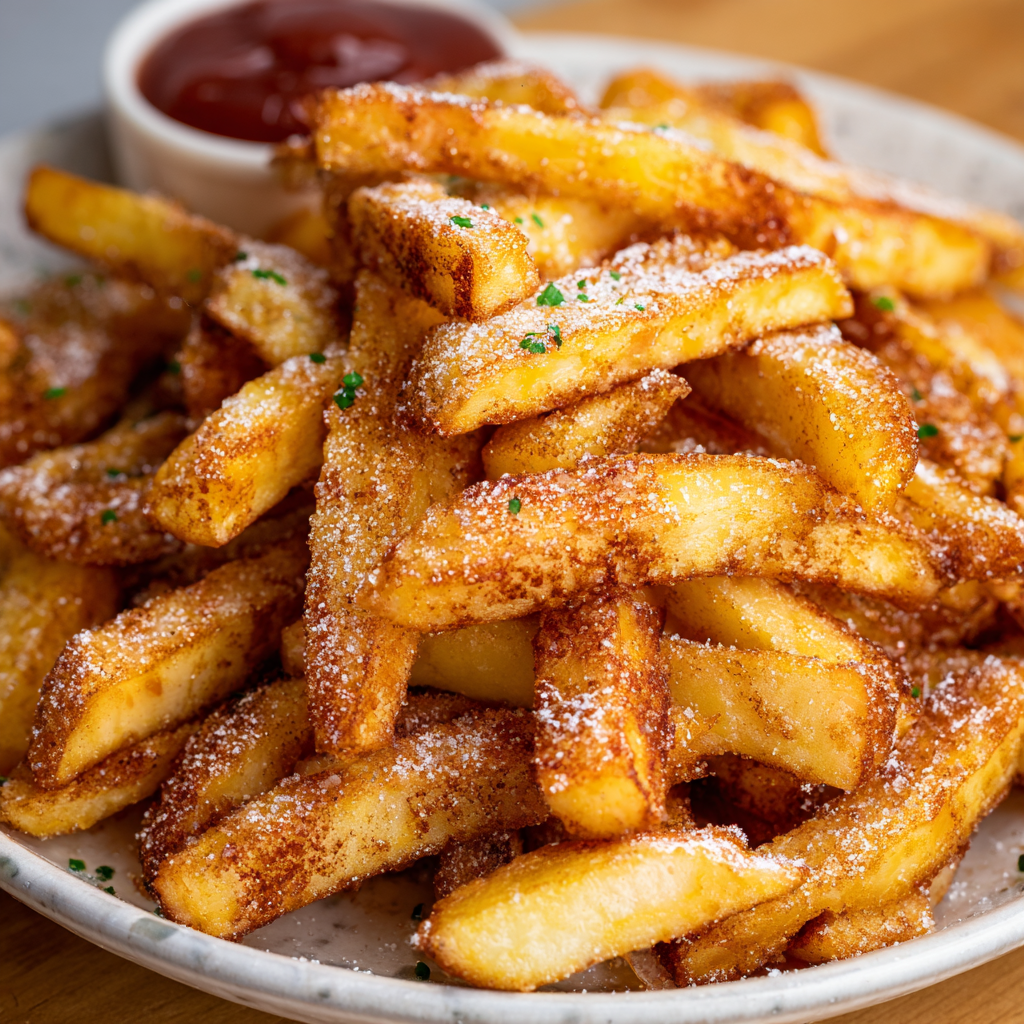
Air Fryer Apple Fries
Crispy, cinnamon-sugar coated apple sticks made in the air fryer — a quick, family-friendly treat that tastes like baked apple pie in every bite.
Did You Make This?
Leave a comment & rating below or tag @magicmealideas on social media!
Rate This Recipe
Share This Recipe
Enjoyed this recipe? Share it with friends and family, and don't forget to leave a review!
Comments (1)
This recipe looks amazing! Can't wait to try it.
Comments are stored locally in your browser. Server comments are displayed alongside your local comments.
Hi, I'm Chef!
What's Popular
30-Minute Meals!
Join to receive our email series which contains a round-up of some of our quick and easy family favorite recipes.